...
| Info |
|---|
|
if you looking for a assembled device, please contact me, i left 2 assembleds Jasper with external Midibox.  Image Added Image Added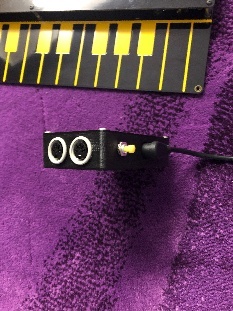 Image Added Image Added
|
Page Contents:
...
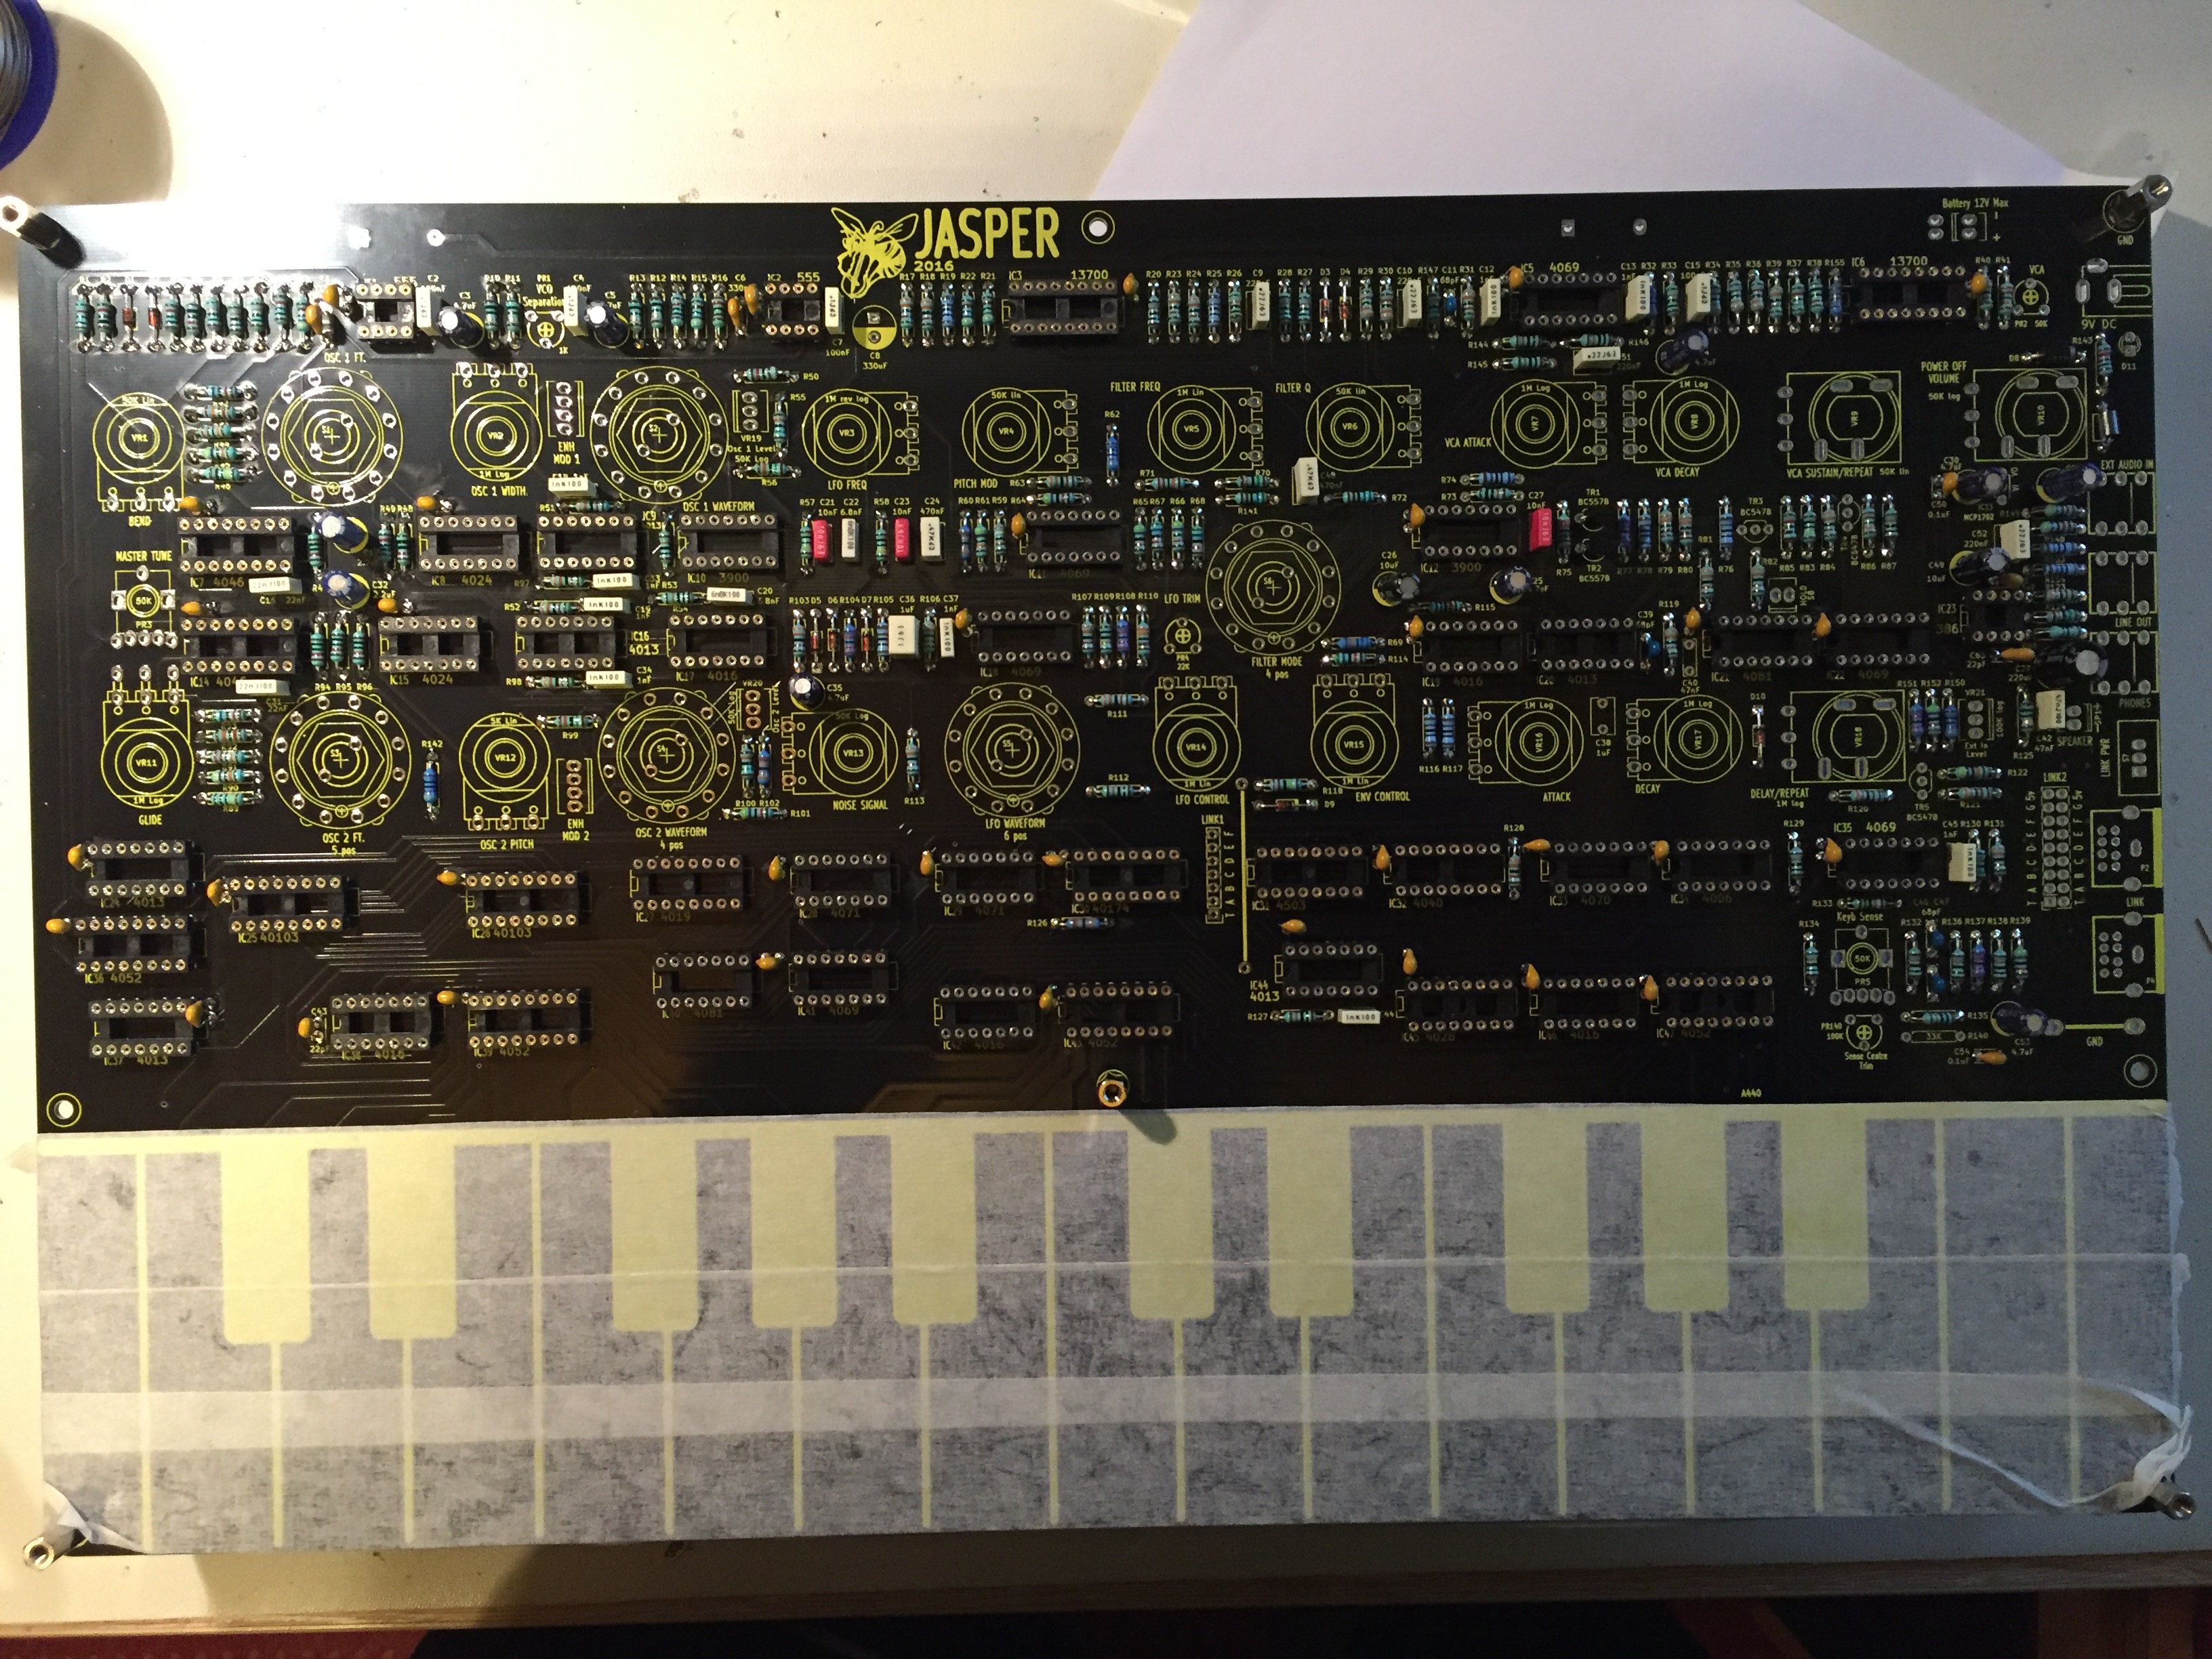
If you do not wish to use the external trigger at all, simply solder the cathode lead (with the line) to the square pad on the right, closest to the label D9. You can leave out R172 and the Ext Trig Mod header.
LFO MOD: for C36 instead of 1uf
...
Jasper PCB and Panel Measurements.pdf
Build notice:
Hold switches:
...
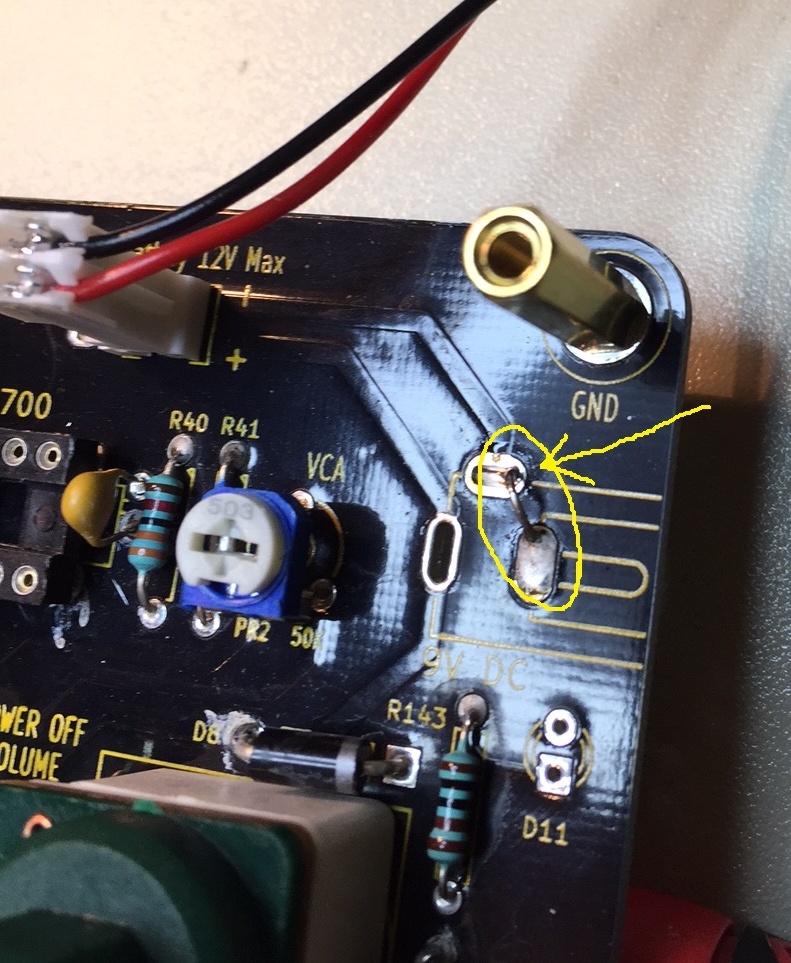
for Power Input run a cable from the MTA100 header to a DC connector, bridge as shown on the pcb the connection.
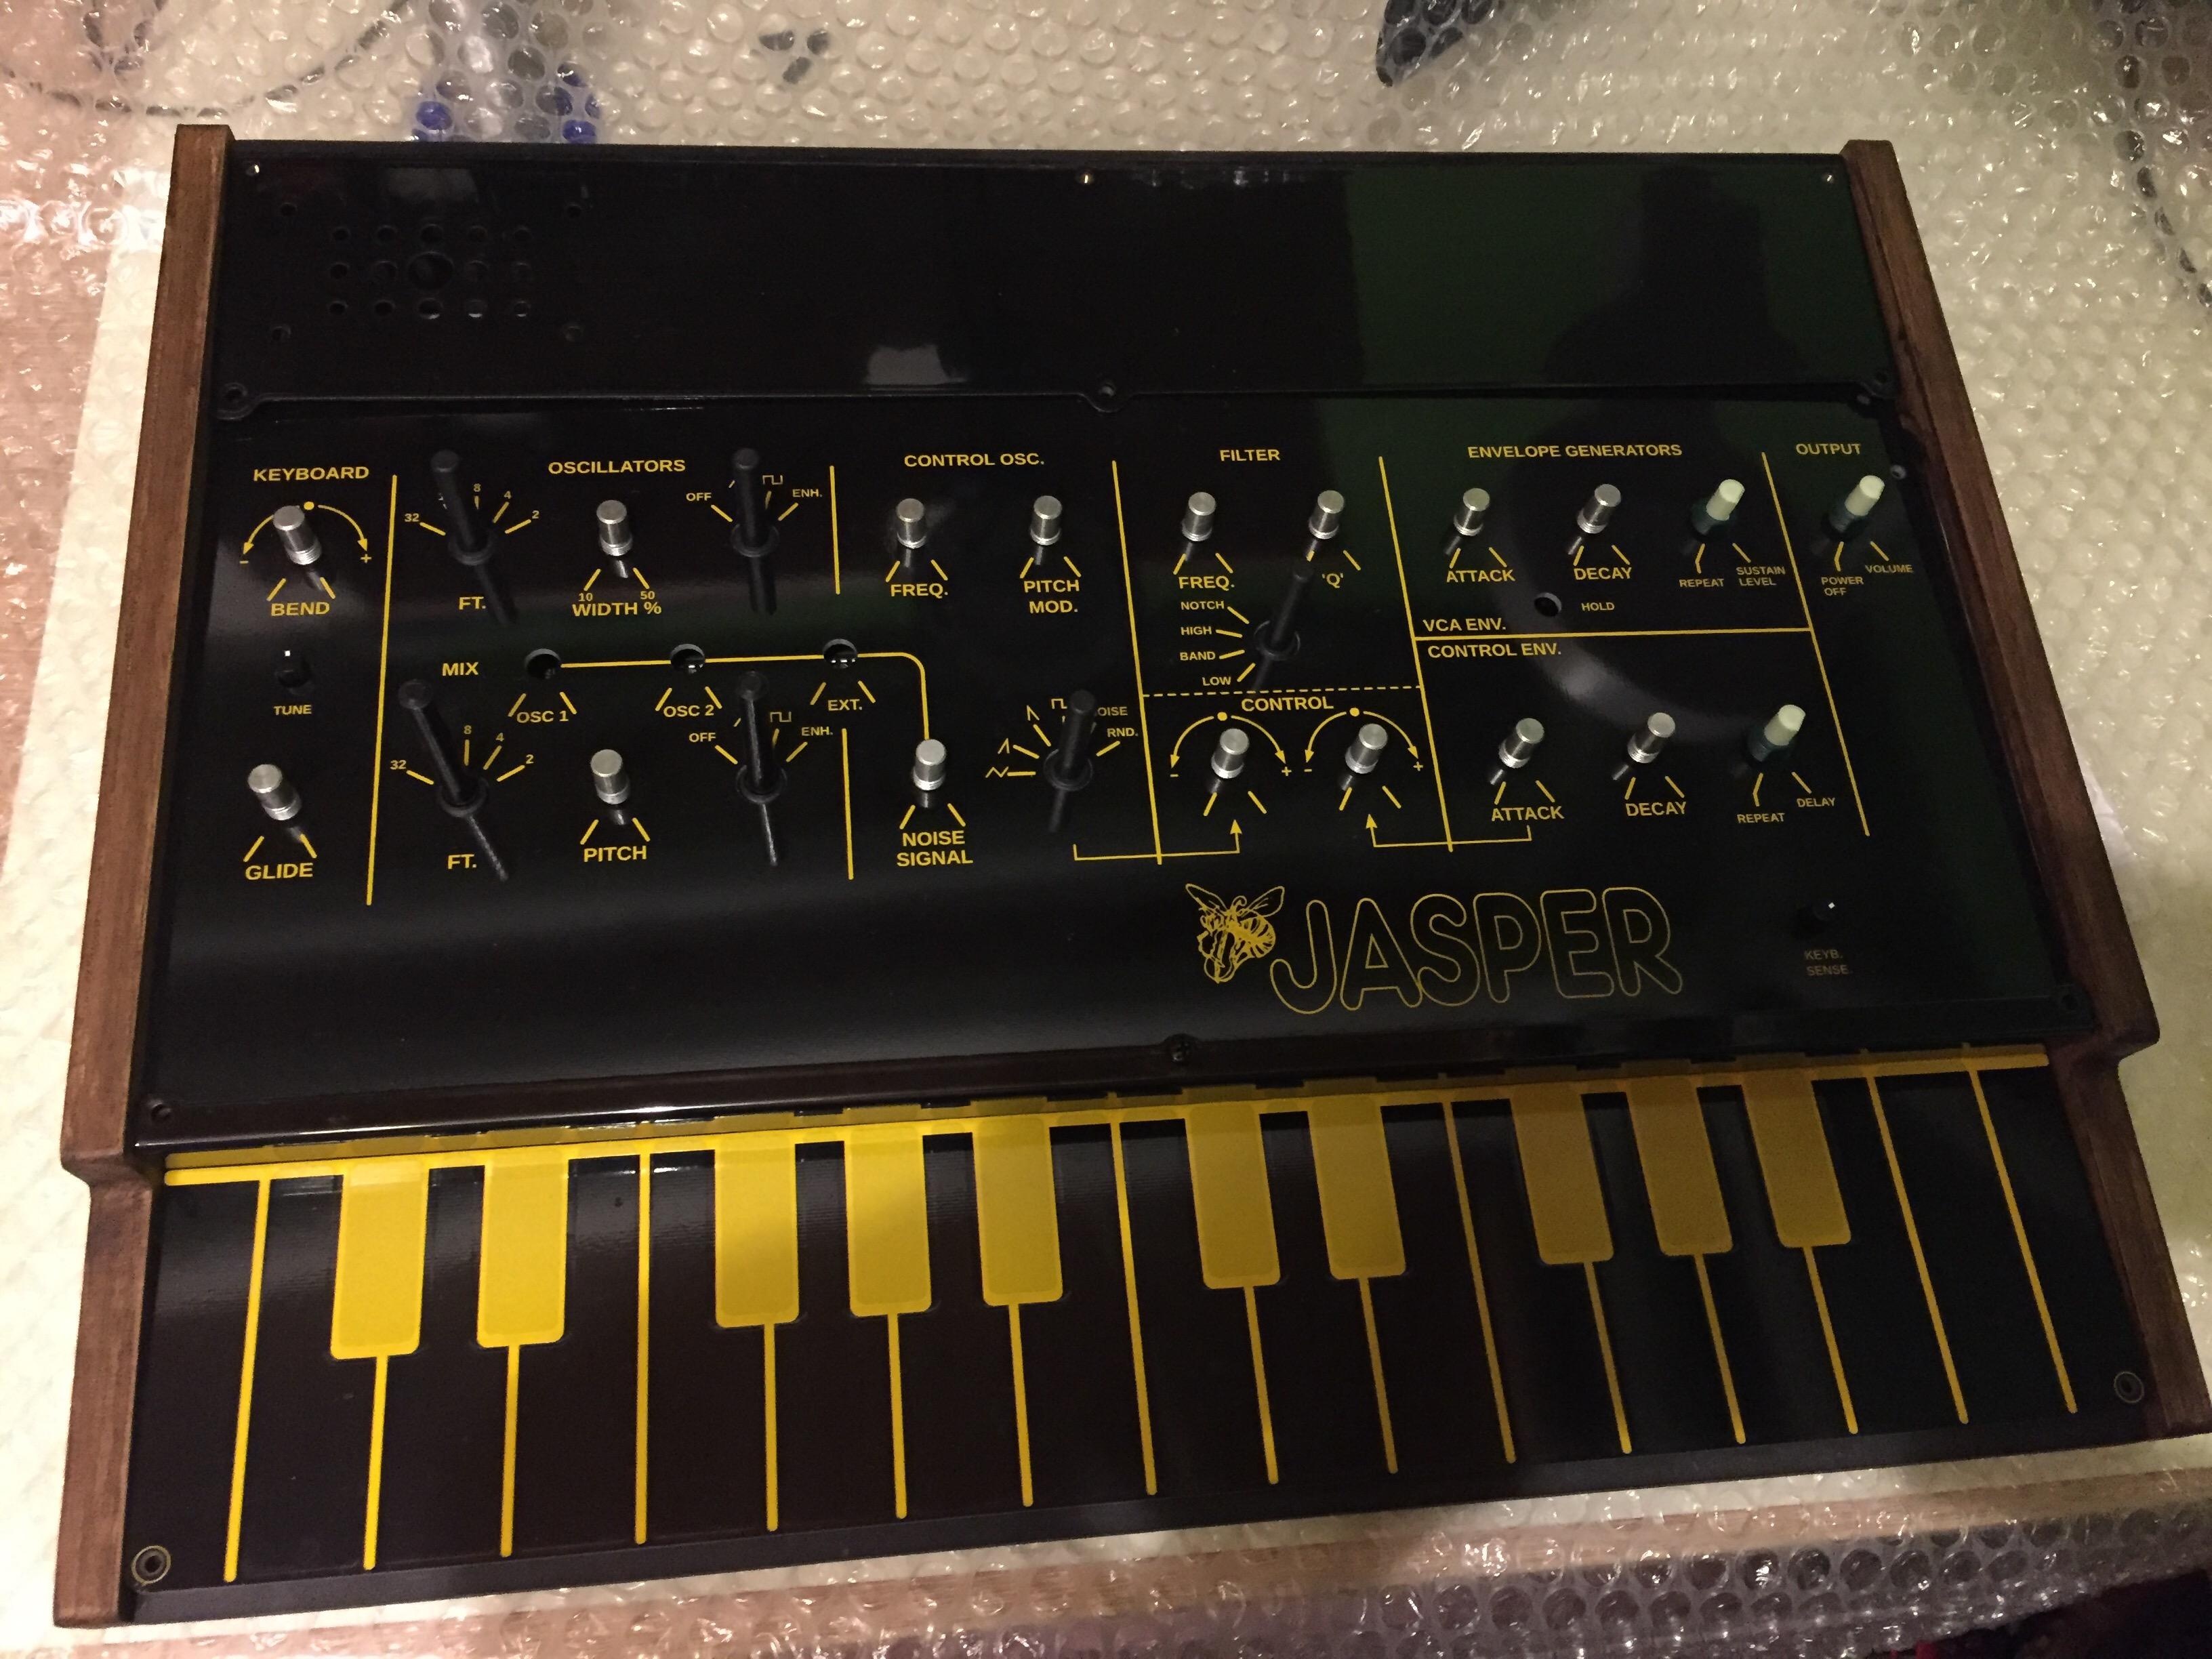
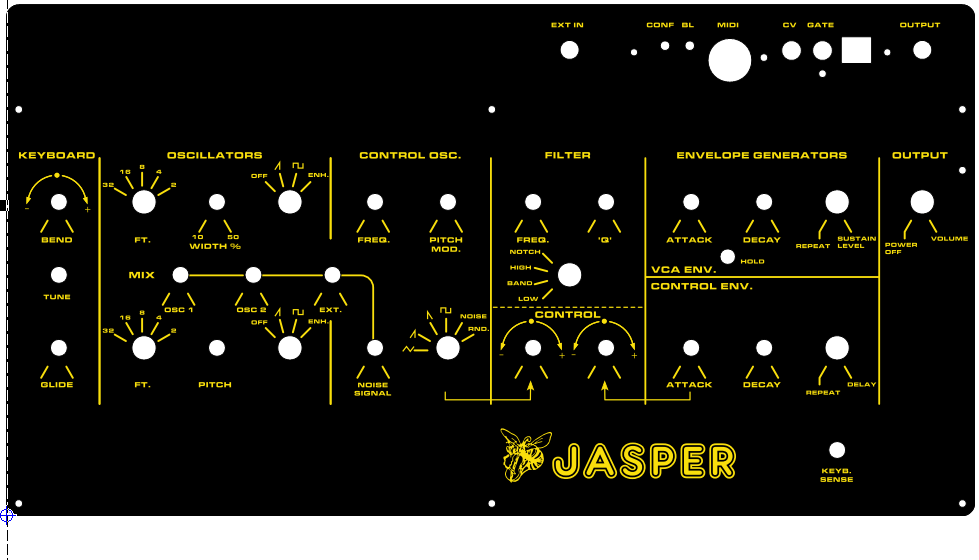
Frontpanel with MIDI-CV board option
...
thanks to: mbroers from Muffwiggler.com/forum
jasper_01_wart.fpd
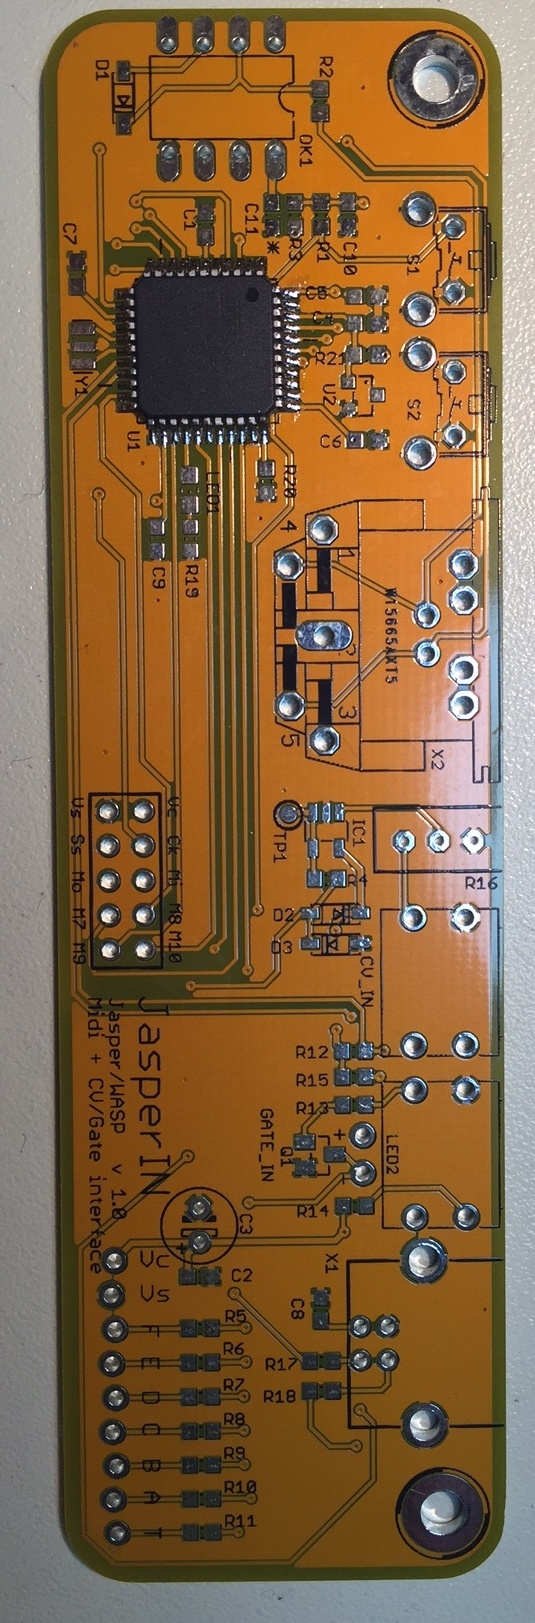
Midi and CV Mod:
i ordered on muffwiggler the CV-MIDI board (unassembled) https://www.muffwiggler.com/forum/viewtopic.php?t=172630&start=0&postdays=0&postorder=asc
BOM: https://docs.google.com/spreadsheets/d/1QKysy6yEmX6xeVm8s9hNUjck0YvDYJ8n7AZGtjl4MWU/edit?usp=sharing
...
Panel hole file as png:

Firmware: http://misw.us/jasperin/JasperIN.v0.09.zip (March 2017)
You need teensy loader: https://www.pjrc.com/teensy/loader.html
Simply open the app, load the hex file, set it to auto, and plug in the Jasperin interface via USB. The code will upload and the yellow LED will come on indicating that it is down. The jasperin is powered by the synth only, it does not power from the USB so it has to be plugged in to the LINK port
| Info |
|---|
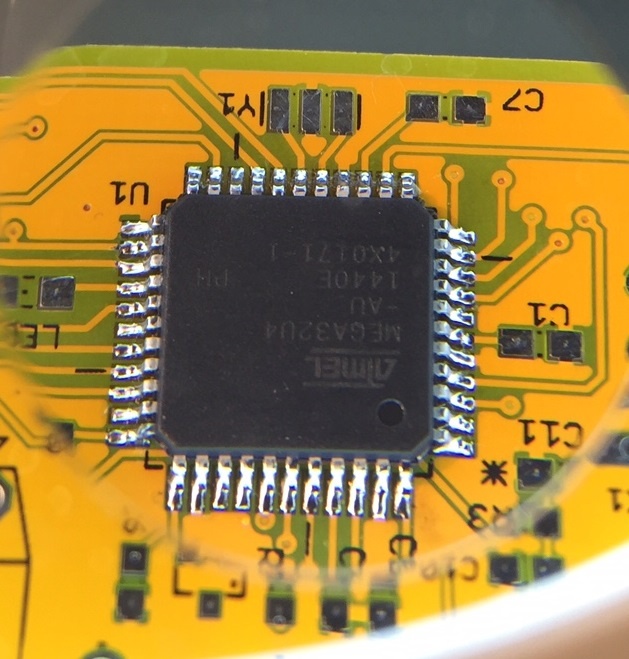
for pre-assembled or pcb with soldered ARM chip :
Yes, you will need to flash them with the firmware, it should be pretty straight forward.
The chips already have the halfkay(teensy bootloader), so you just need to flash the firmware by USB.
The JasperIN needs to be installed and the Jasper powered for this to work, the board is powered by the Jasper, not by USB.
Download the Teensy Loader for your OS from here:
https://www.pjrc.com/teensy/loader.html
Download the firmware:
http://misw.us/jasperin/JasperIN.v0.09.zip
Just load the firmware into the Teensy Loader, some usb controllers auto detect the teensy and put it in bootloader mode automatically, if it does not do that, just press the switch closest to the DIN socket.
More details on how to configure midi channel, etc
https://www.muffwiggler.com/forum/viewtopic.php?t=172630&start=0 |
| Info |
|---|
Usermanual- Configuration The CV/gate jacks need to be unplugged while you configure the JasperIN. - Configuration mode (Switch S1)
Puts the JasperIN in configuration mode for configuration of the channel and CV input range
Midi Channel Configuration:
1) Press the learn button to put the JasperIn into configuration mode
2) Send one midi note in the midi channel you want to set the JasperIN to respond to
CV range configuration:
1) Press the learn button to put the JasperIn into configuration mode
2) To configure the CV input range, send one midi note in the octave listed in the following table: | Code: |
Midi Note # | Octave | Range
0 to 11 | -2 | 0.083v-3v
12 to 23 | -1 | 1.083v-4v
24 to 35 | 0 | 2.083v-5v
>35 | Any | 3.083v-6v |
new instruction for setup the CV volatge
- Unplug CV/Gate cables
- Press S1. The JasperIN is in learning/config mode
- Send C-1 (1 octave below C0) MIDI note in the MIDI channel you want the Jasper to respond. This will configure the CV range to be 1.083v to 4v
- Plug the CV/Gate cables back
- Feed 2V to the CV
- Adjust the trimmer until you get 1V at TP1
- - Teensy bootloader mode (Switch S2)
Puts the JasperIN in bootloader mode for firmware updates
The USB port is currently used for uploading the code only.
|
...
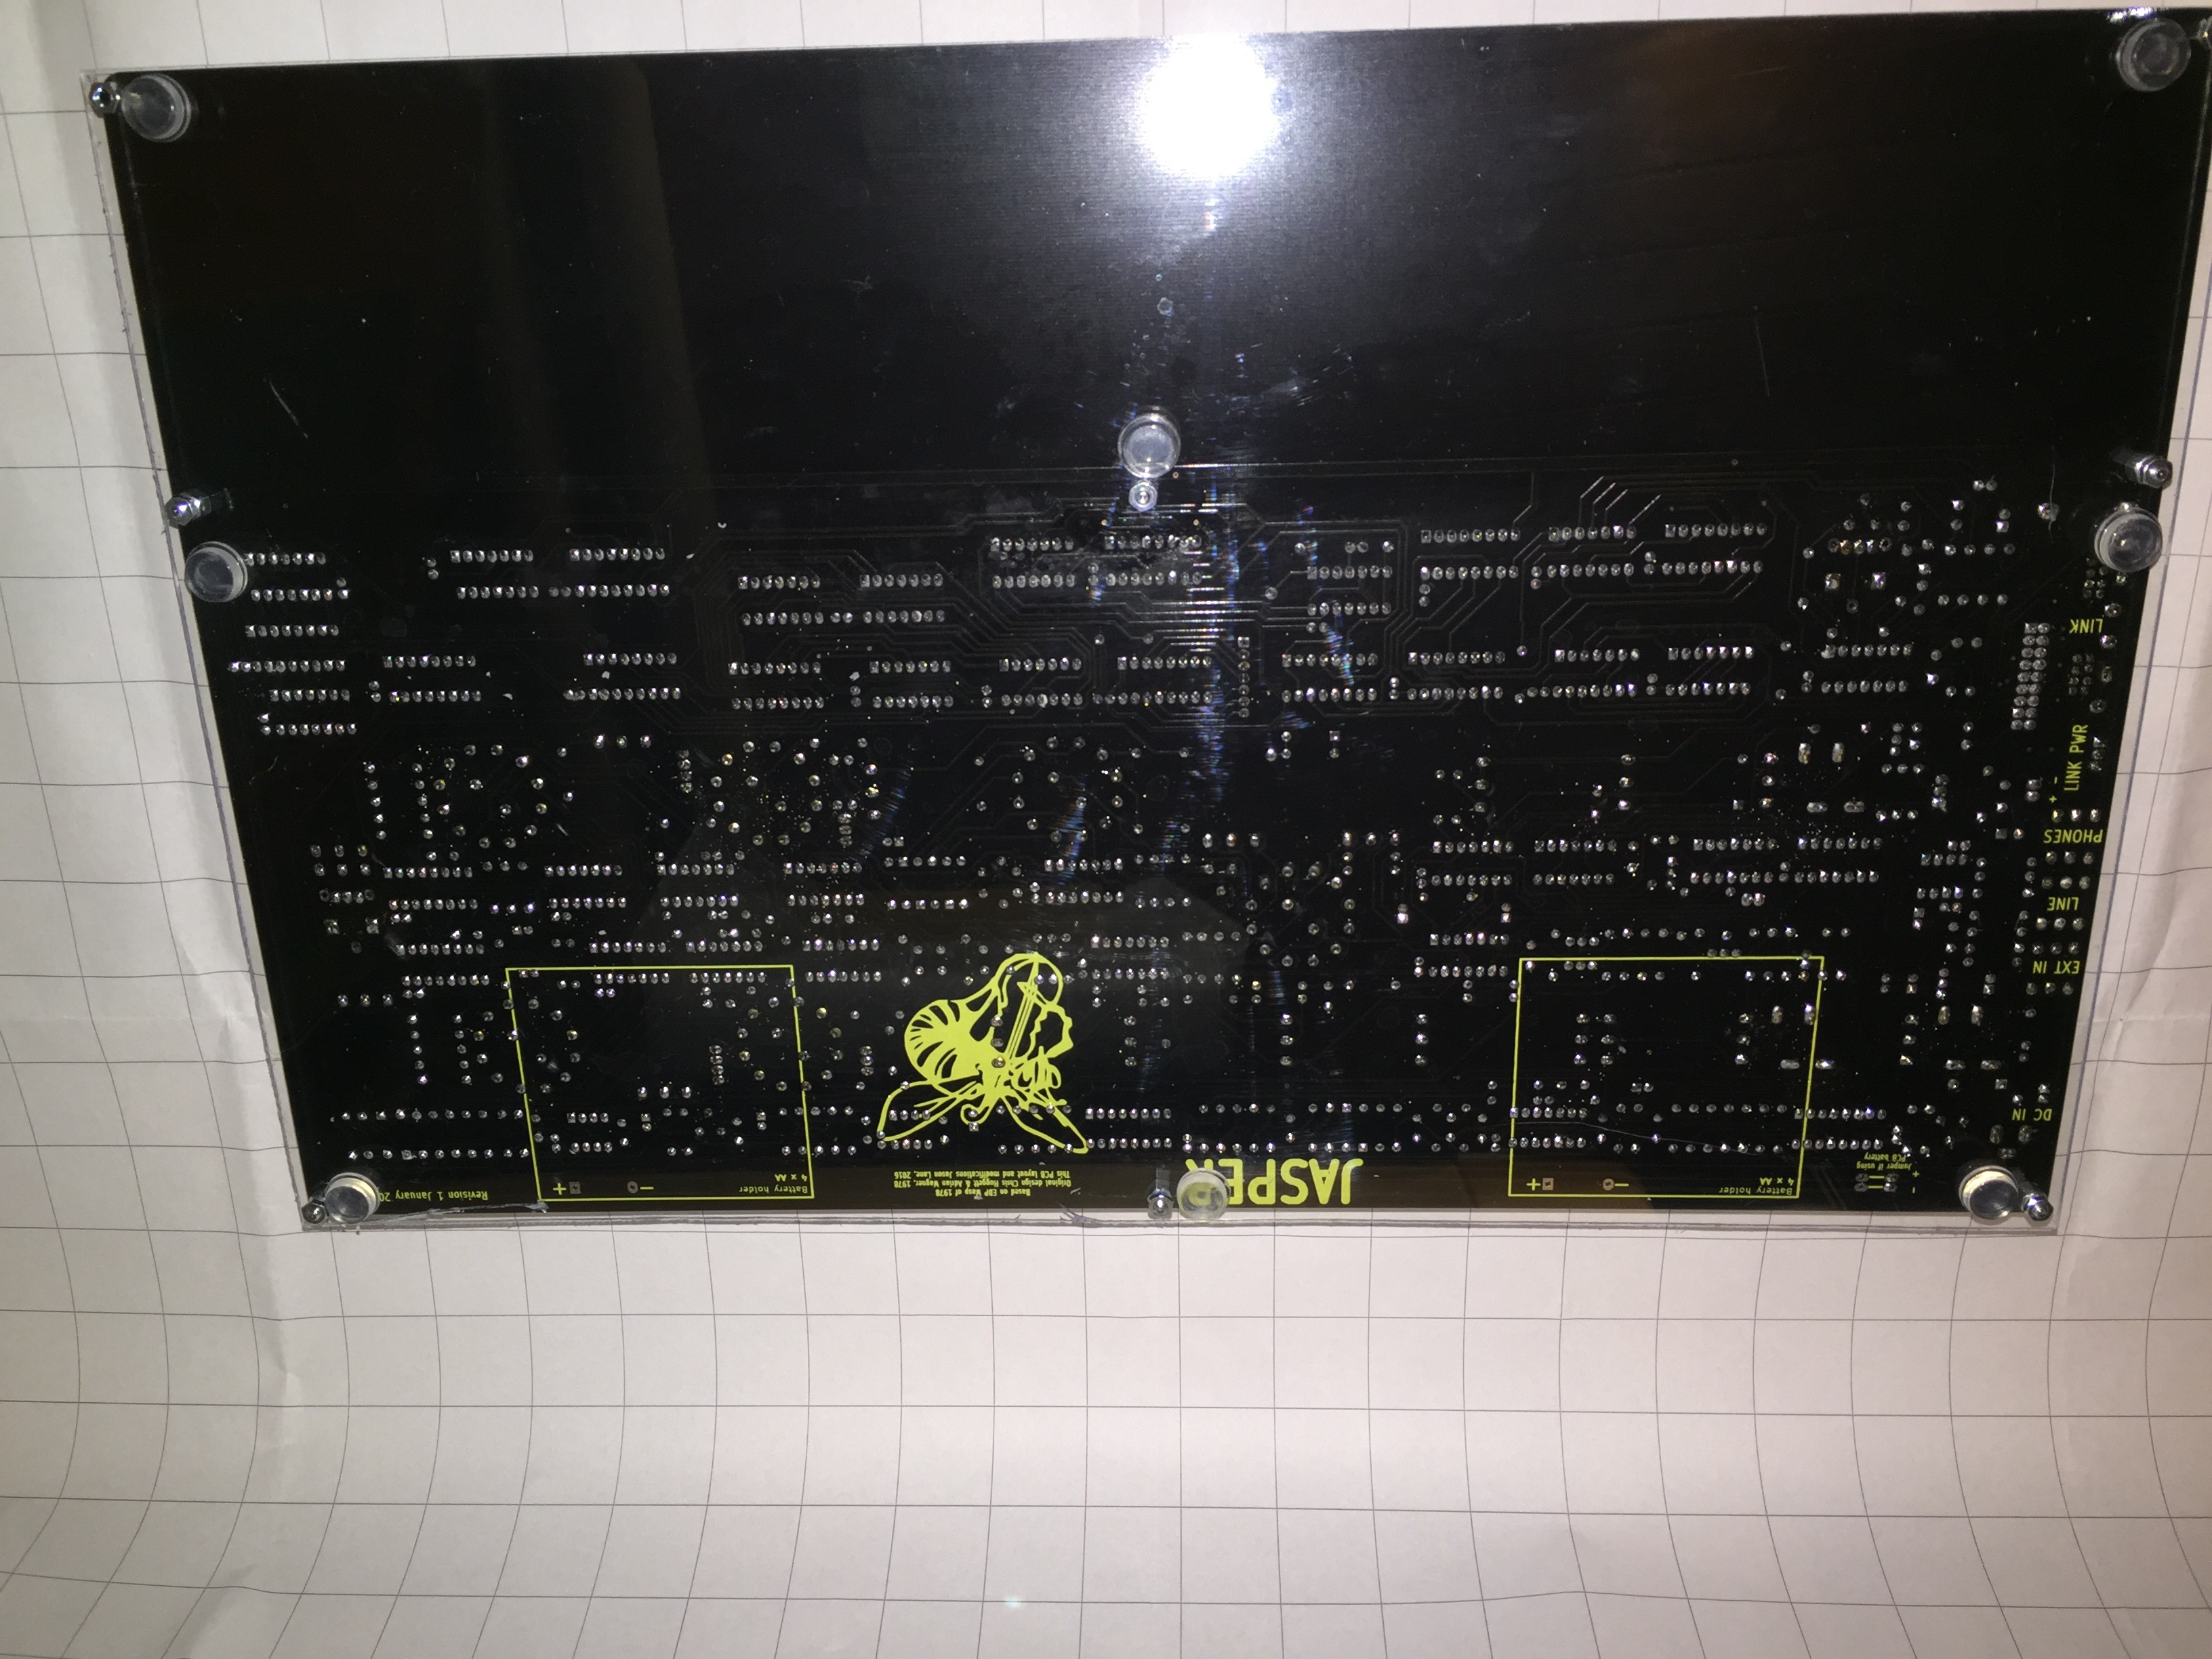
rev 1 version:

rev.1 pcb