...
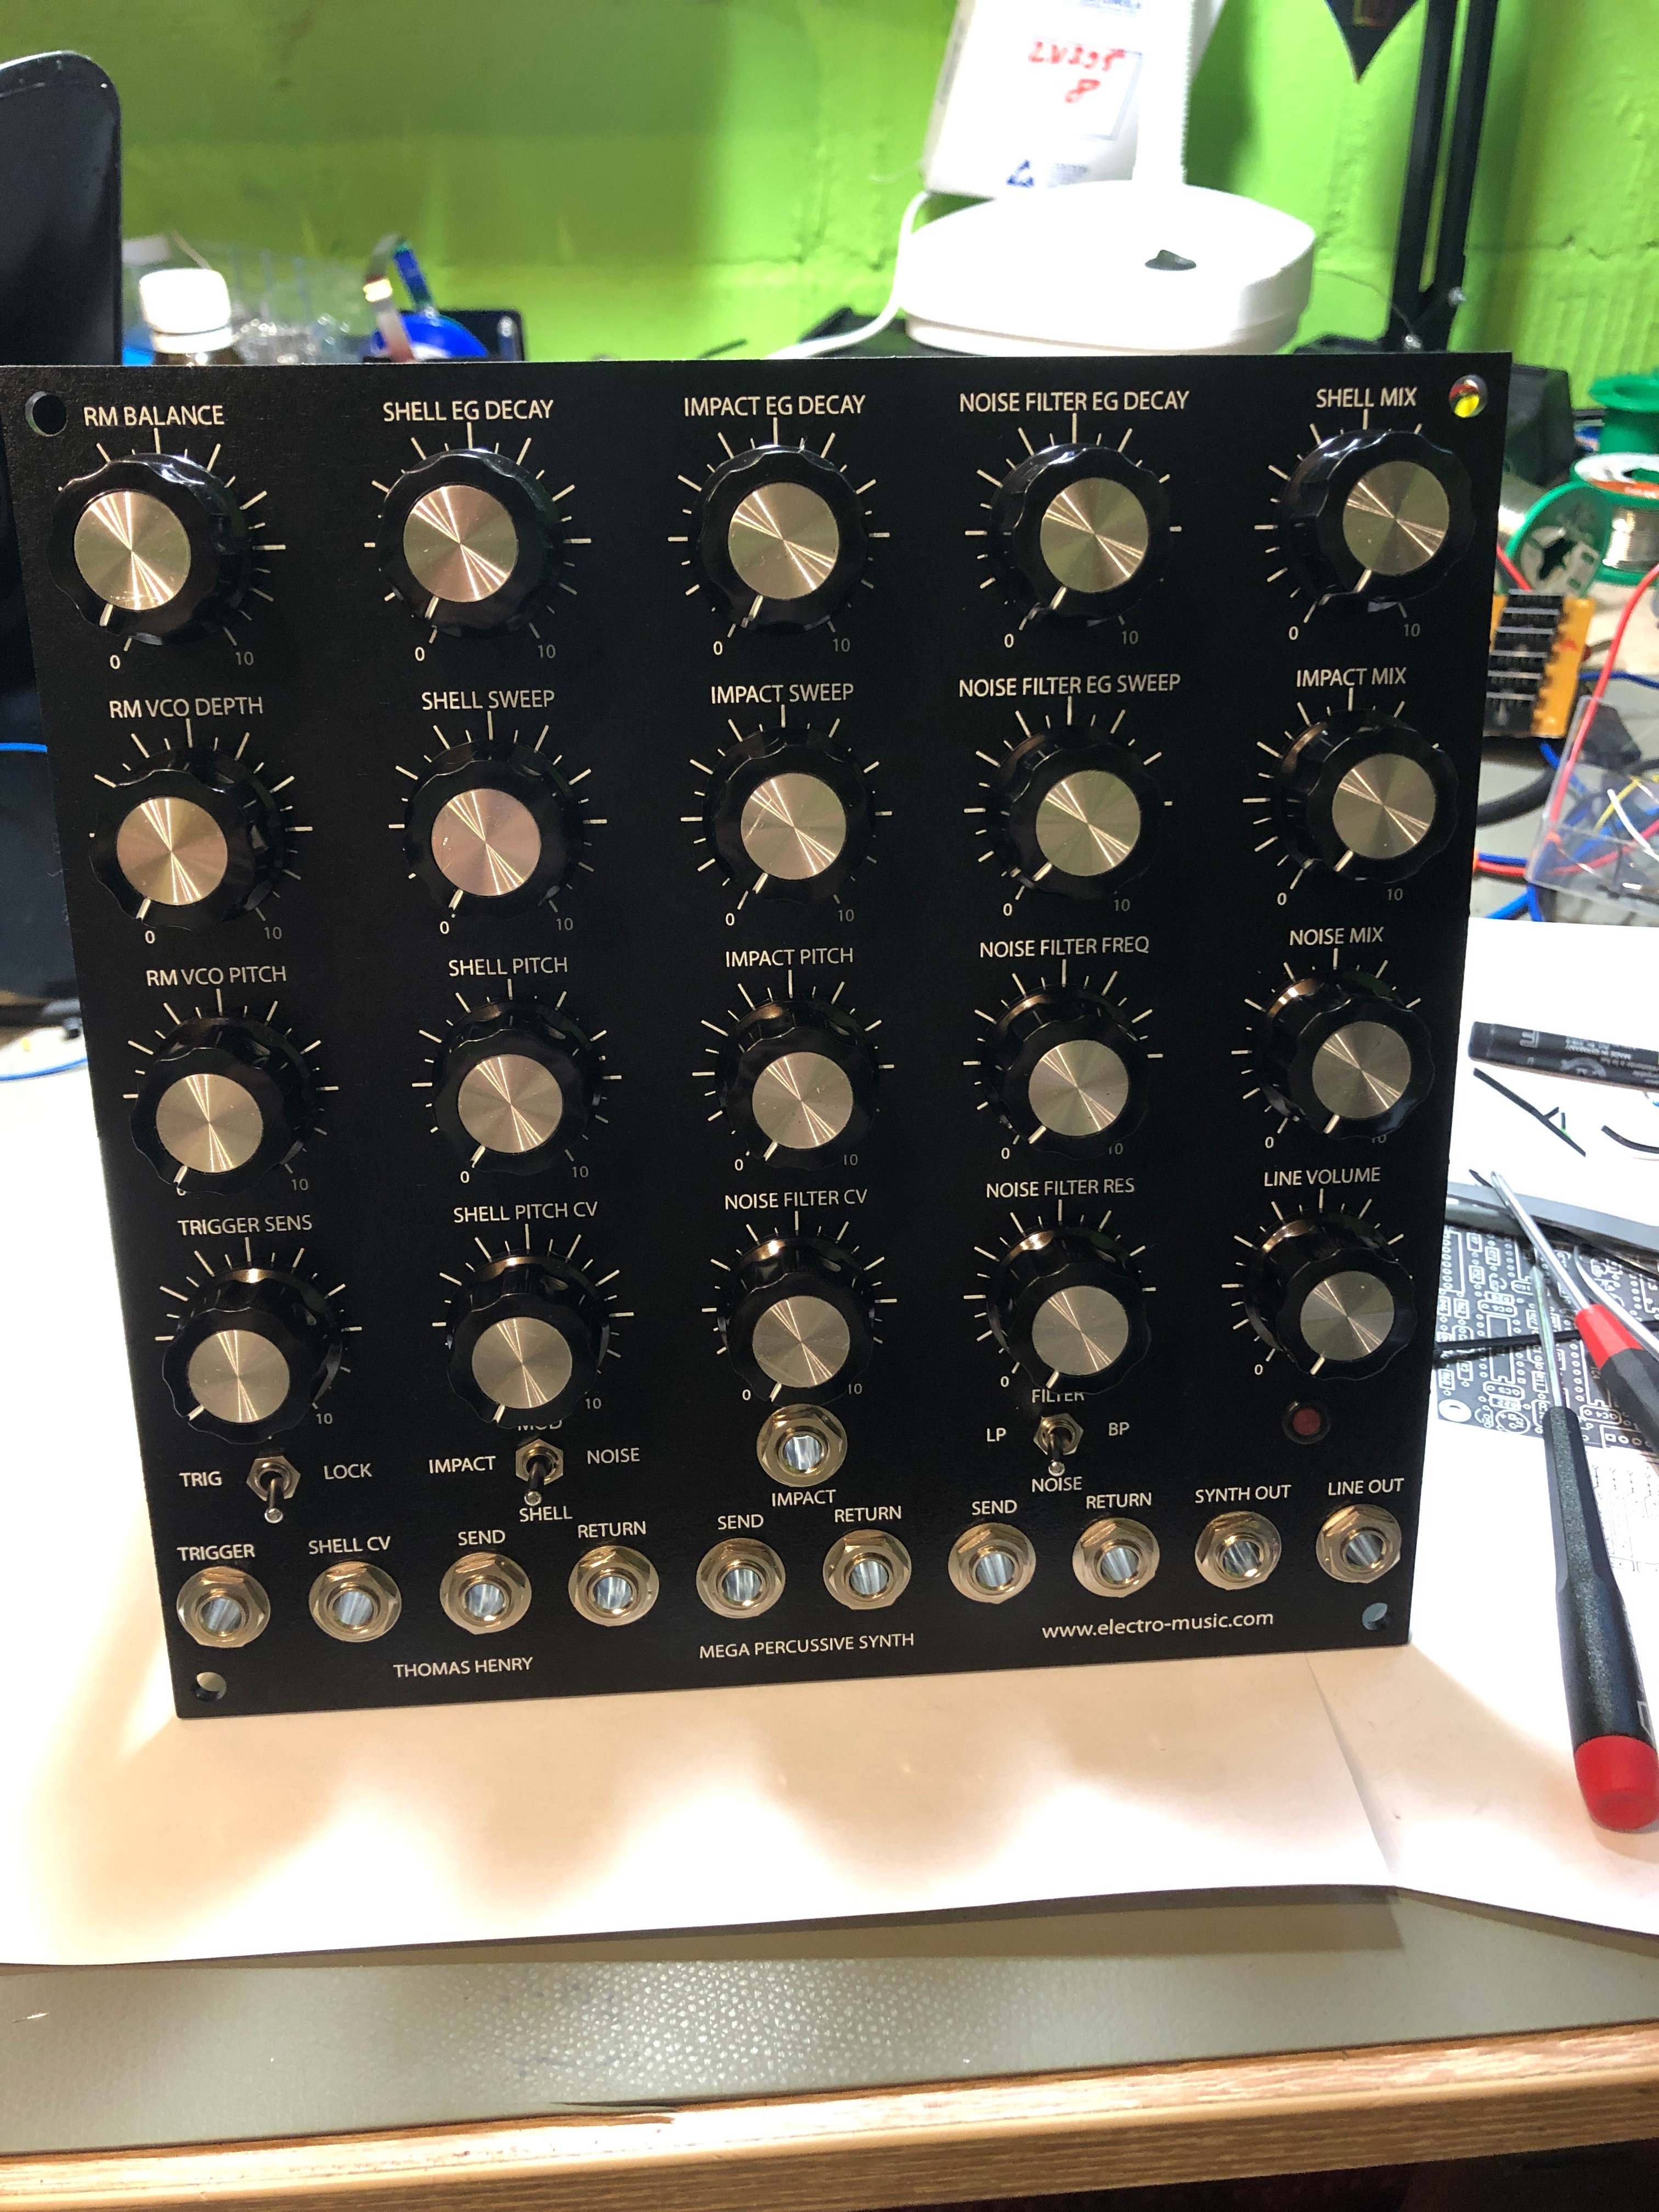
The panel is from Synthcube, i got the assembled pcbs from a friend.
BOM:
Power Consumption:
15V: 40mA
...
| View file | ||||
|---|---|---|---|---|
|
from Modularsynthesis:
Modifications:
I only made just a few modifications.
Potentiometer values
Change Sensitivity R36, Level 1 R40, Level 2 R42, and Level 3 R43 from 10K to 100K.
Change R45 from 20K to 200K, R1 from 100R to 1K.
Did not install Volume R43.
Change R35 from 10K to 100K and grounded one end.
Manual Trigger
Add 1N4148 diode between Trigger jack and C3. Anode connects to the jack tip and cathode connects to C3.
Add momentary toggle switch. One terminal connects to the CW of the Sensitivity control (+5V) and the other terminal connects to the anode of a 1N4148 diode. Connect the cathode to the cathode of the above diode (forms a wired or trigger).
Operation
My impact decay was a bit erratic. I found the output of IC2A had glitches and putting my scope probe on pin 3 would settle it down. I added a 51 pF capacitor across R94. (scope photos below)
I increased C19 to 0.2 µF to increase the Impact decay.
I increased the gain levels of Shell and Noise by changing R90 to 49K9 and R91 to 100K.
Notes
+15 volts measured ~40 mA; -15 volts measured ~23 mA.
| Gallery | ||
|---|---|---|
|