Project
Projecttitel: Swenigiser
Status: FINISHED
Startdate: 03/2023
Duedate: 04/2023
updated 23.05.2023
Manufacture link: https://analogsweden.com
Info:
Info
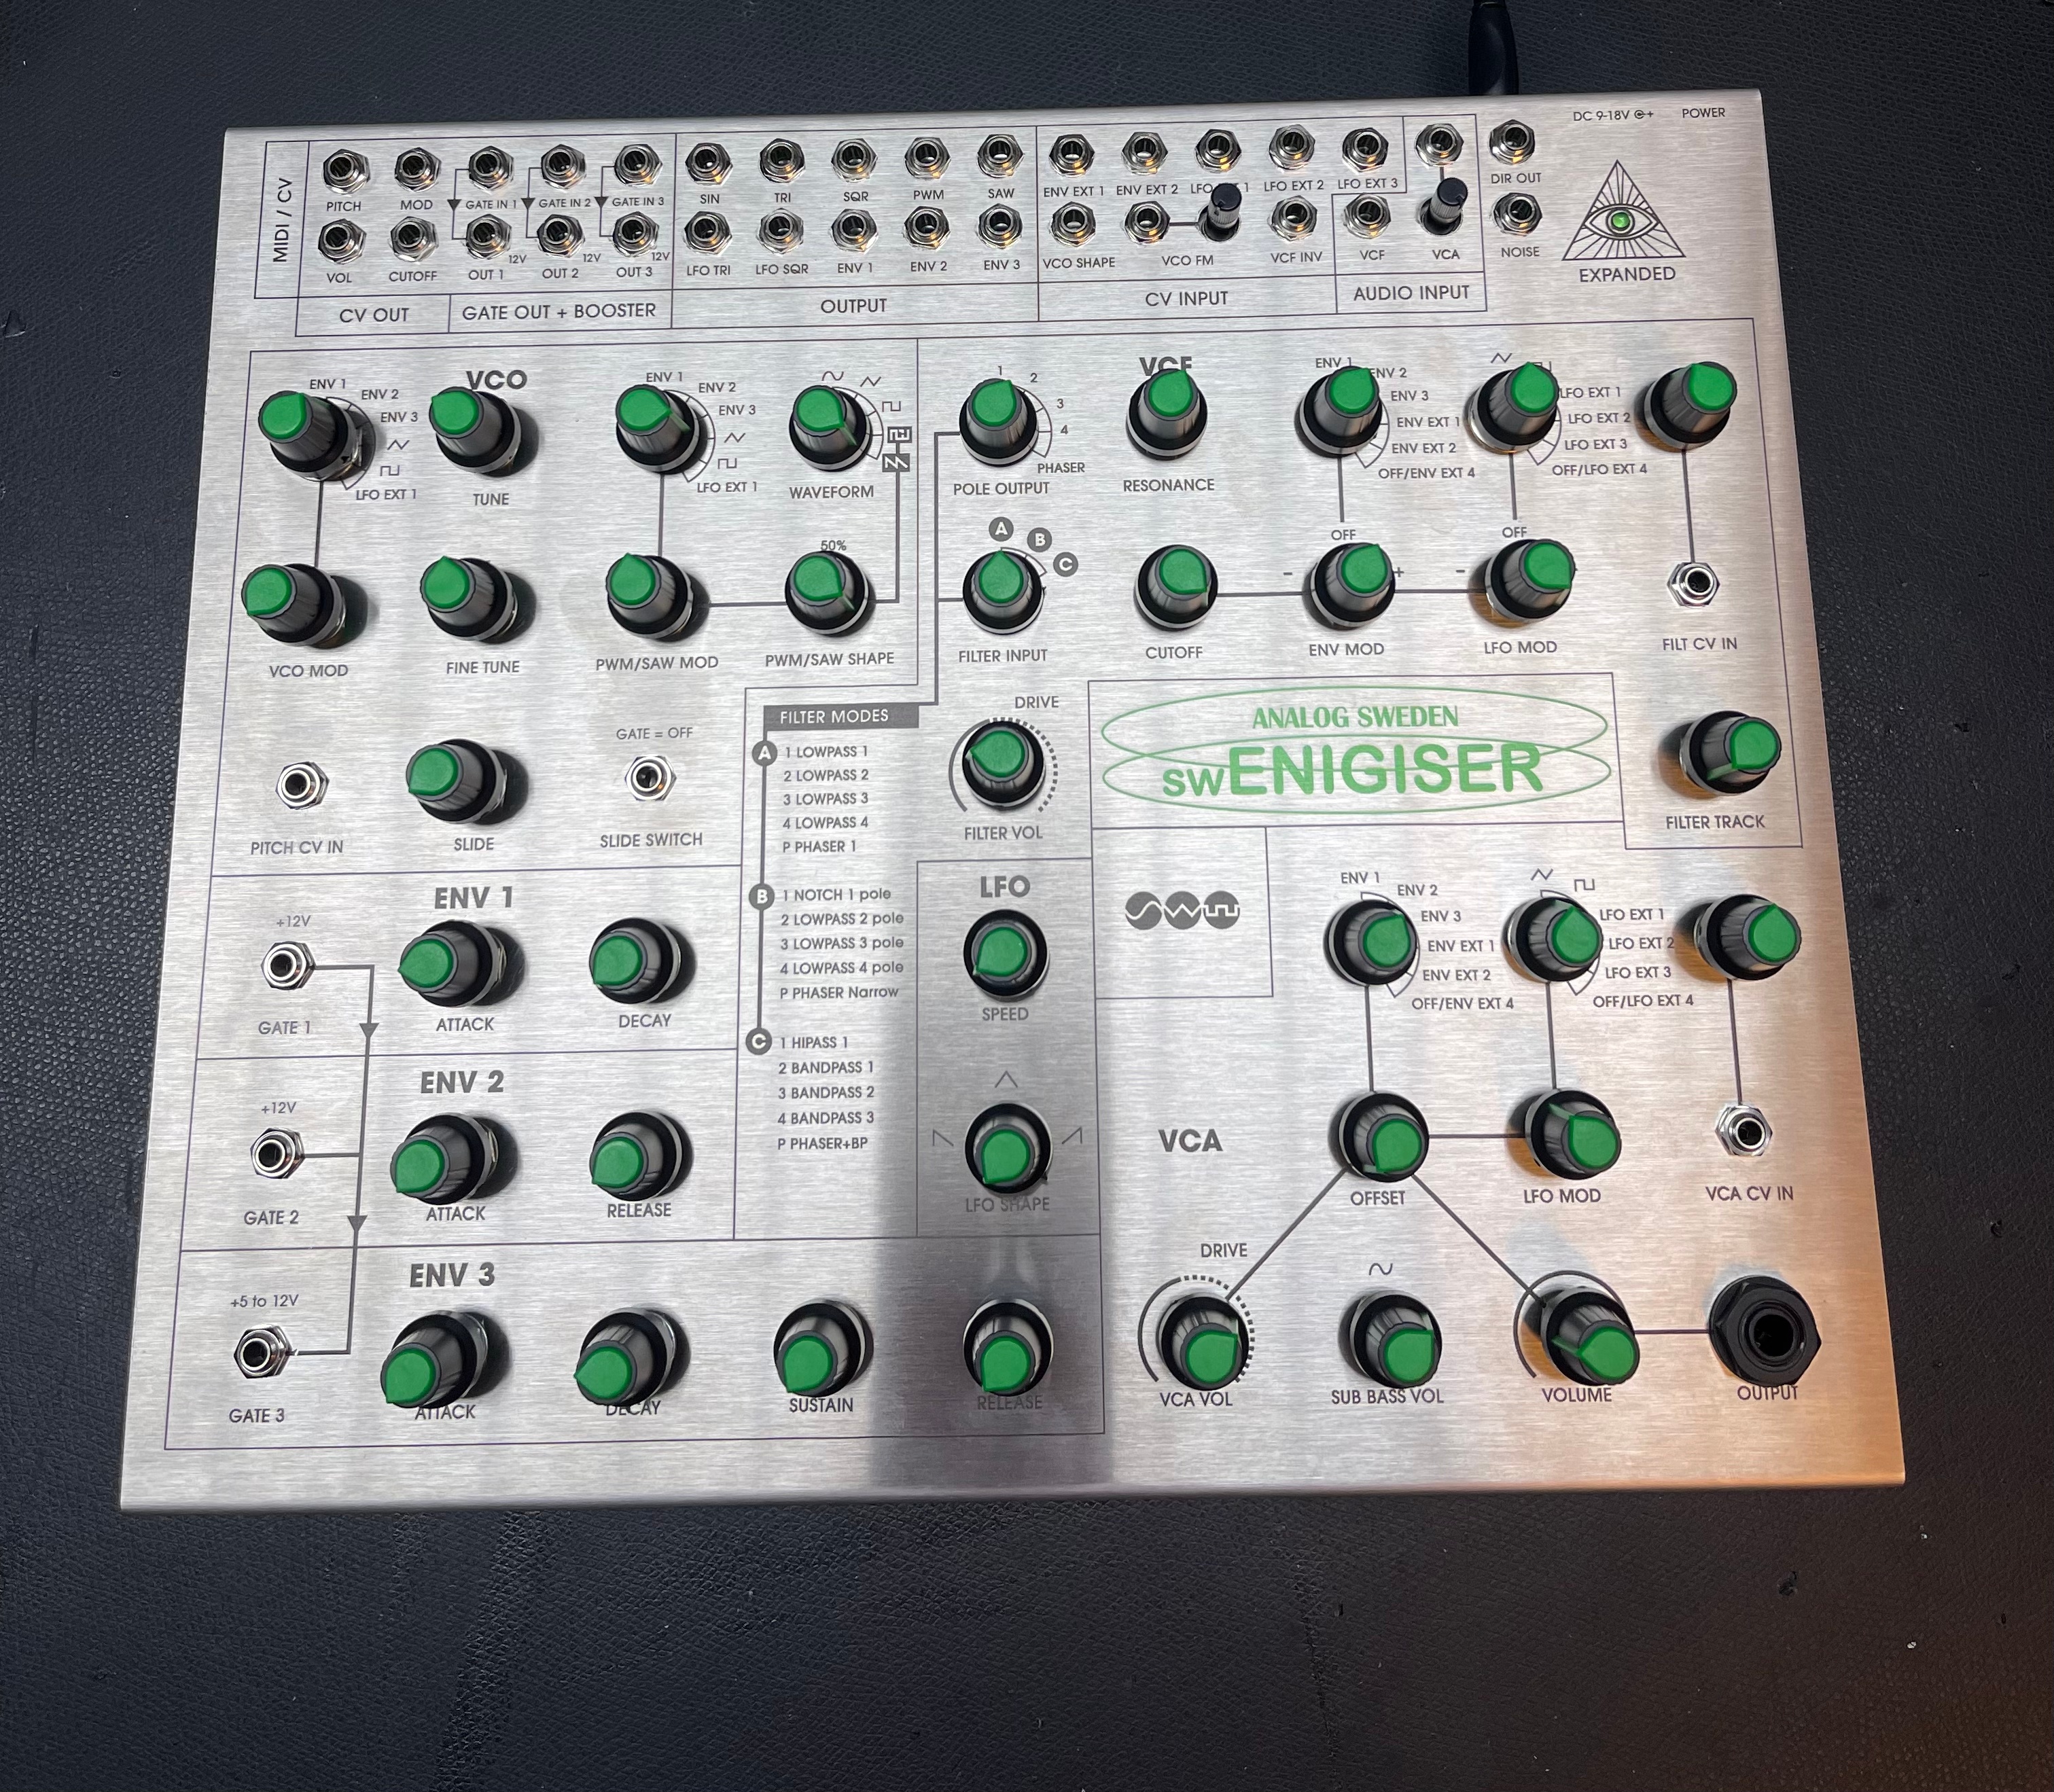
The Swenigiser is available in prebuilt and DIY Versions.
It's a fully expanded Orgon Enigiser clone - "more or less a replica", since the Voice PCB and Panel Pcbs are reverse engineered.
MIDI Input is on the rear, powerswitch too.
DIY Build Documentation
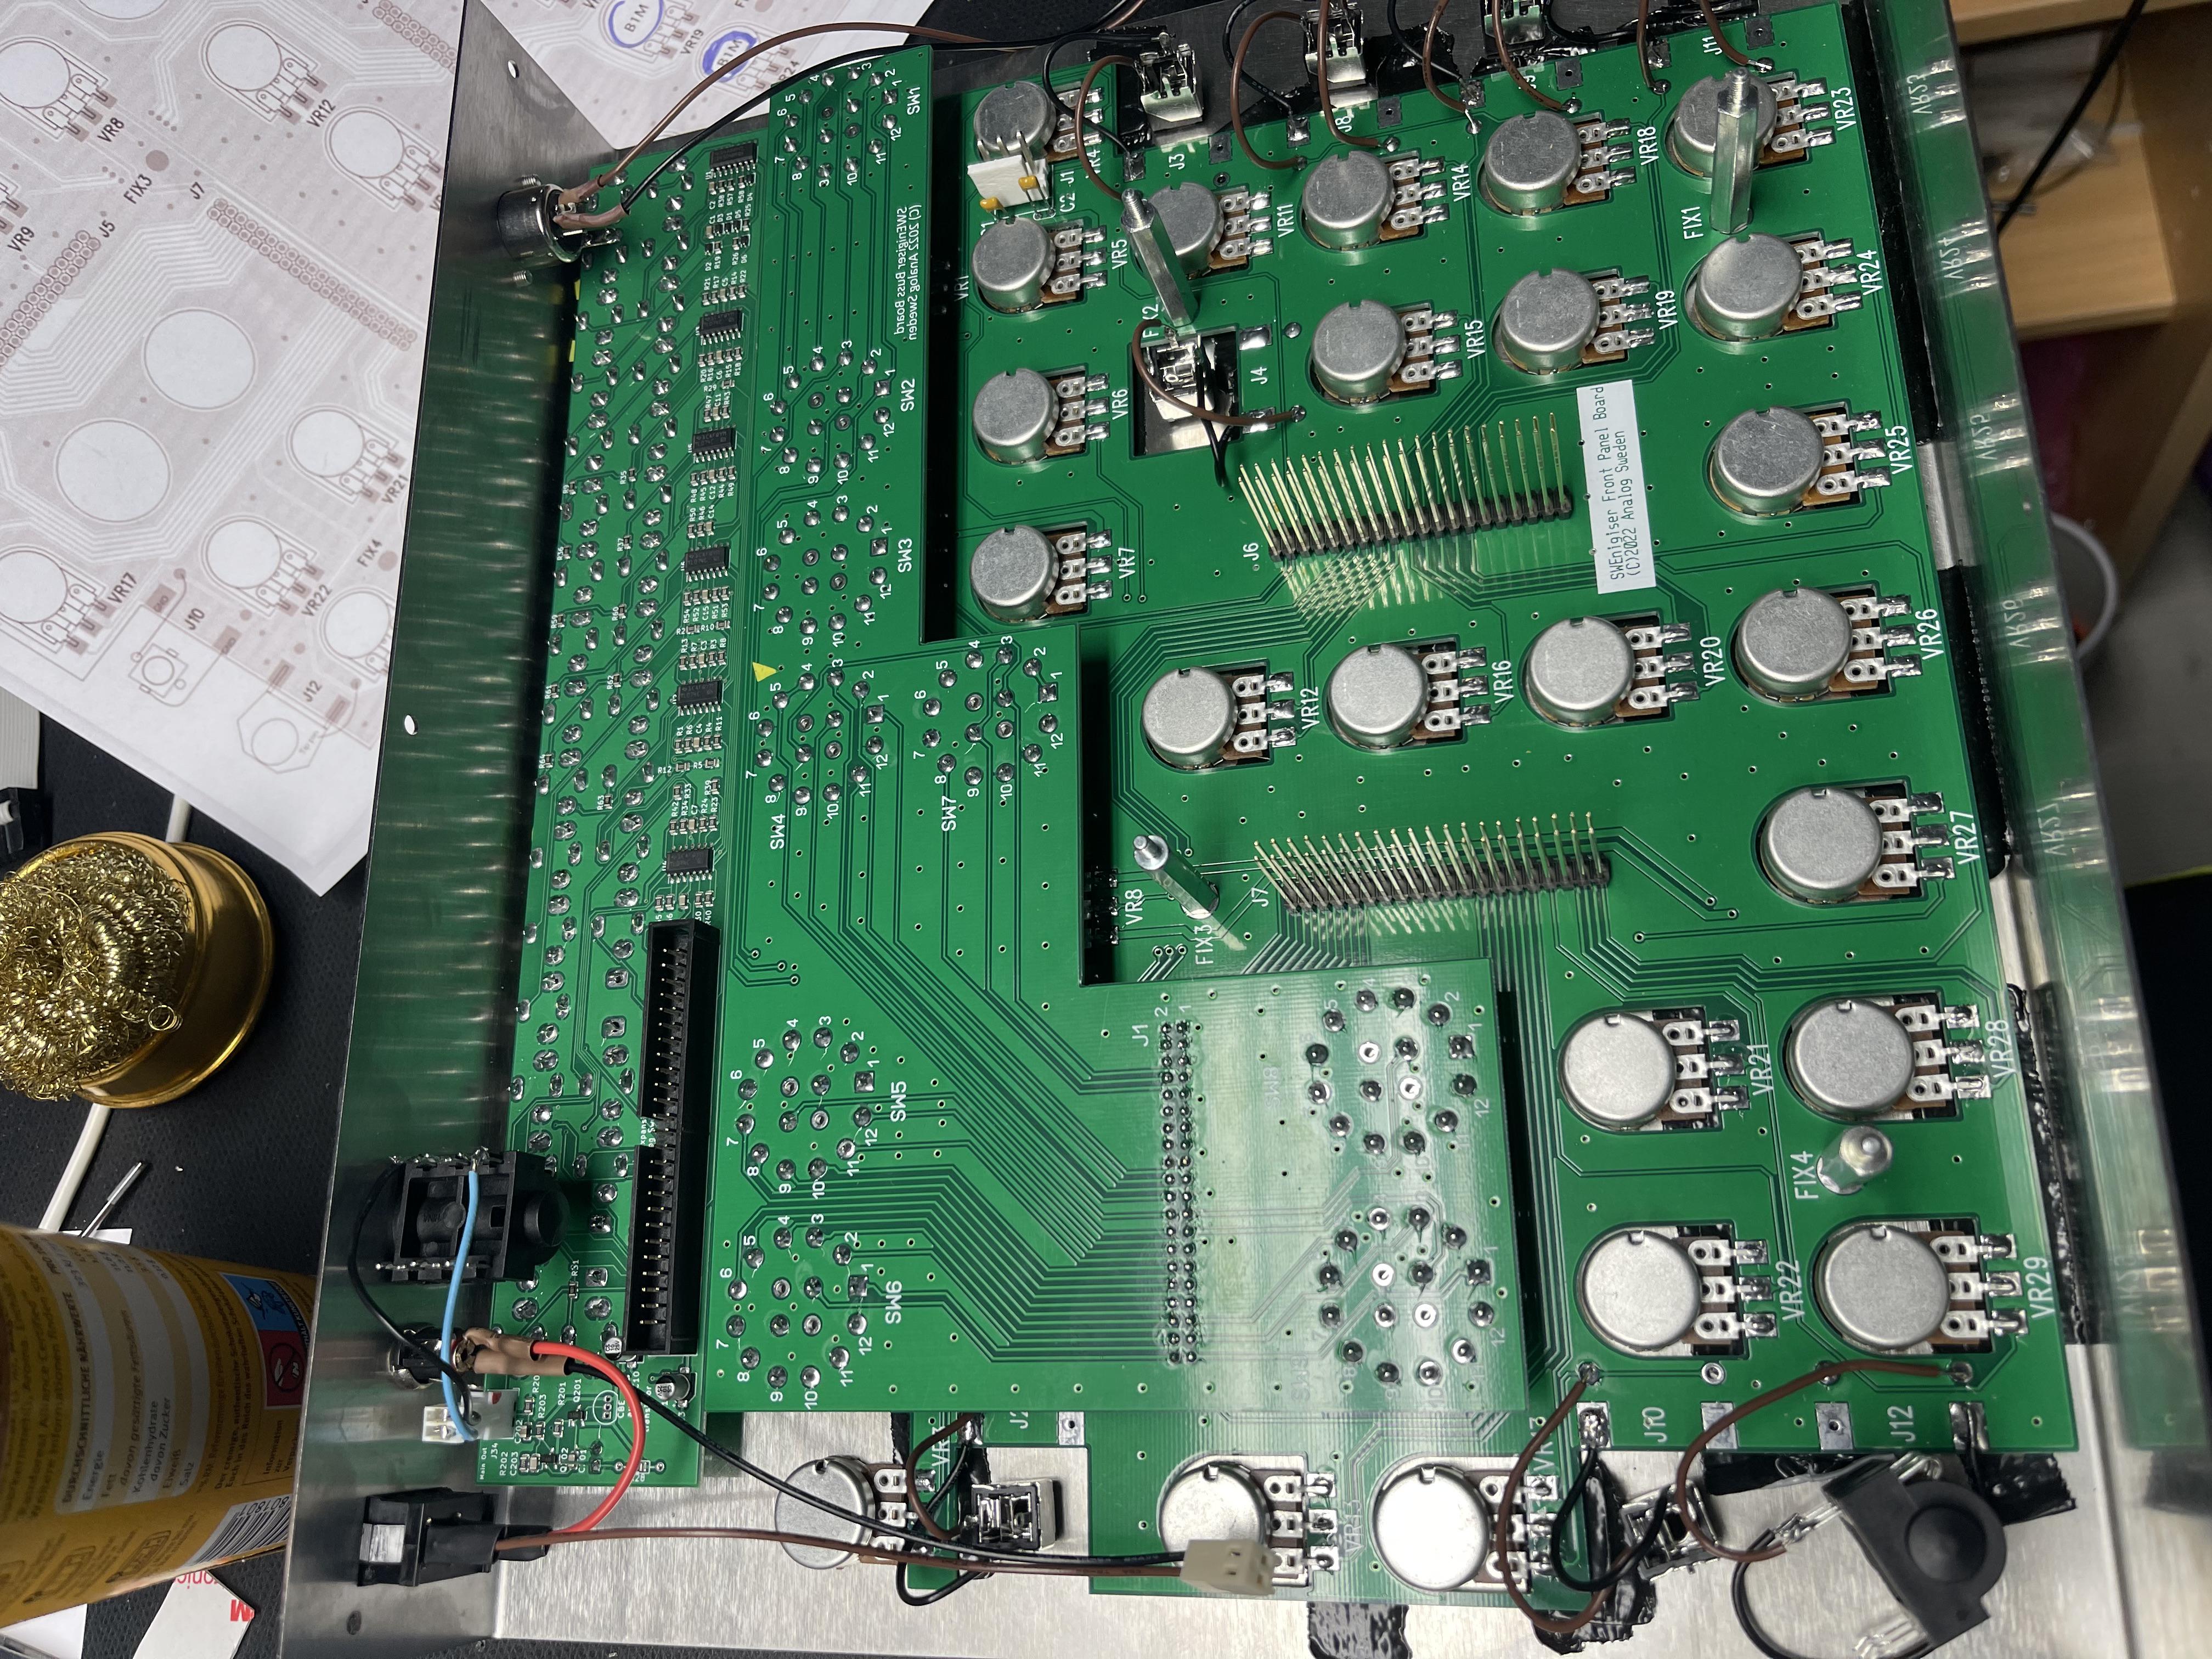
I got a PCB set, case and few parts (DIY Kit) and built the device in around 5-7hours. It was fast, because I built 2 years ago the RENIGISER clone too and have a lot of experience and the correct tools.
The Build is medium - not complicated and you don´t need special tools, a scope can be very useful to check the waveforms while calibration.
The most infos are described here: https://analogsweden.com/support
BOM: https://docs.google.com/spreadsheets/d/1Y-wN3K0ySpOIgIz0oumLv88jeU2fVrmLDgAGZNXTImY/edit?usp=sharing
BOM notes: please read my Build tips - maybe you need some additional stuff.. (extra nuts, washers, gaffe tape, conductive tape) which isn't described in the official BOM
Buildguide: https://docs.google.com/document/d/1TawPs6FYYtUiqXIjr_ct7wg1Ha2BtqRQh8R6SiJCEC0/edit?usp=sharing
(builguide backup: here)
Calibration guide: https://docs.google.com/document/d/14O1EXb5Ze5UpgVeaVhvRWePab4jU7Cl1Uu0GKmQ2Cdg/edit?usp=sharing
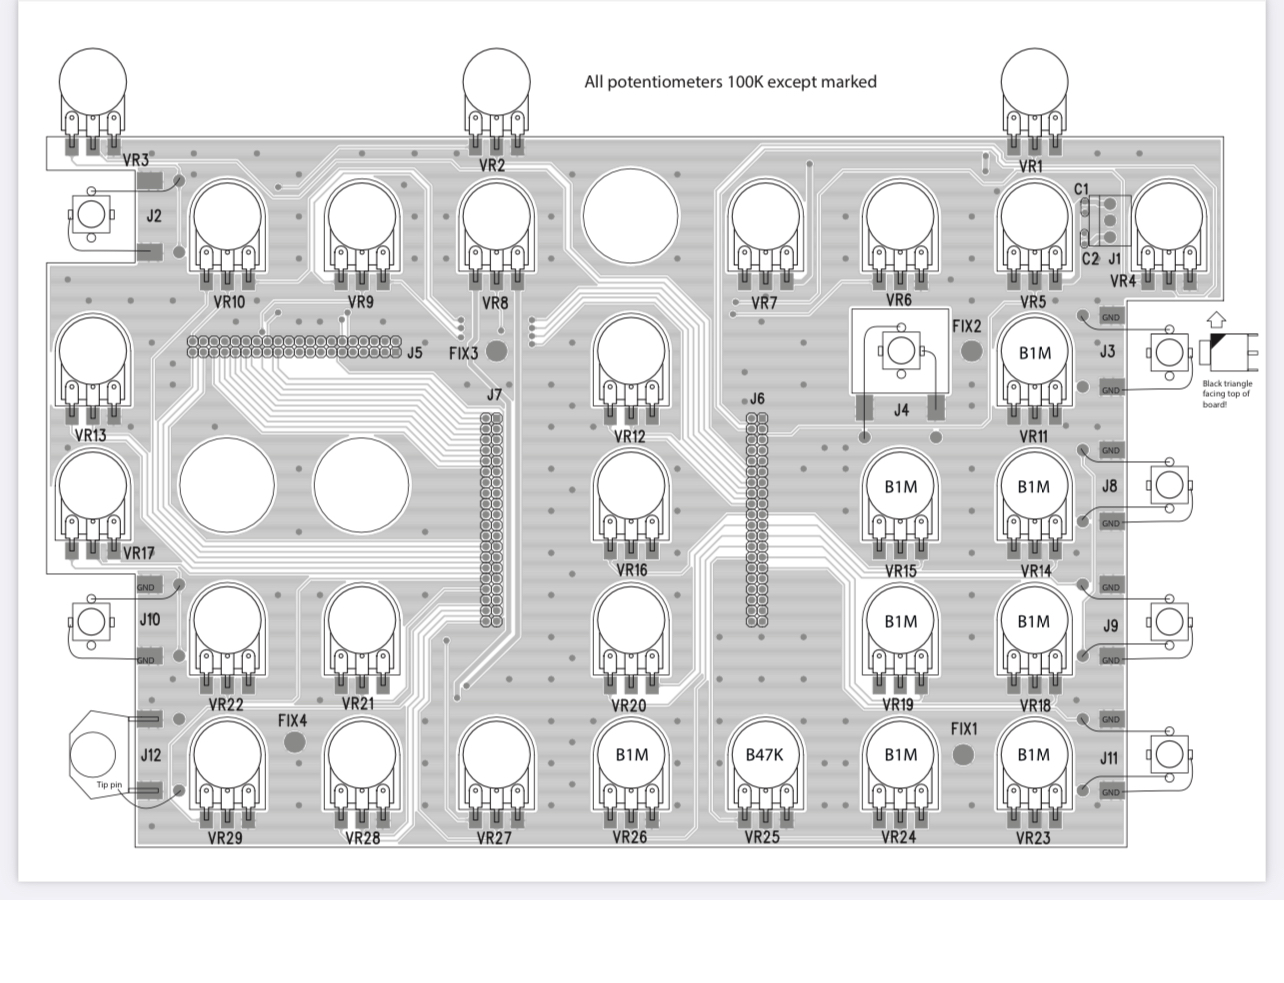
Potentiometer Guide:
Usermanual: https://analogsweden.com/wp-content/uploads/2023/04/swENIG-quickstart.pdf
(backup here)
DIY BUILD GUIDE/Support from me:
| Issue ID | Date | Typ | Issue | Solution | affected version | Fixed version |
|---|---|---|---|---|---|---|
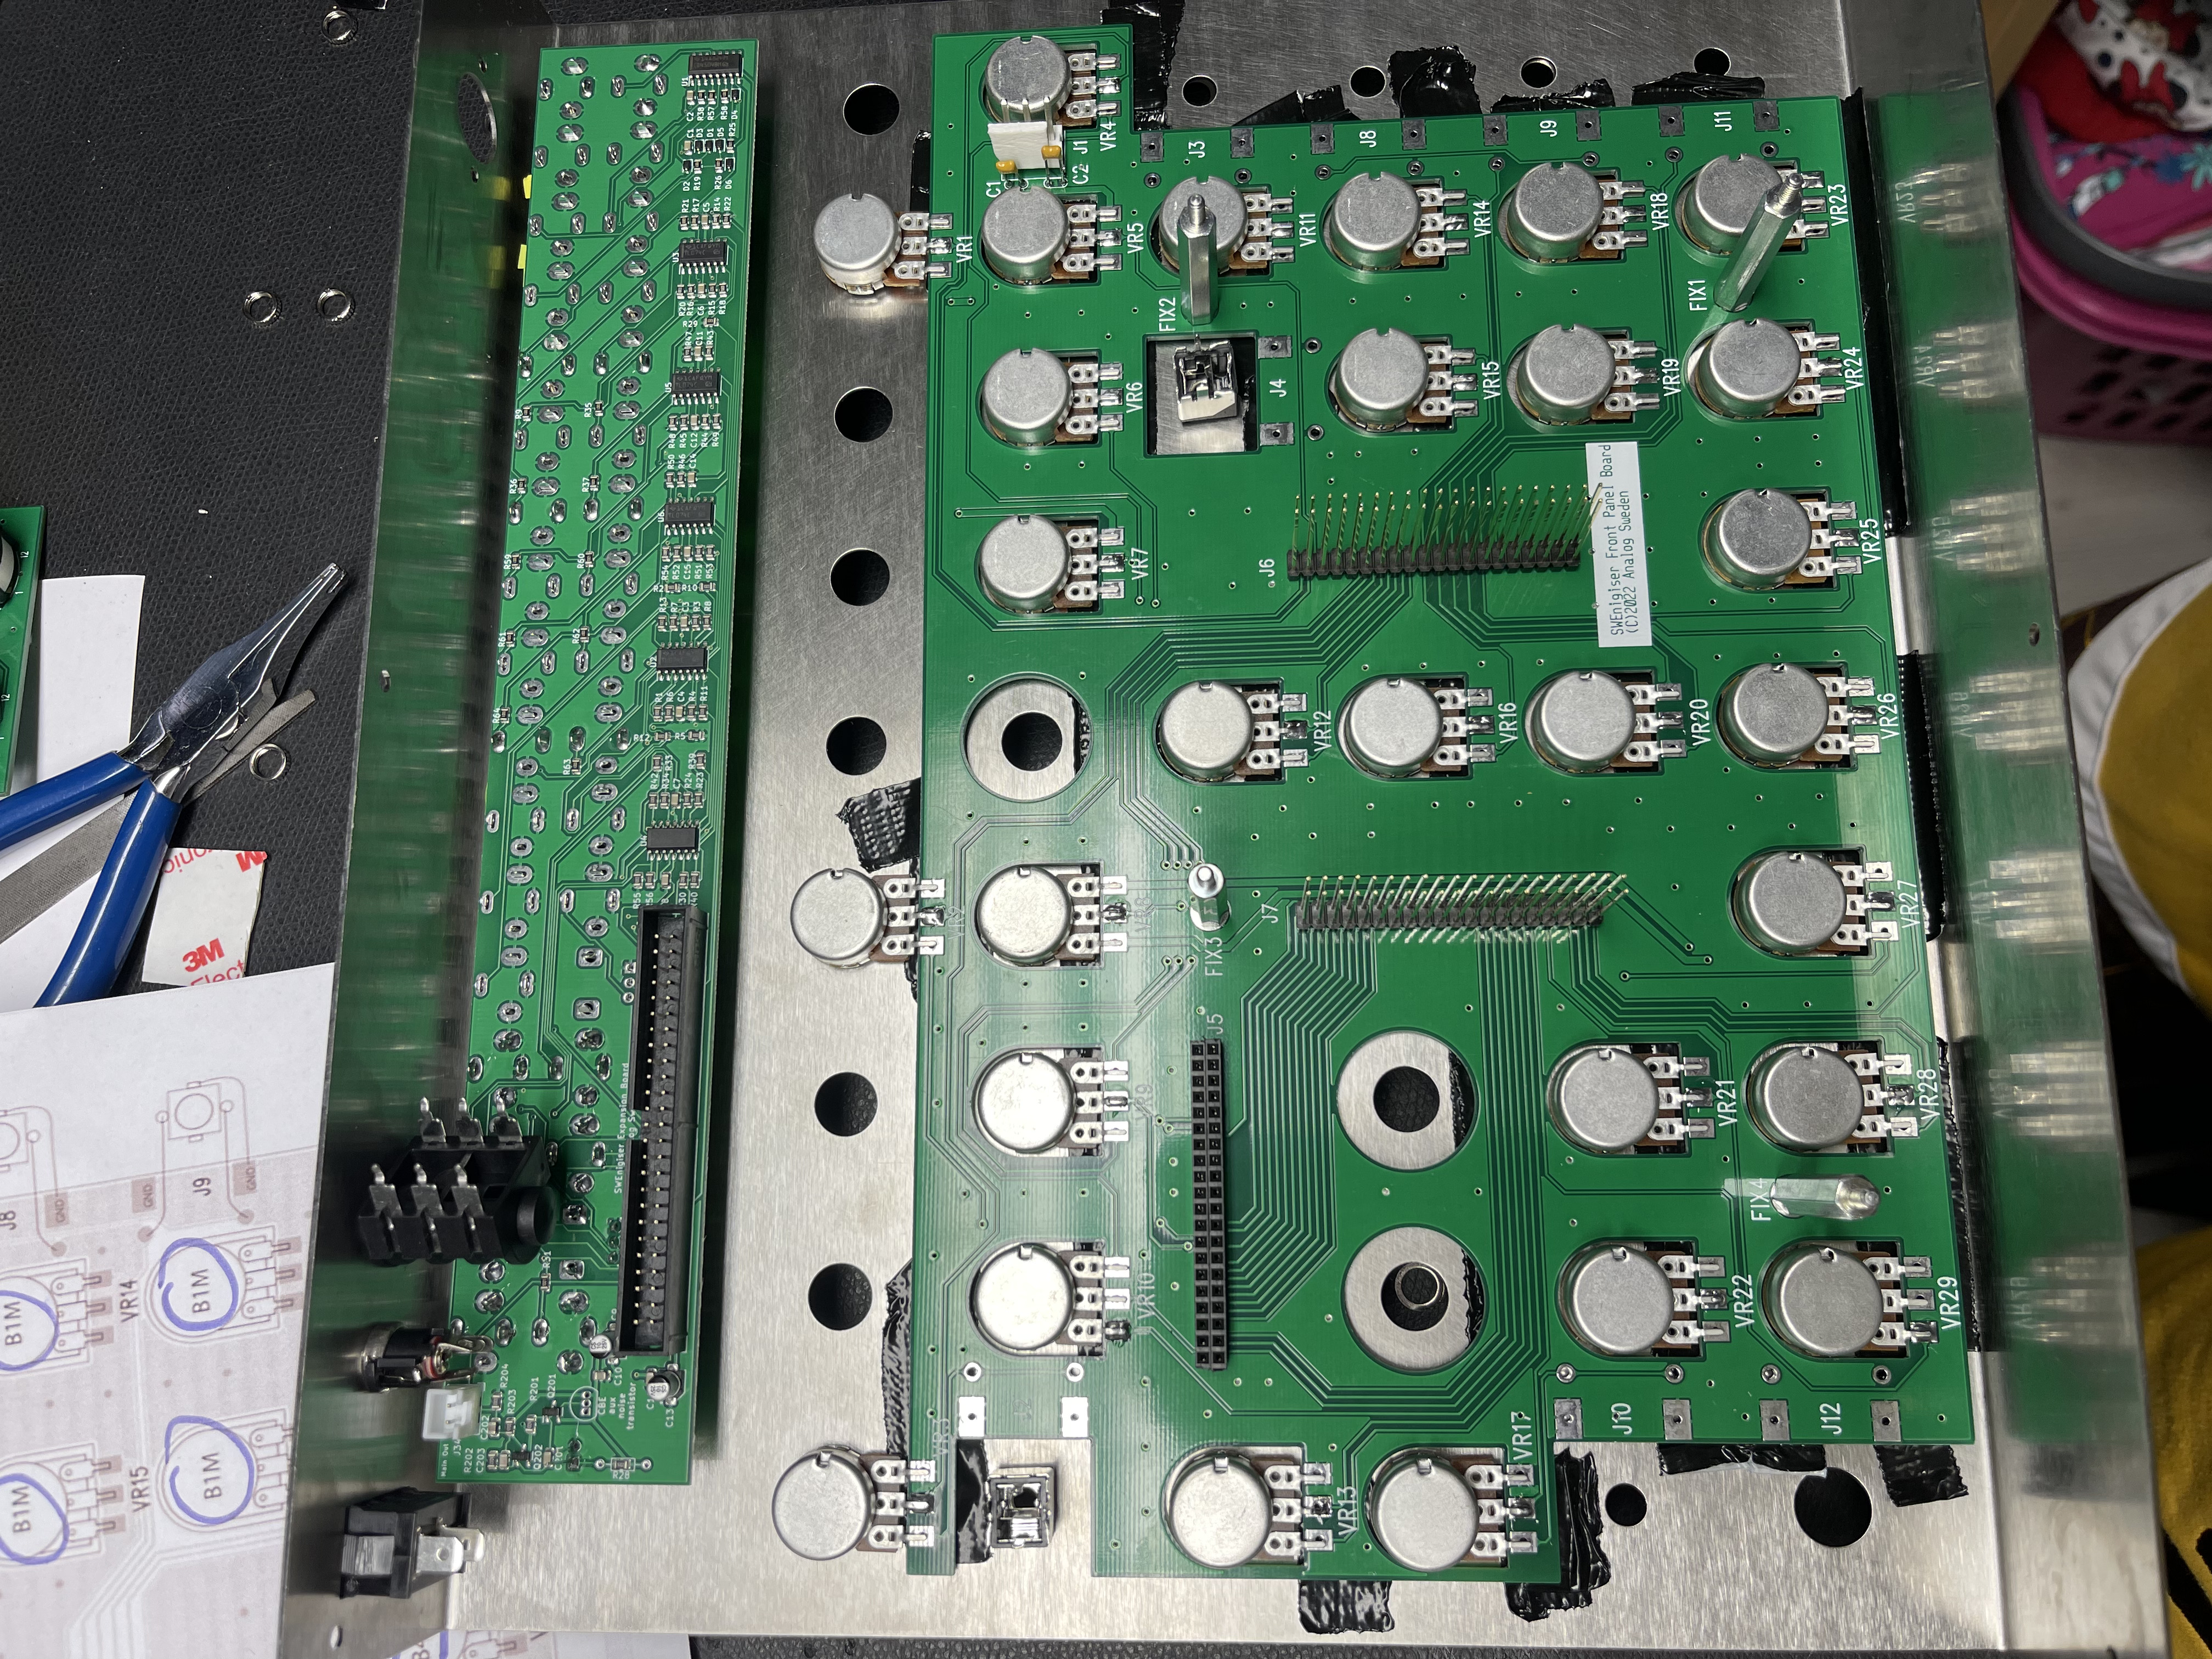
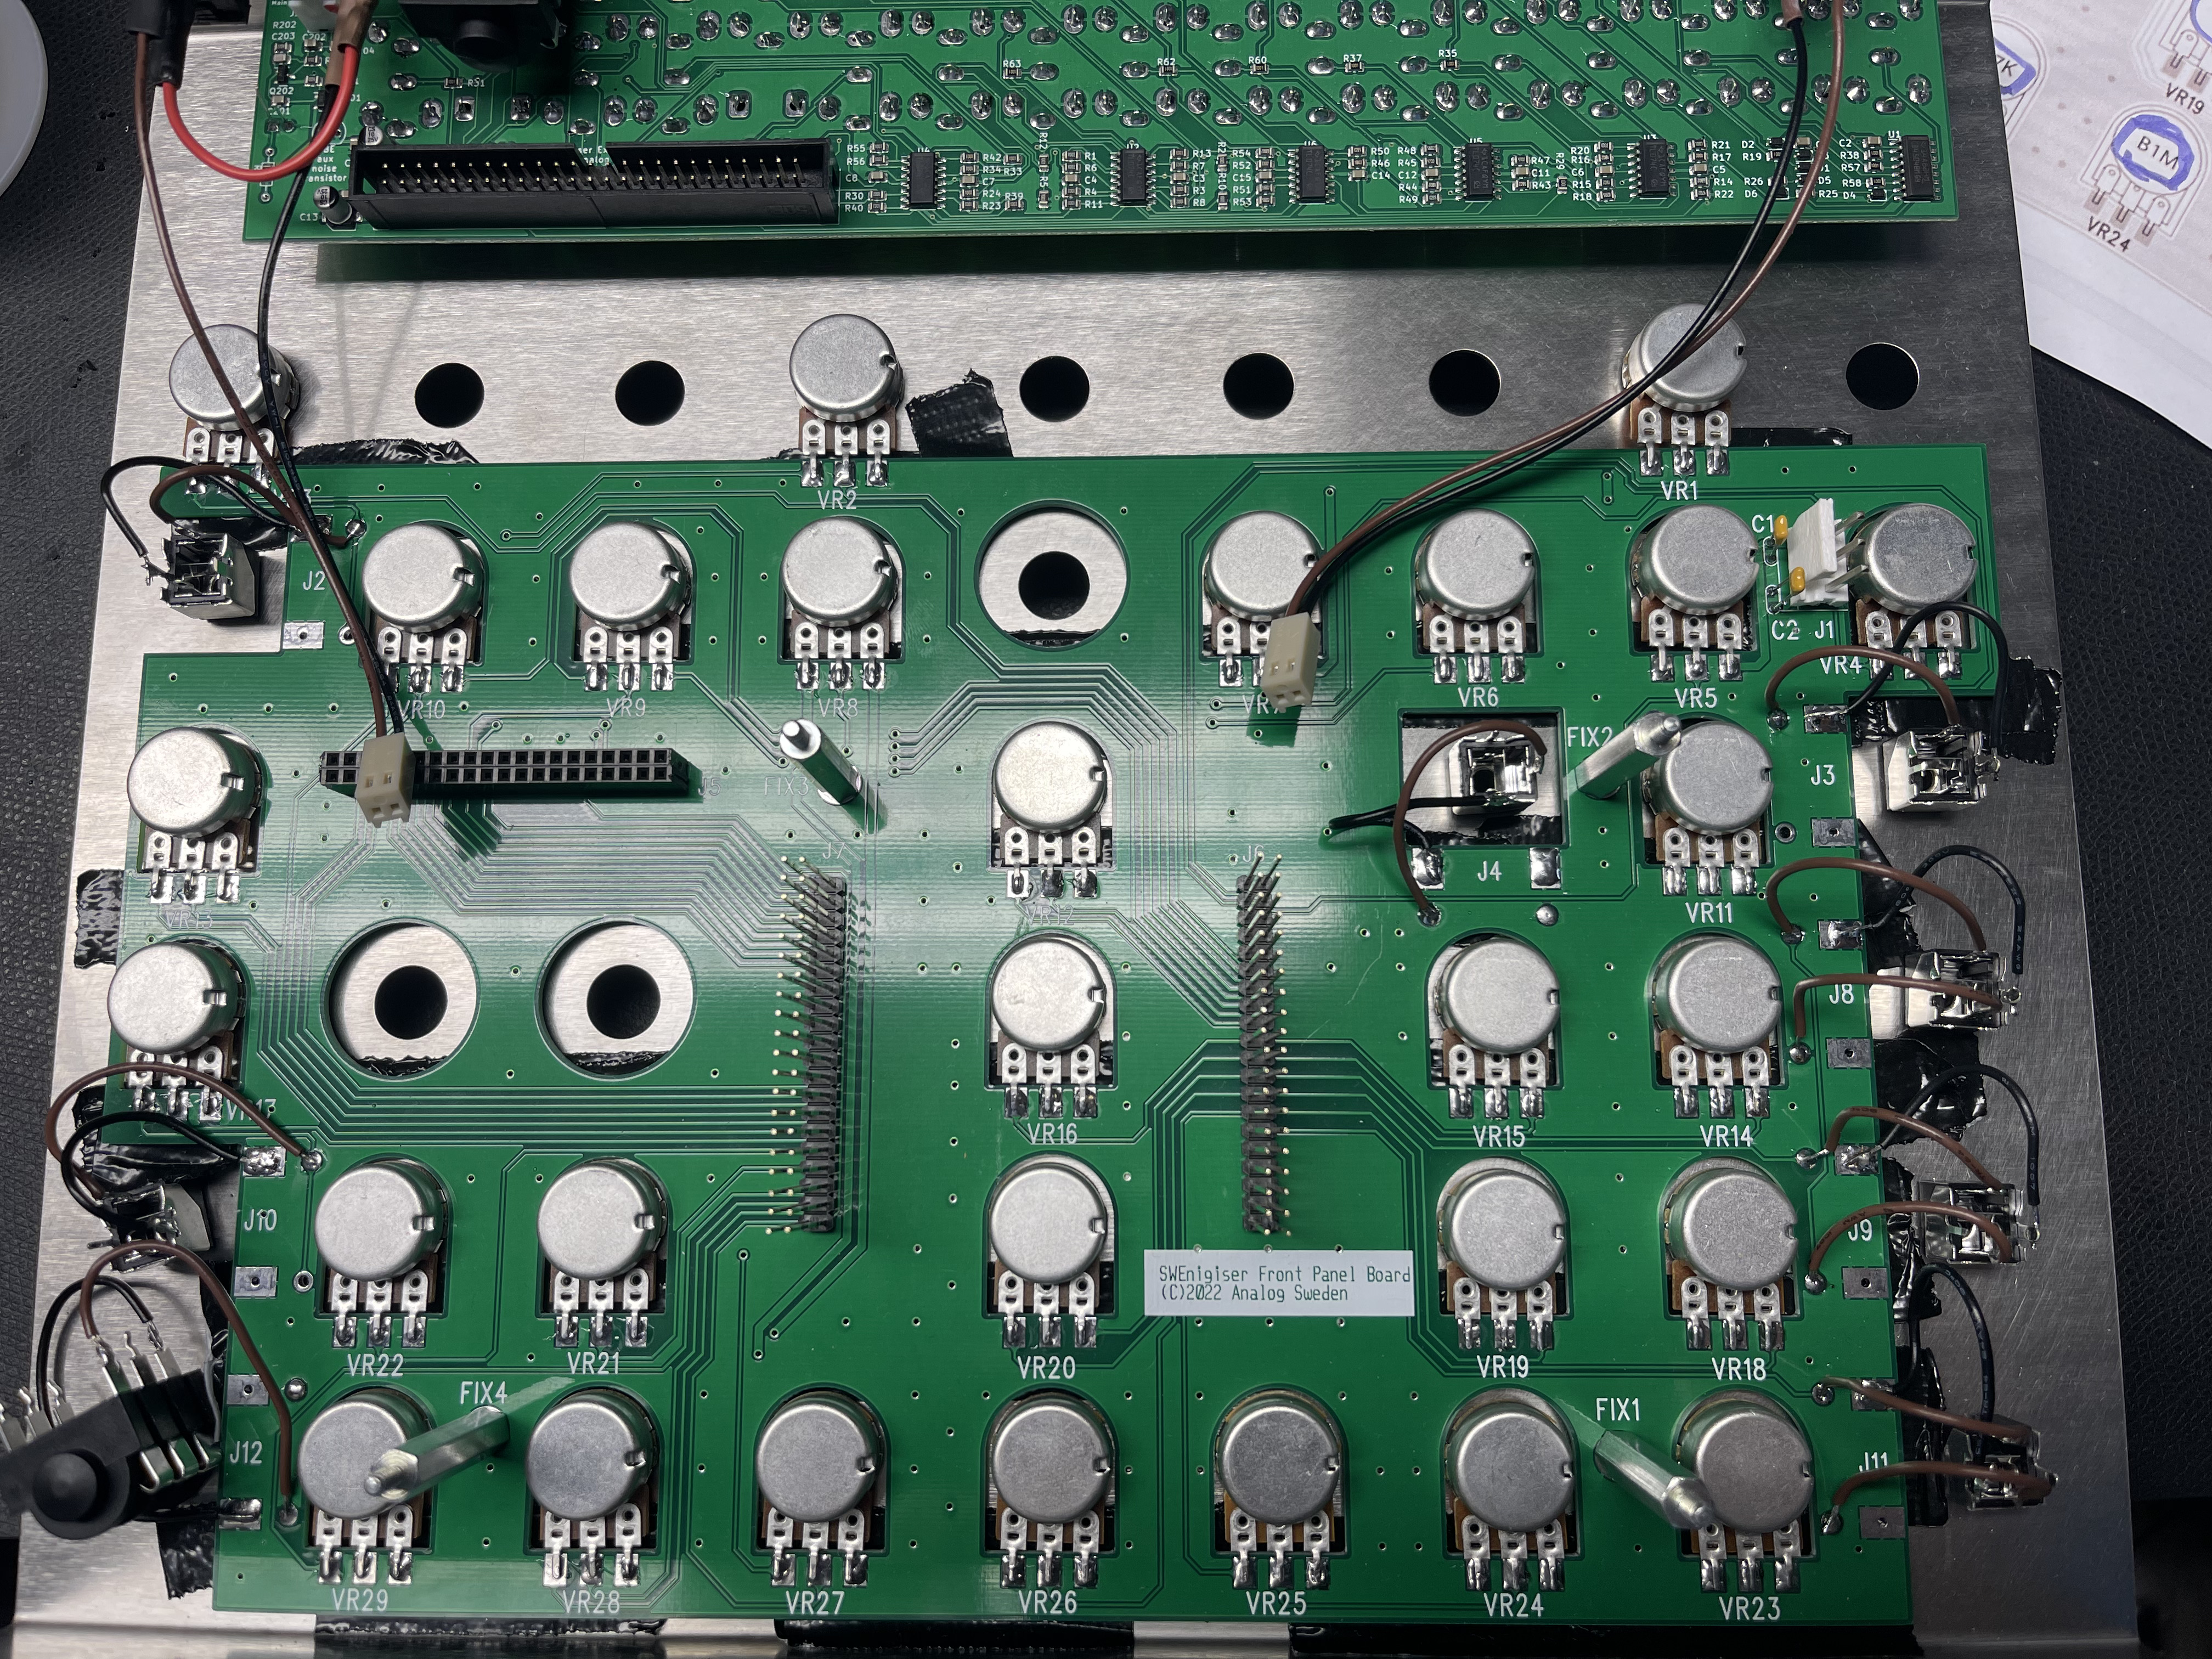
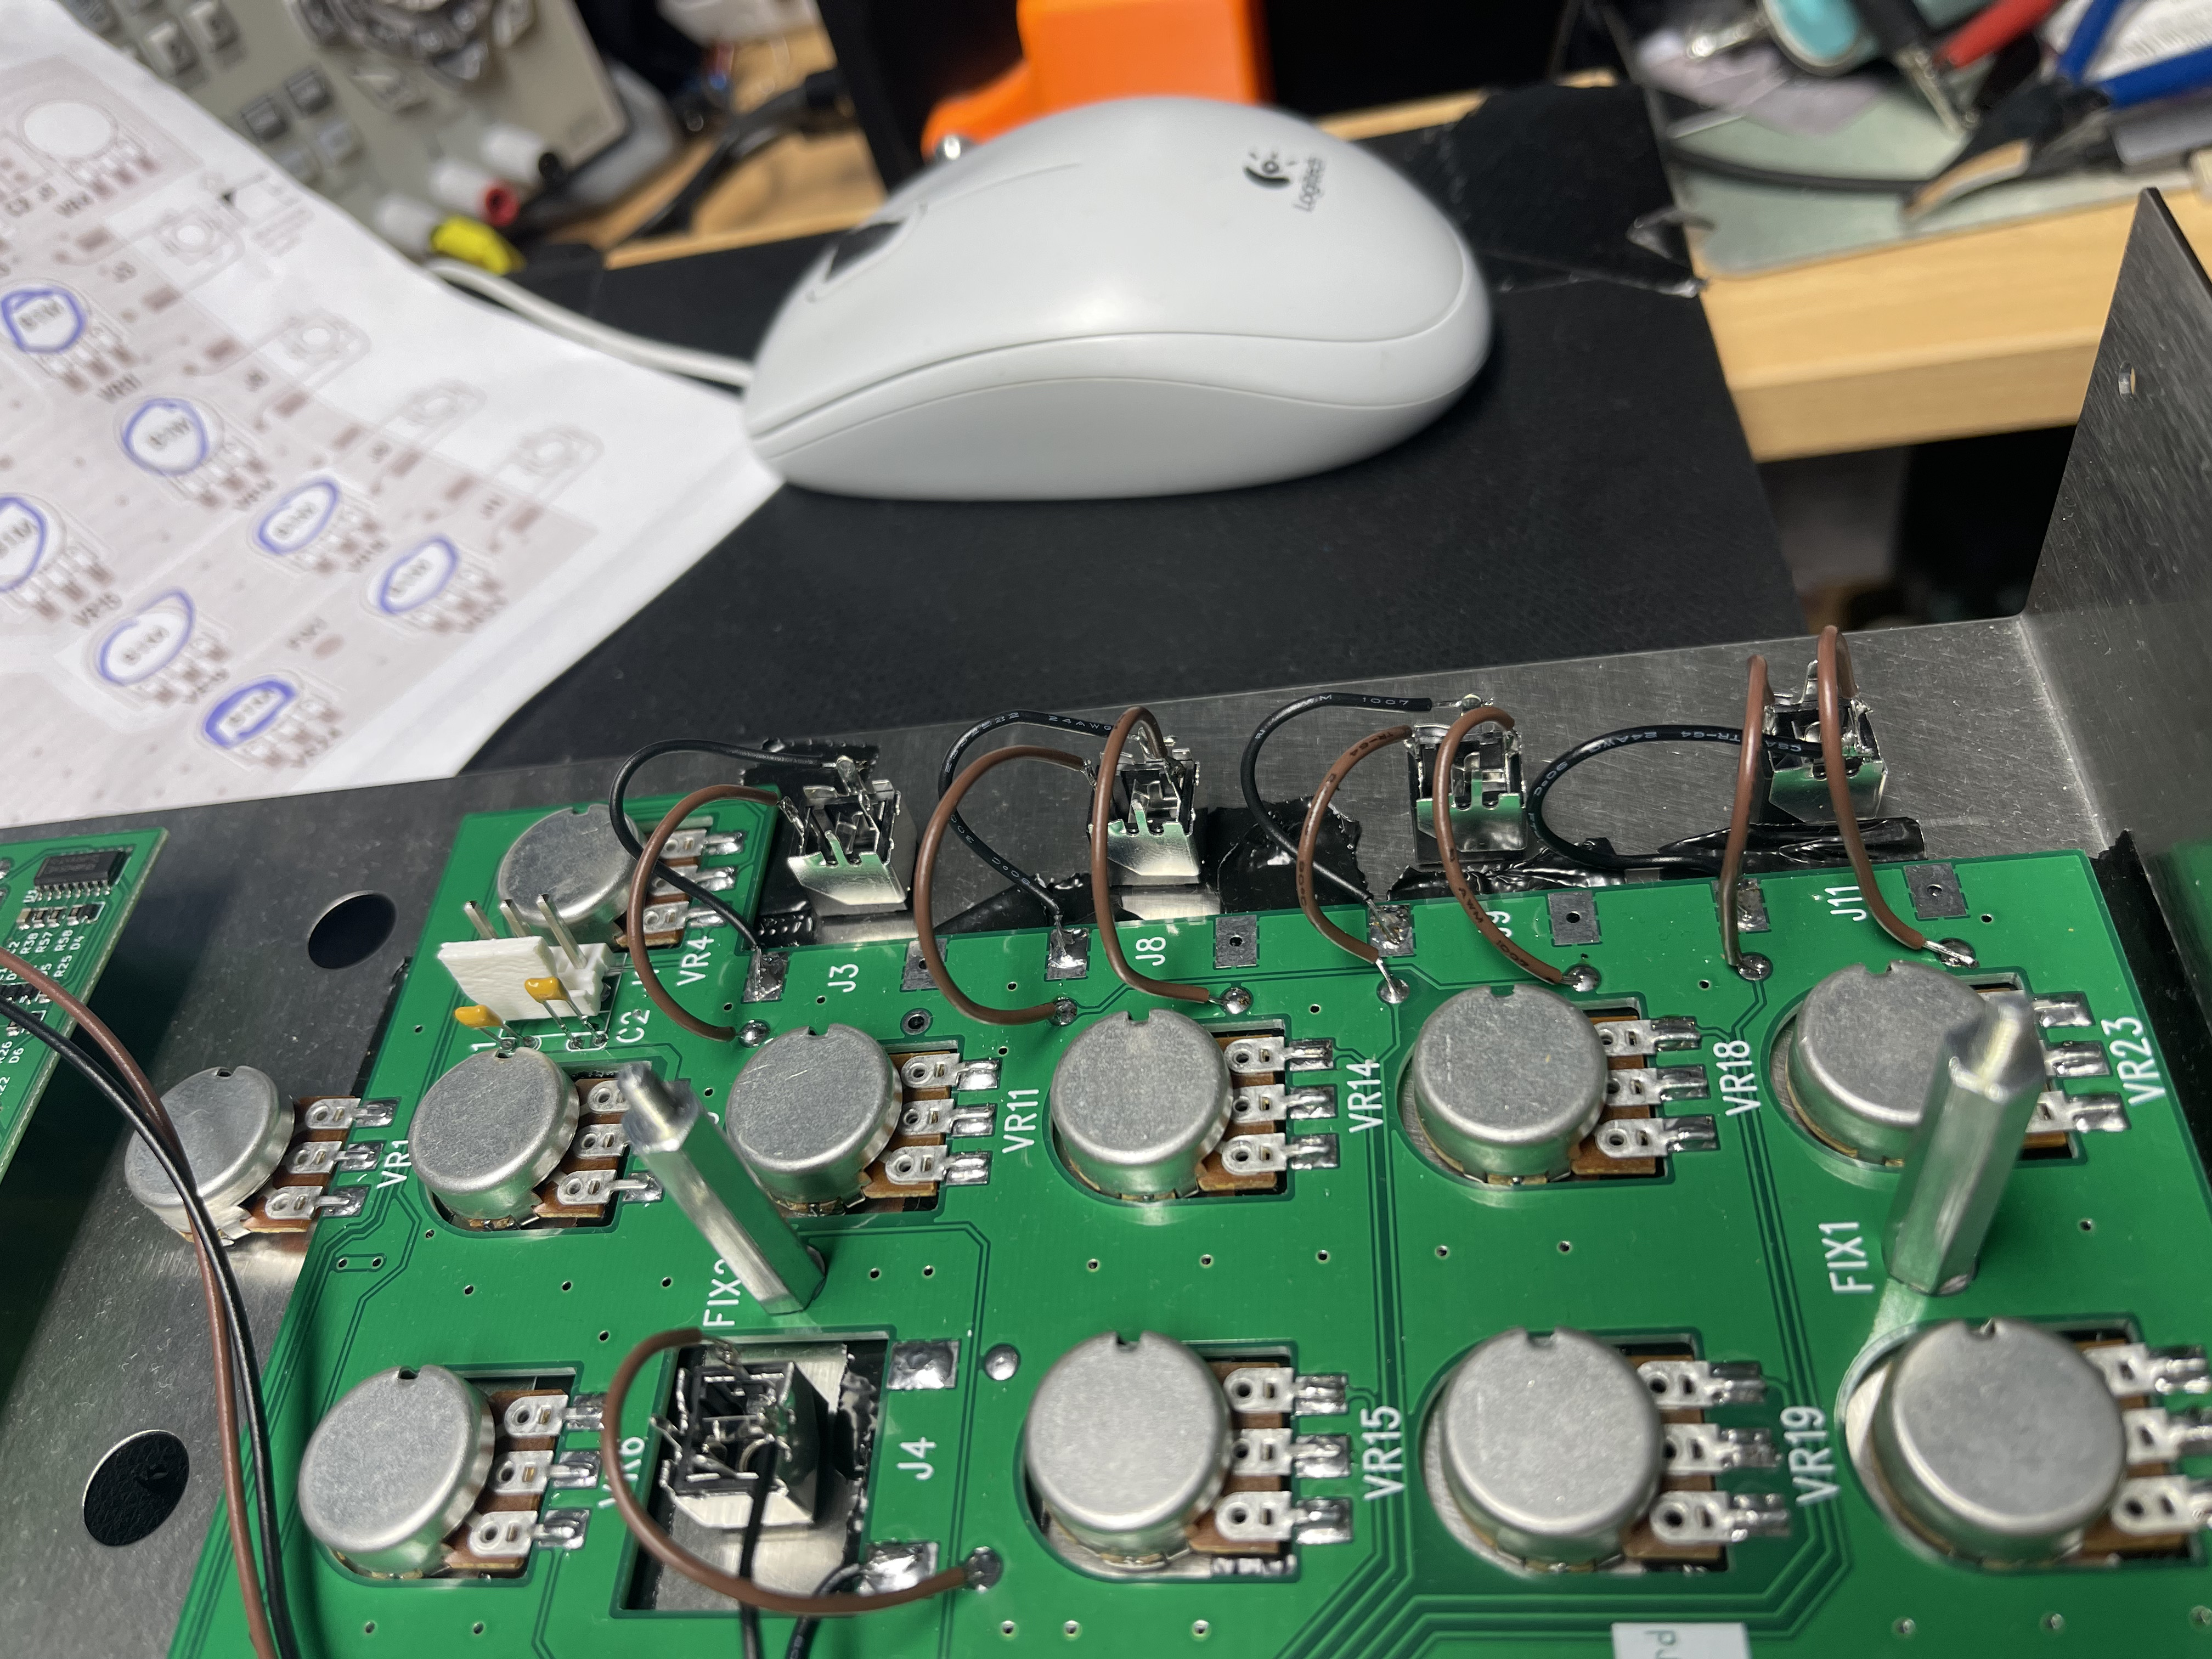
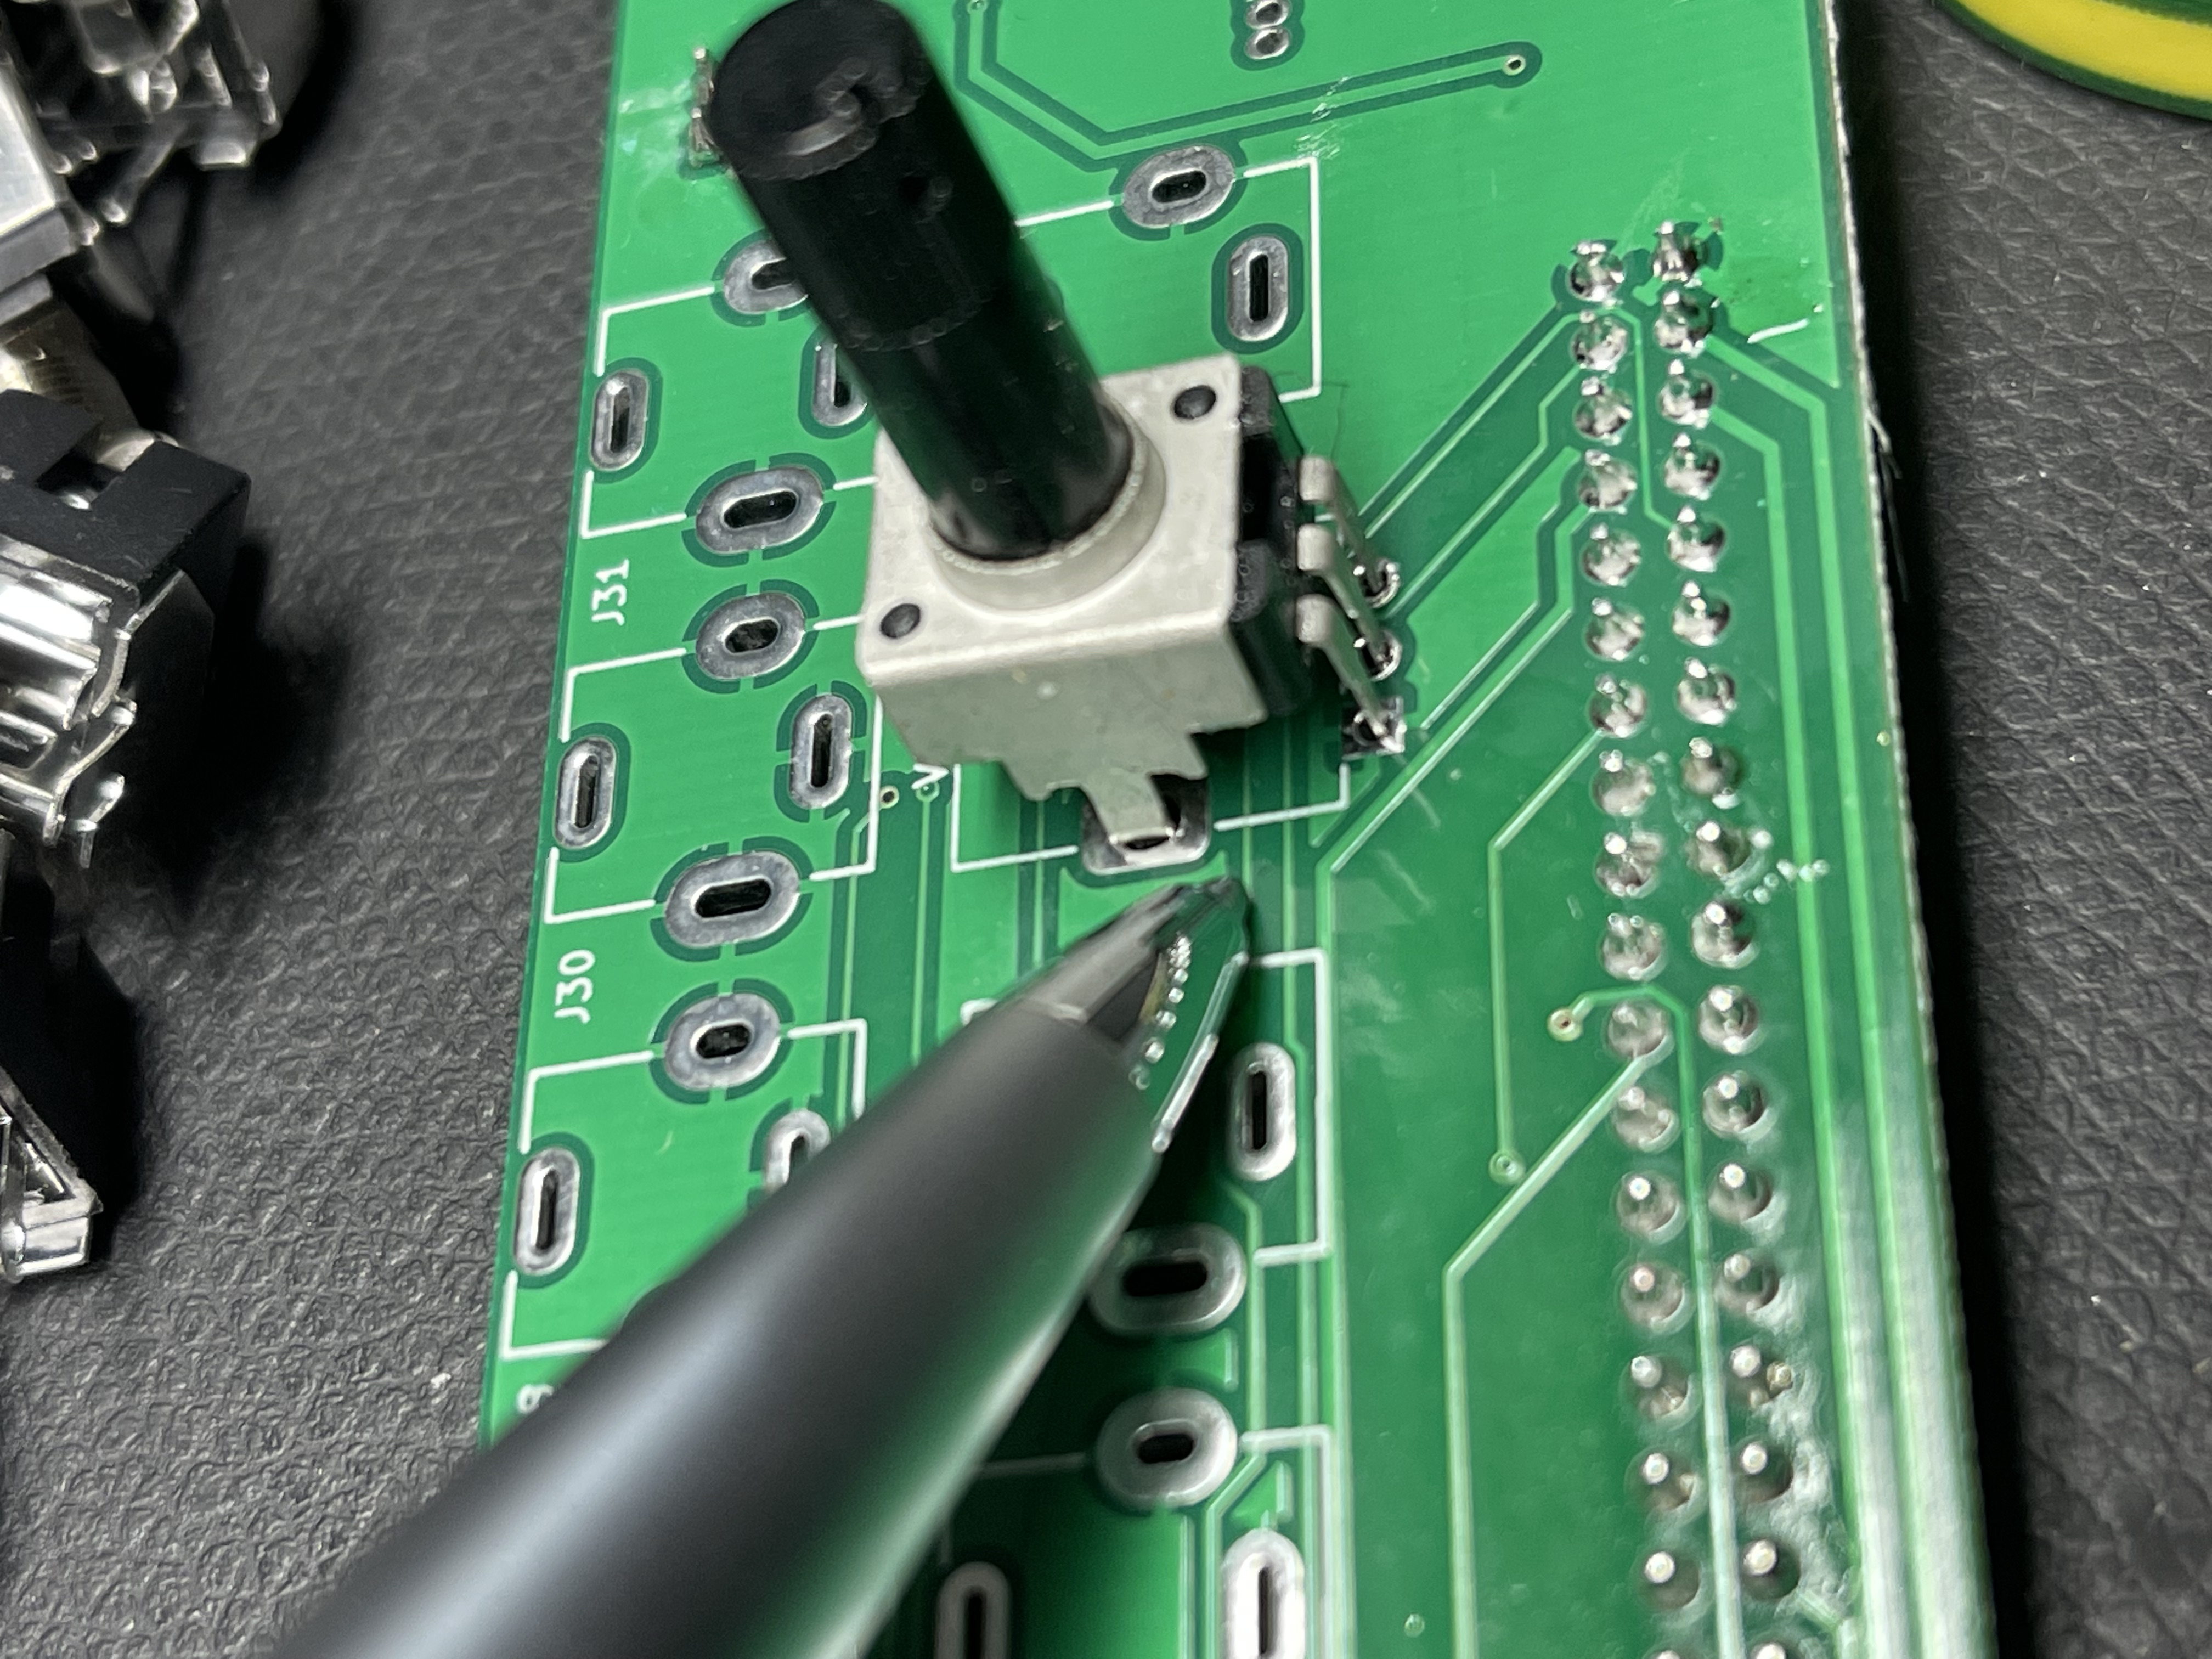
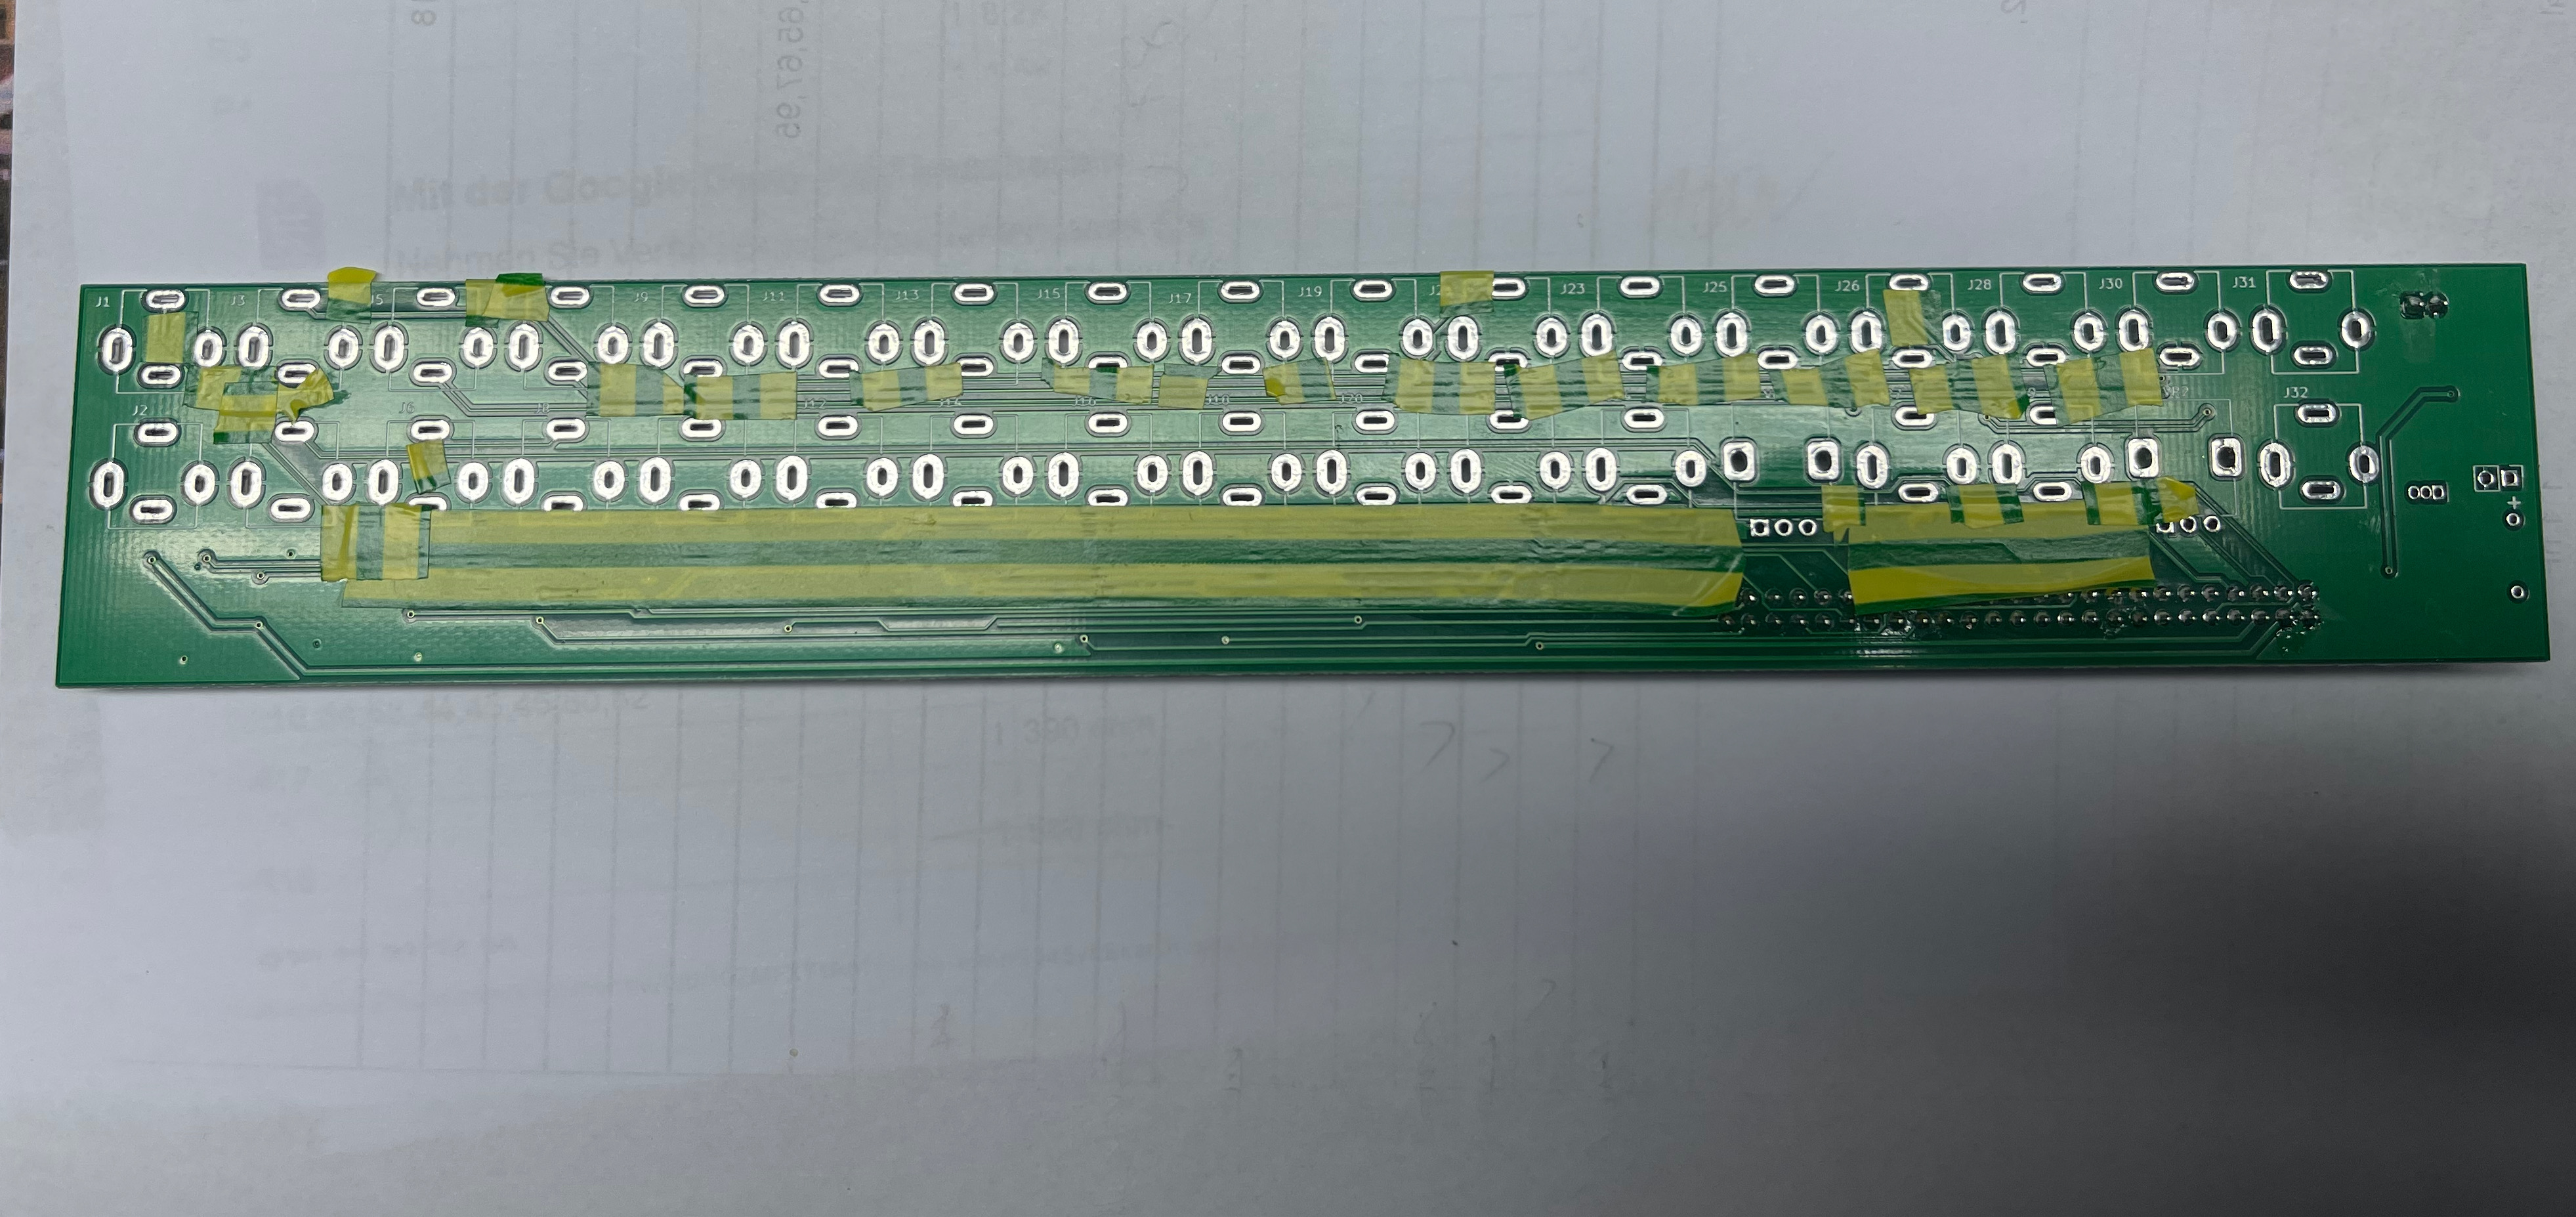
| 1 | 22.04.2023 | info/fix | the panel pcb is very close to the aluminum case - its easy to run in malfunctions and defects !! Since I built the RENIGISER, I know excactly how to fix it with a workaround. | use gaffa tape and put this on the case from inside , 2 layers are fine use additional washers on the potentiometers (or nuts) use at the rotary switches the nut or you can risk that the lock washer get loose, and you get more clearance/distance between the case and panel pcb DO NOT solder all cables thru the holes, just on top of the pads is fine. (as shown in my pictures) solder the potentiometers : add some solder on all pads !! then install the pots, use additional washers or nuts and then use nuts to fix they from outside - then solder the potentiometers. in this way you have enough space between the case and pcb with less risks. | release April 2023 | - |
| 2 | 22.04.2023 | info/fix | the Upper pcb for the jacks: a lot of traces are under the jacks and at the tall trimmer, and if you press the jacks to close on the pcb, you can damage the PCB coating - get shorts and bleeds (same was on the TTSH project and many other projects)
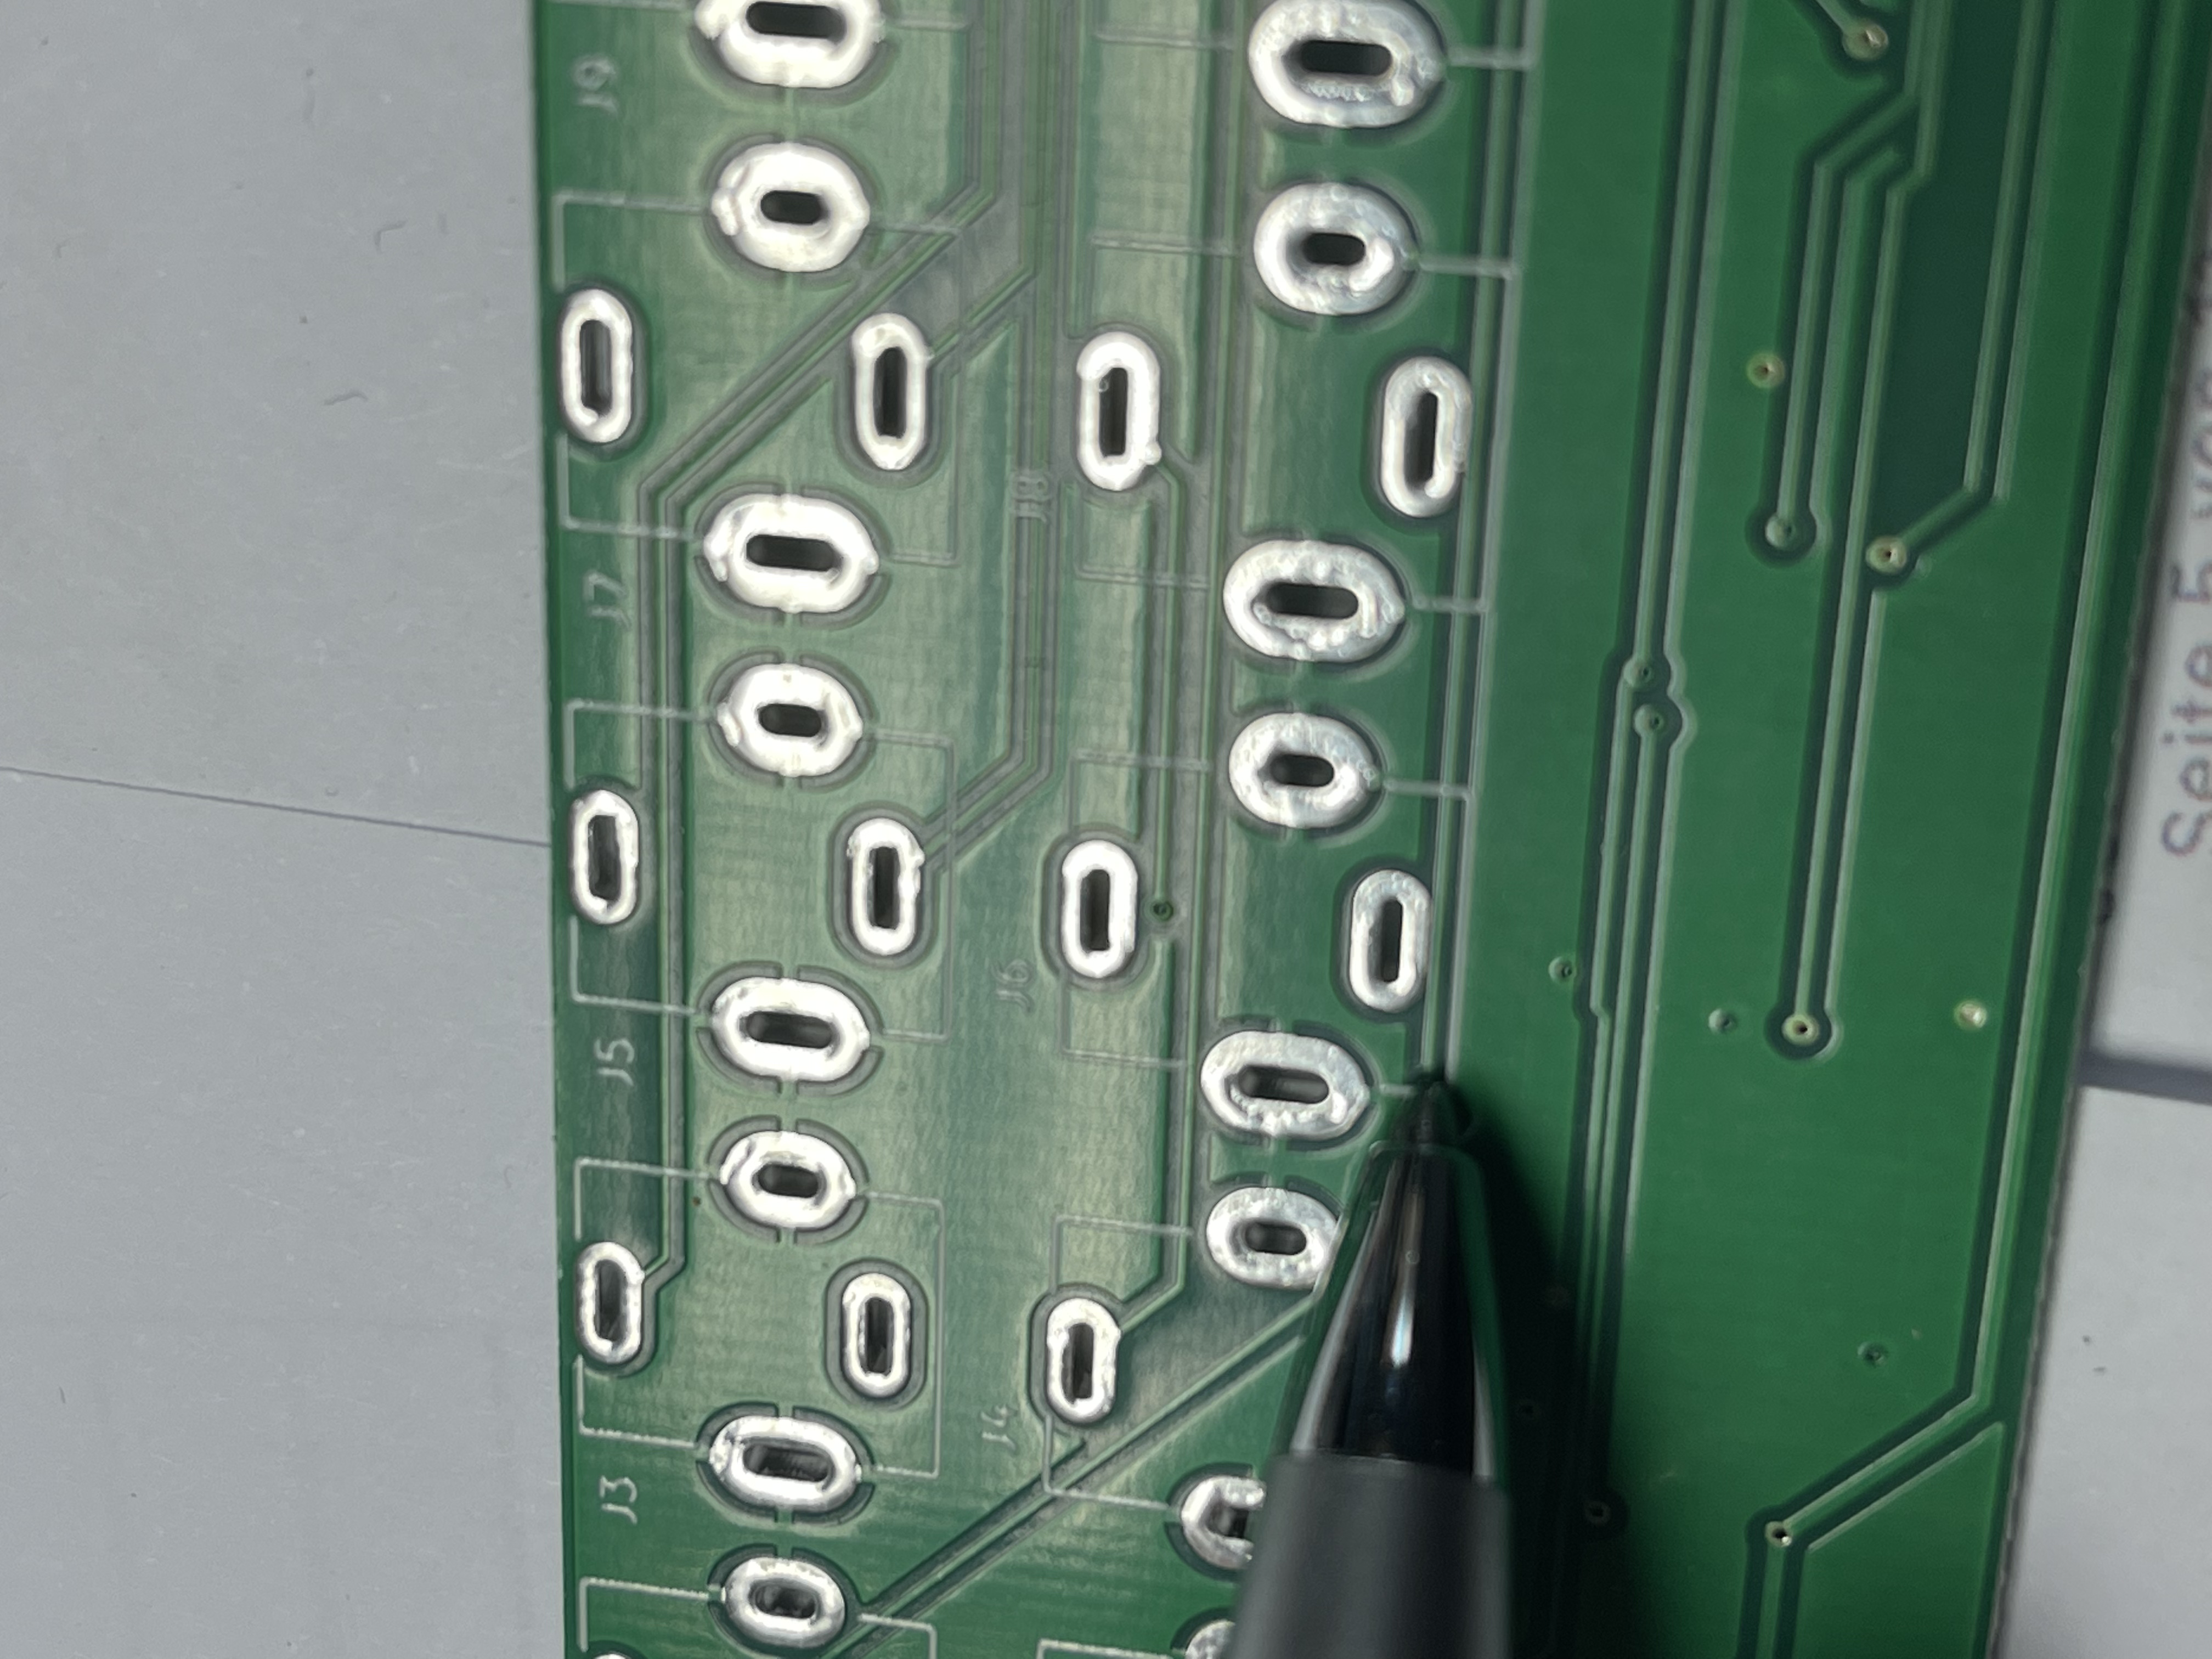 | use tape as shown in my picture and do make sure there's no mechanical stress on the jacks while soldering.
| release April 2023 | - |
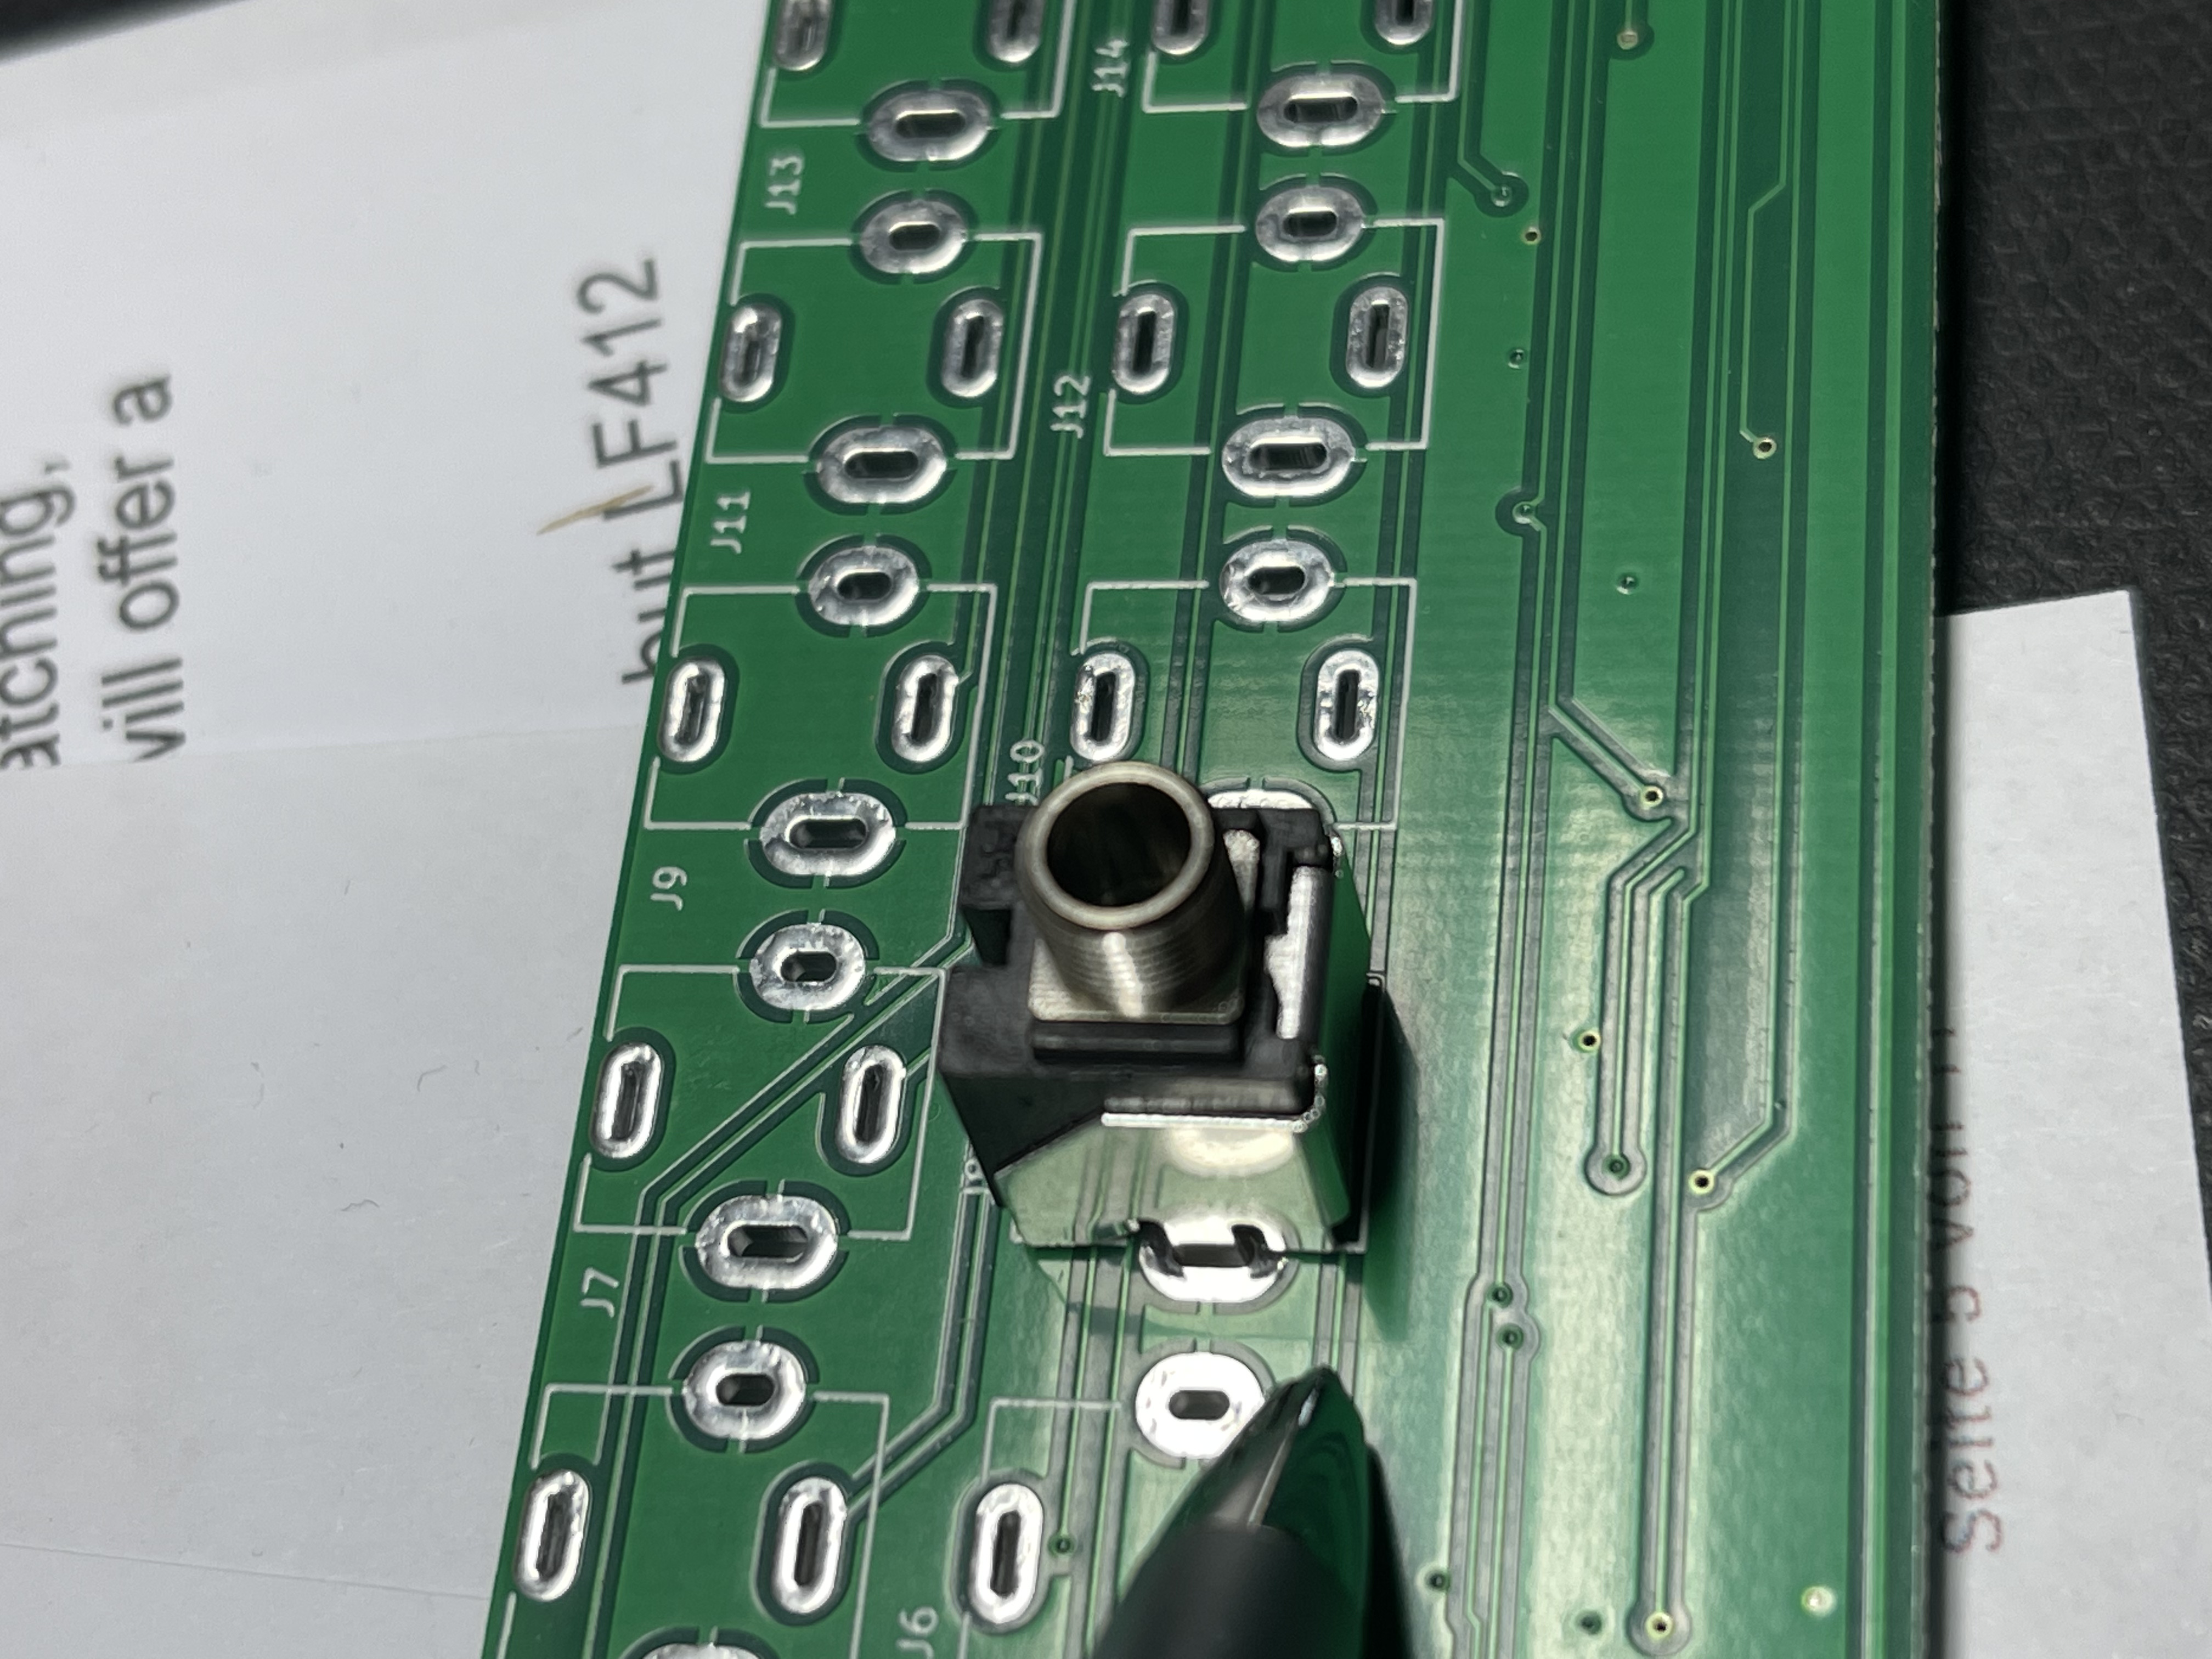
| 3 | 22.04.2023 | build info | do not forget to install the Jumpers/bridges as described in the guide or you can't hear something | |||
| 4 | 22.04.2023 | BOM info | 1pf cap | use 3.3pf or do not install a cap.. works without too | ||
| 5 | 22.04.2023 | build info | diodes D9/D10 install this.. ( some clones and some originals dont have this.) | |||
| 6 | 22.04.2023 | info | in case you have hum - check the MIDI wiring | |||
| 7 | 22.04.2023 | info | please report bugs and infos here.. there's a comment function on this website |
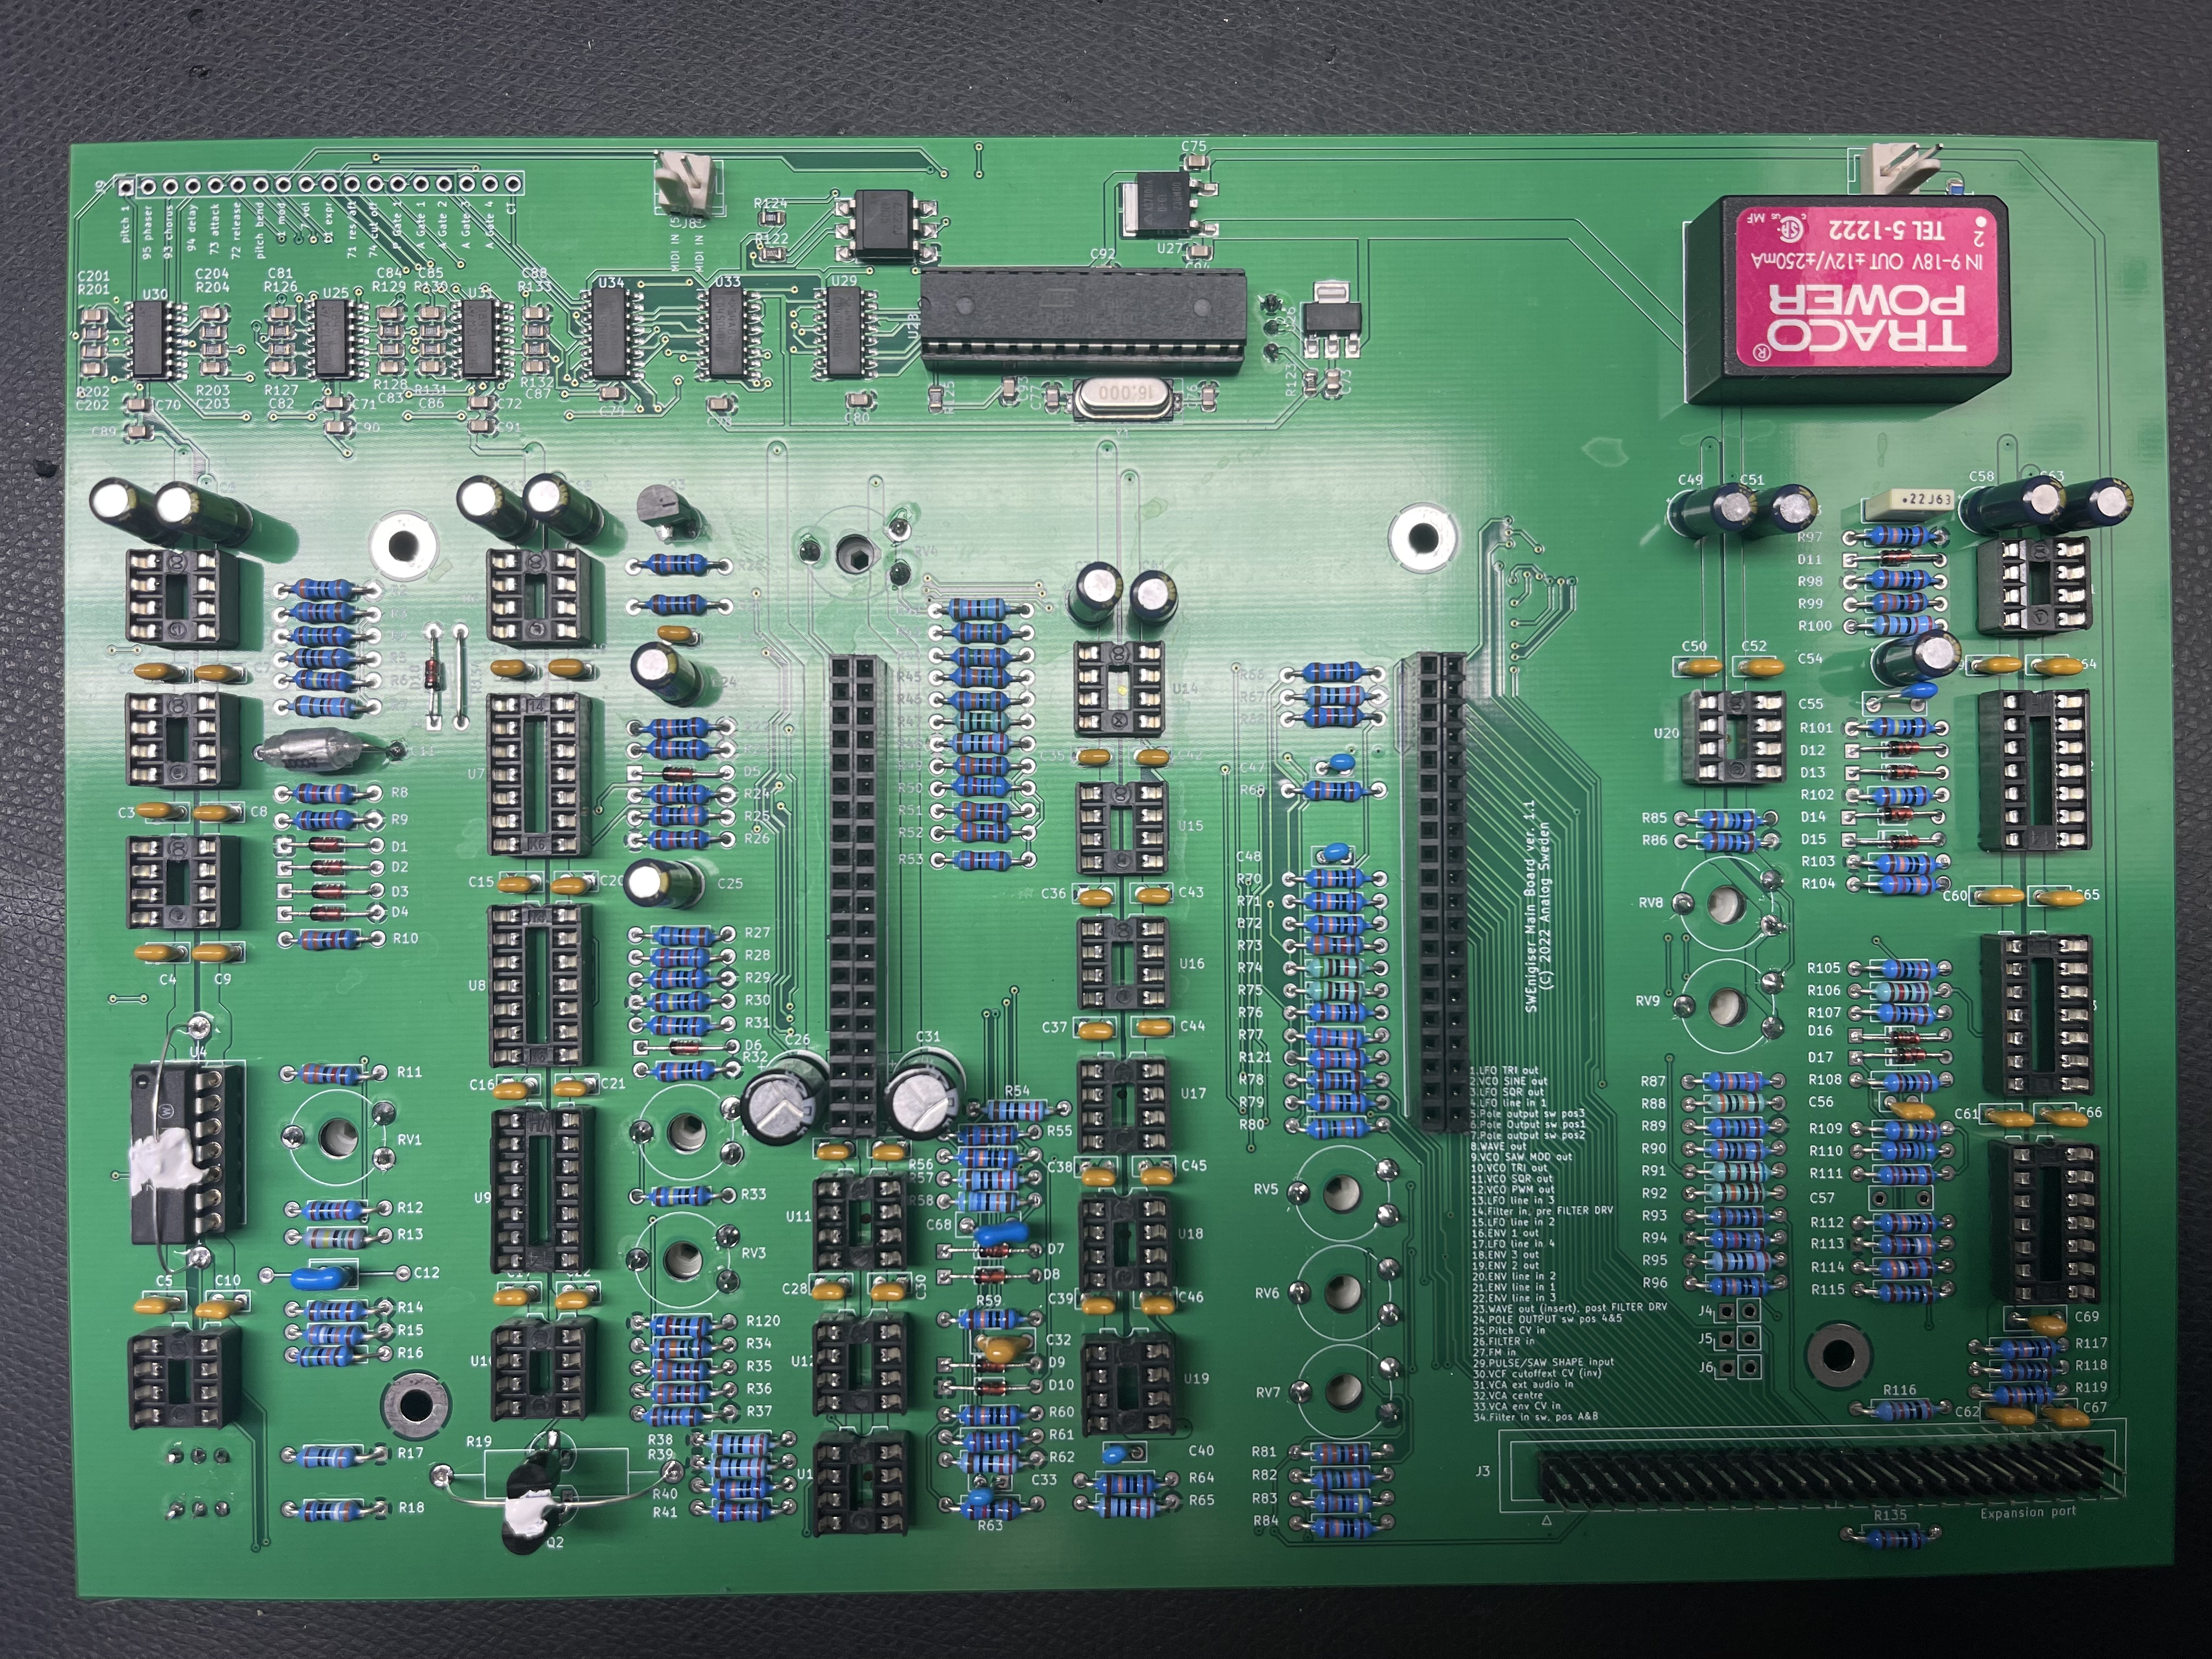
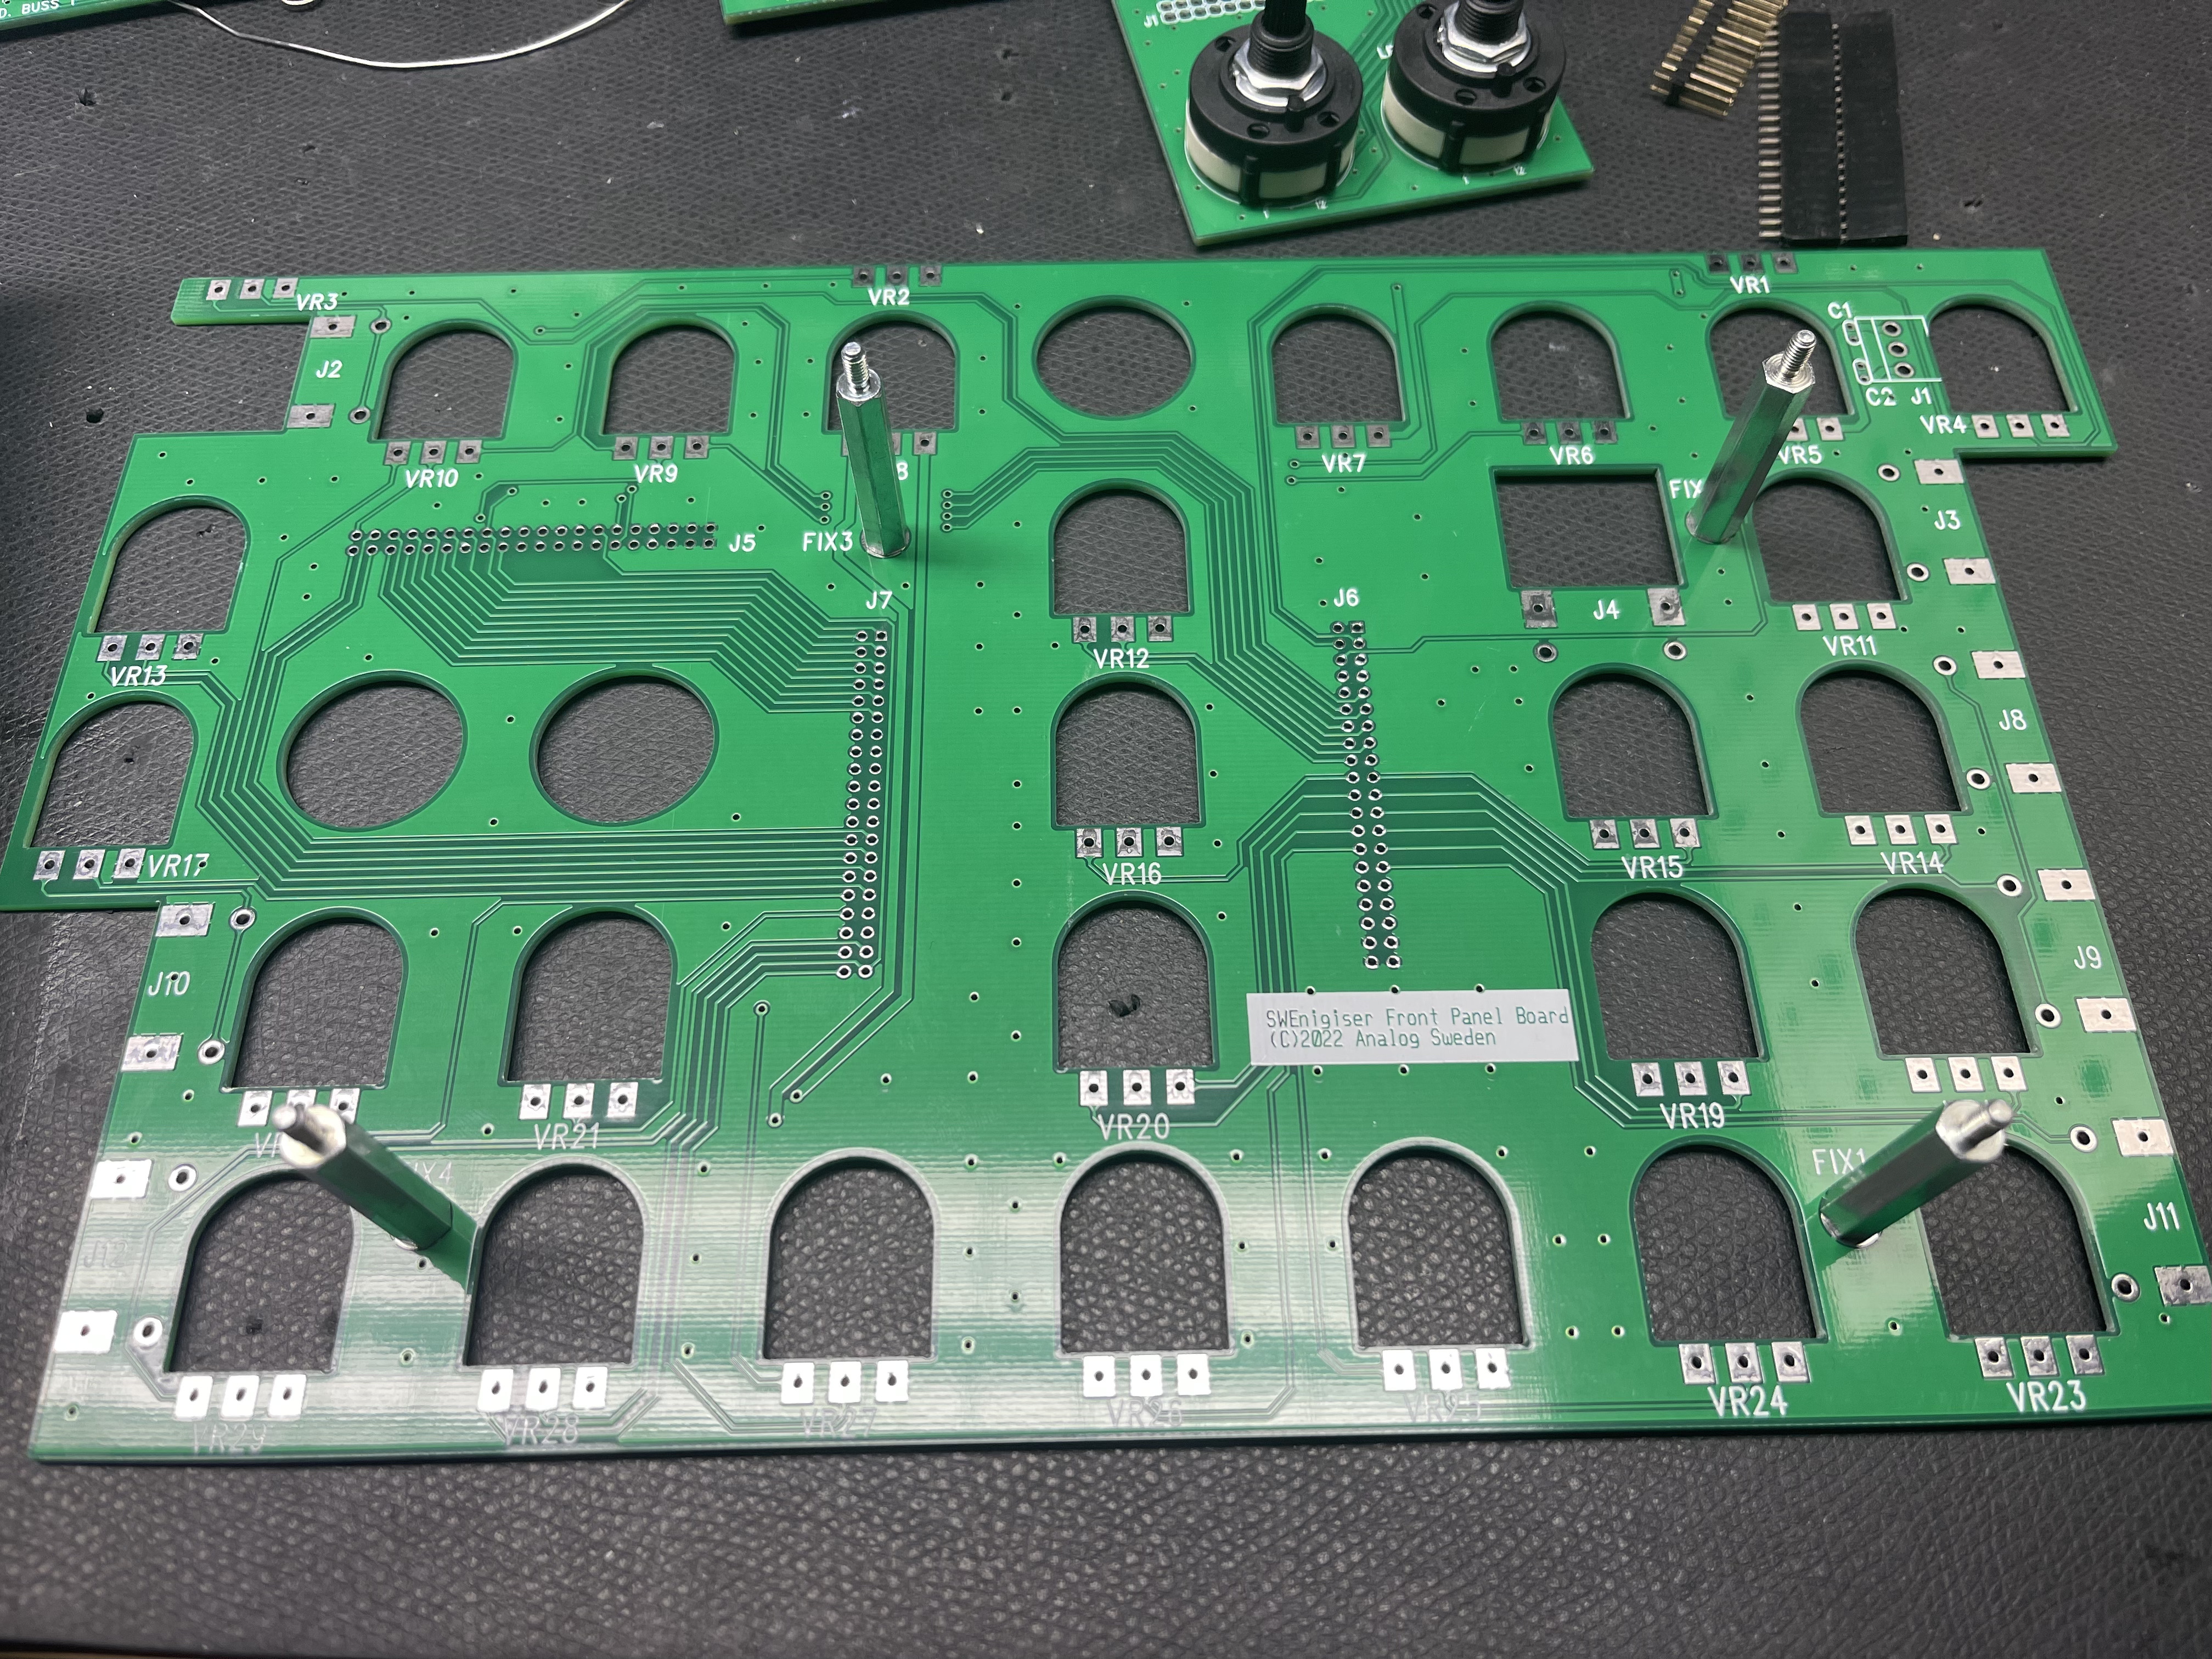
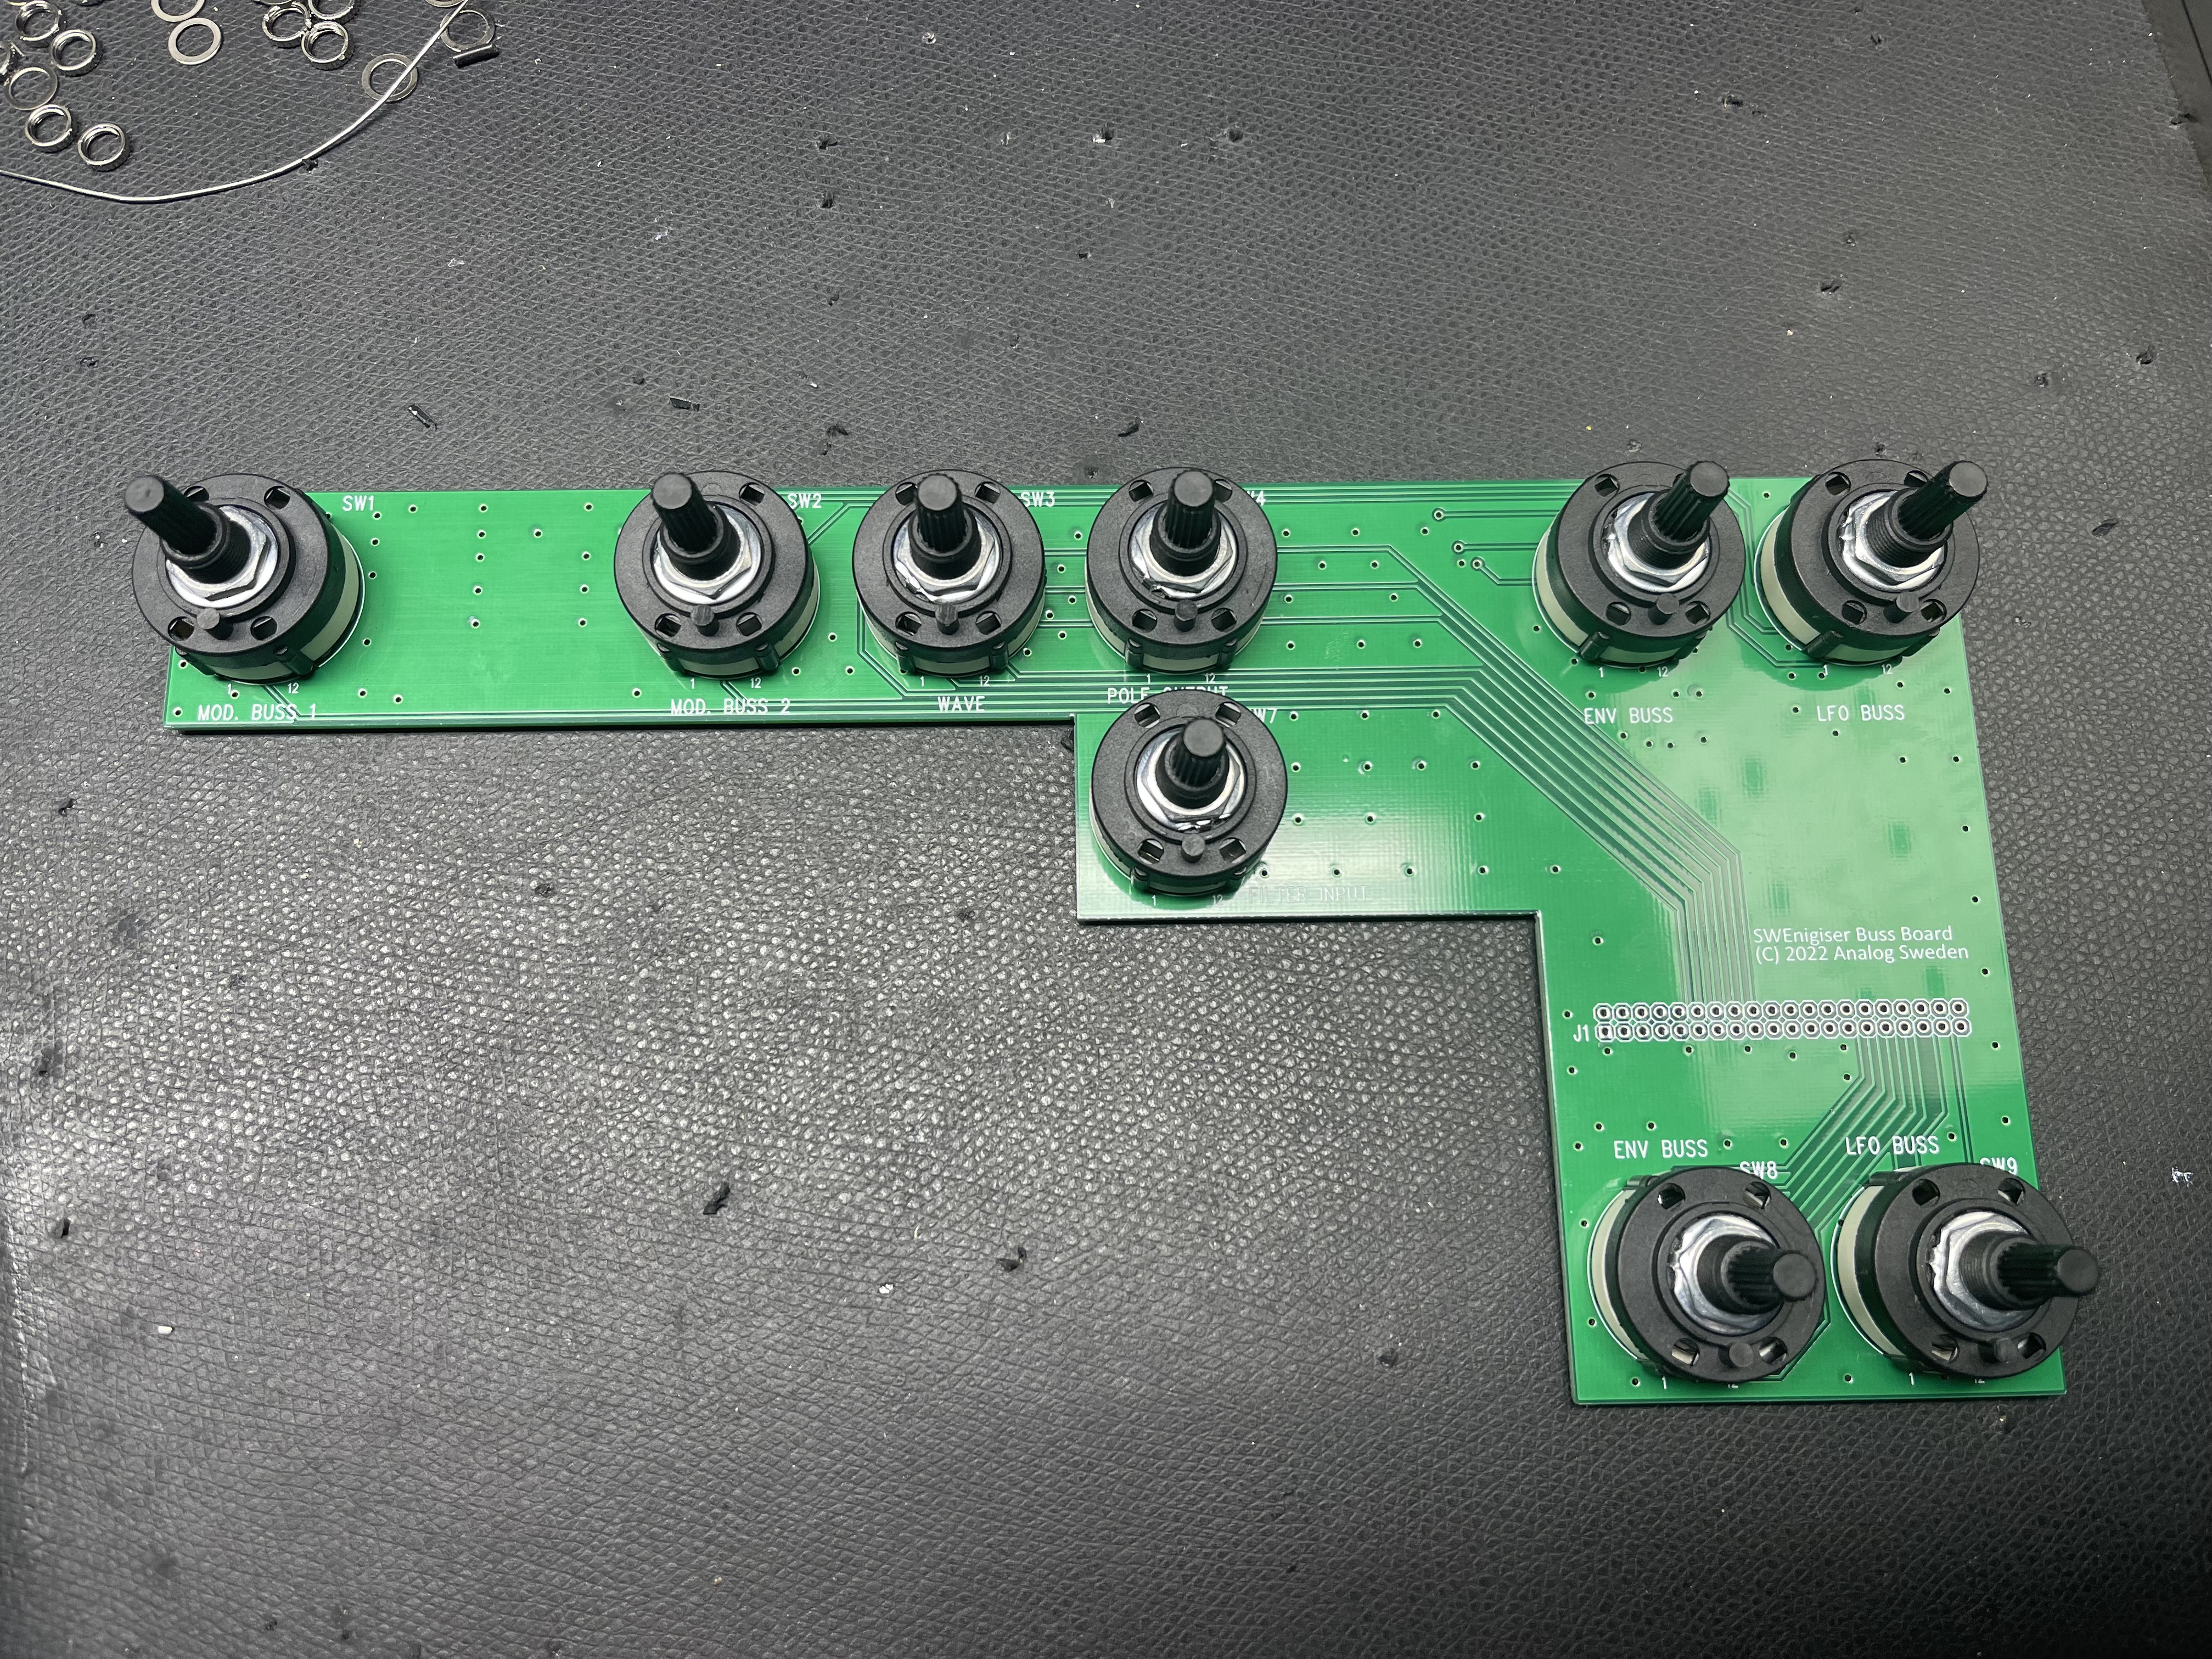
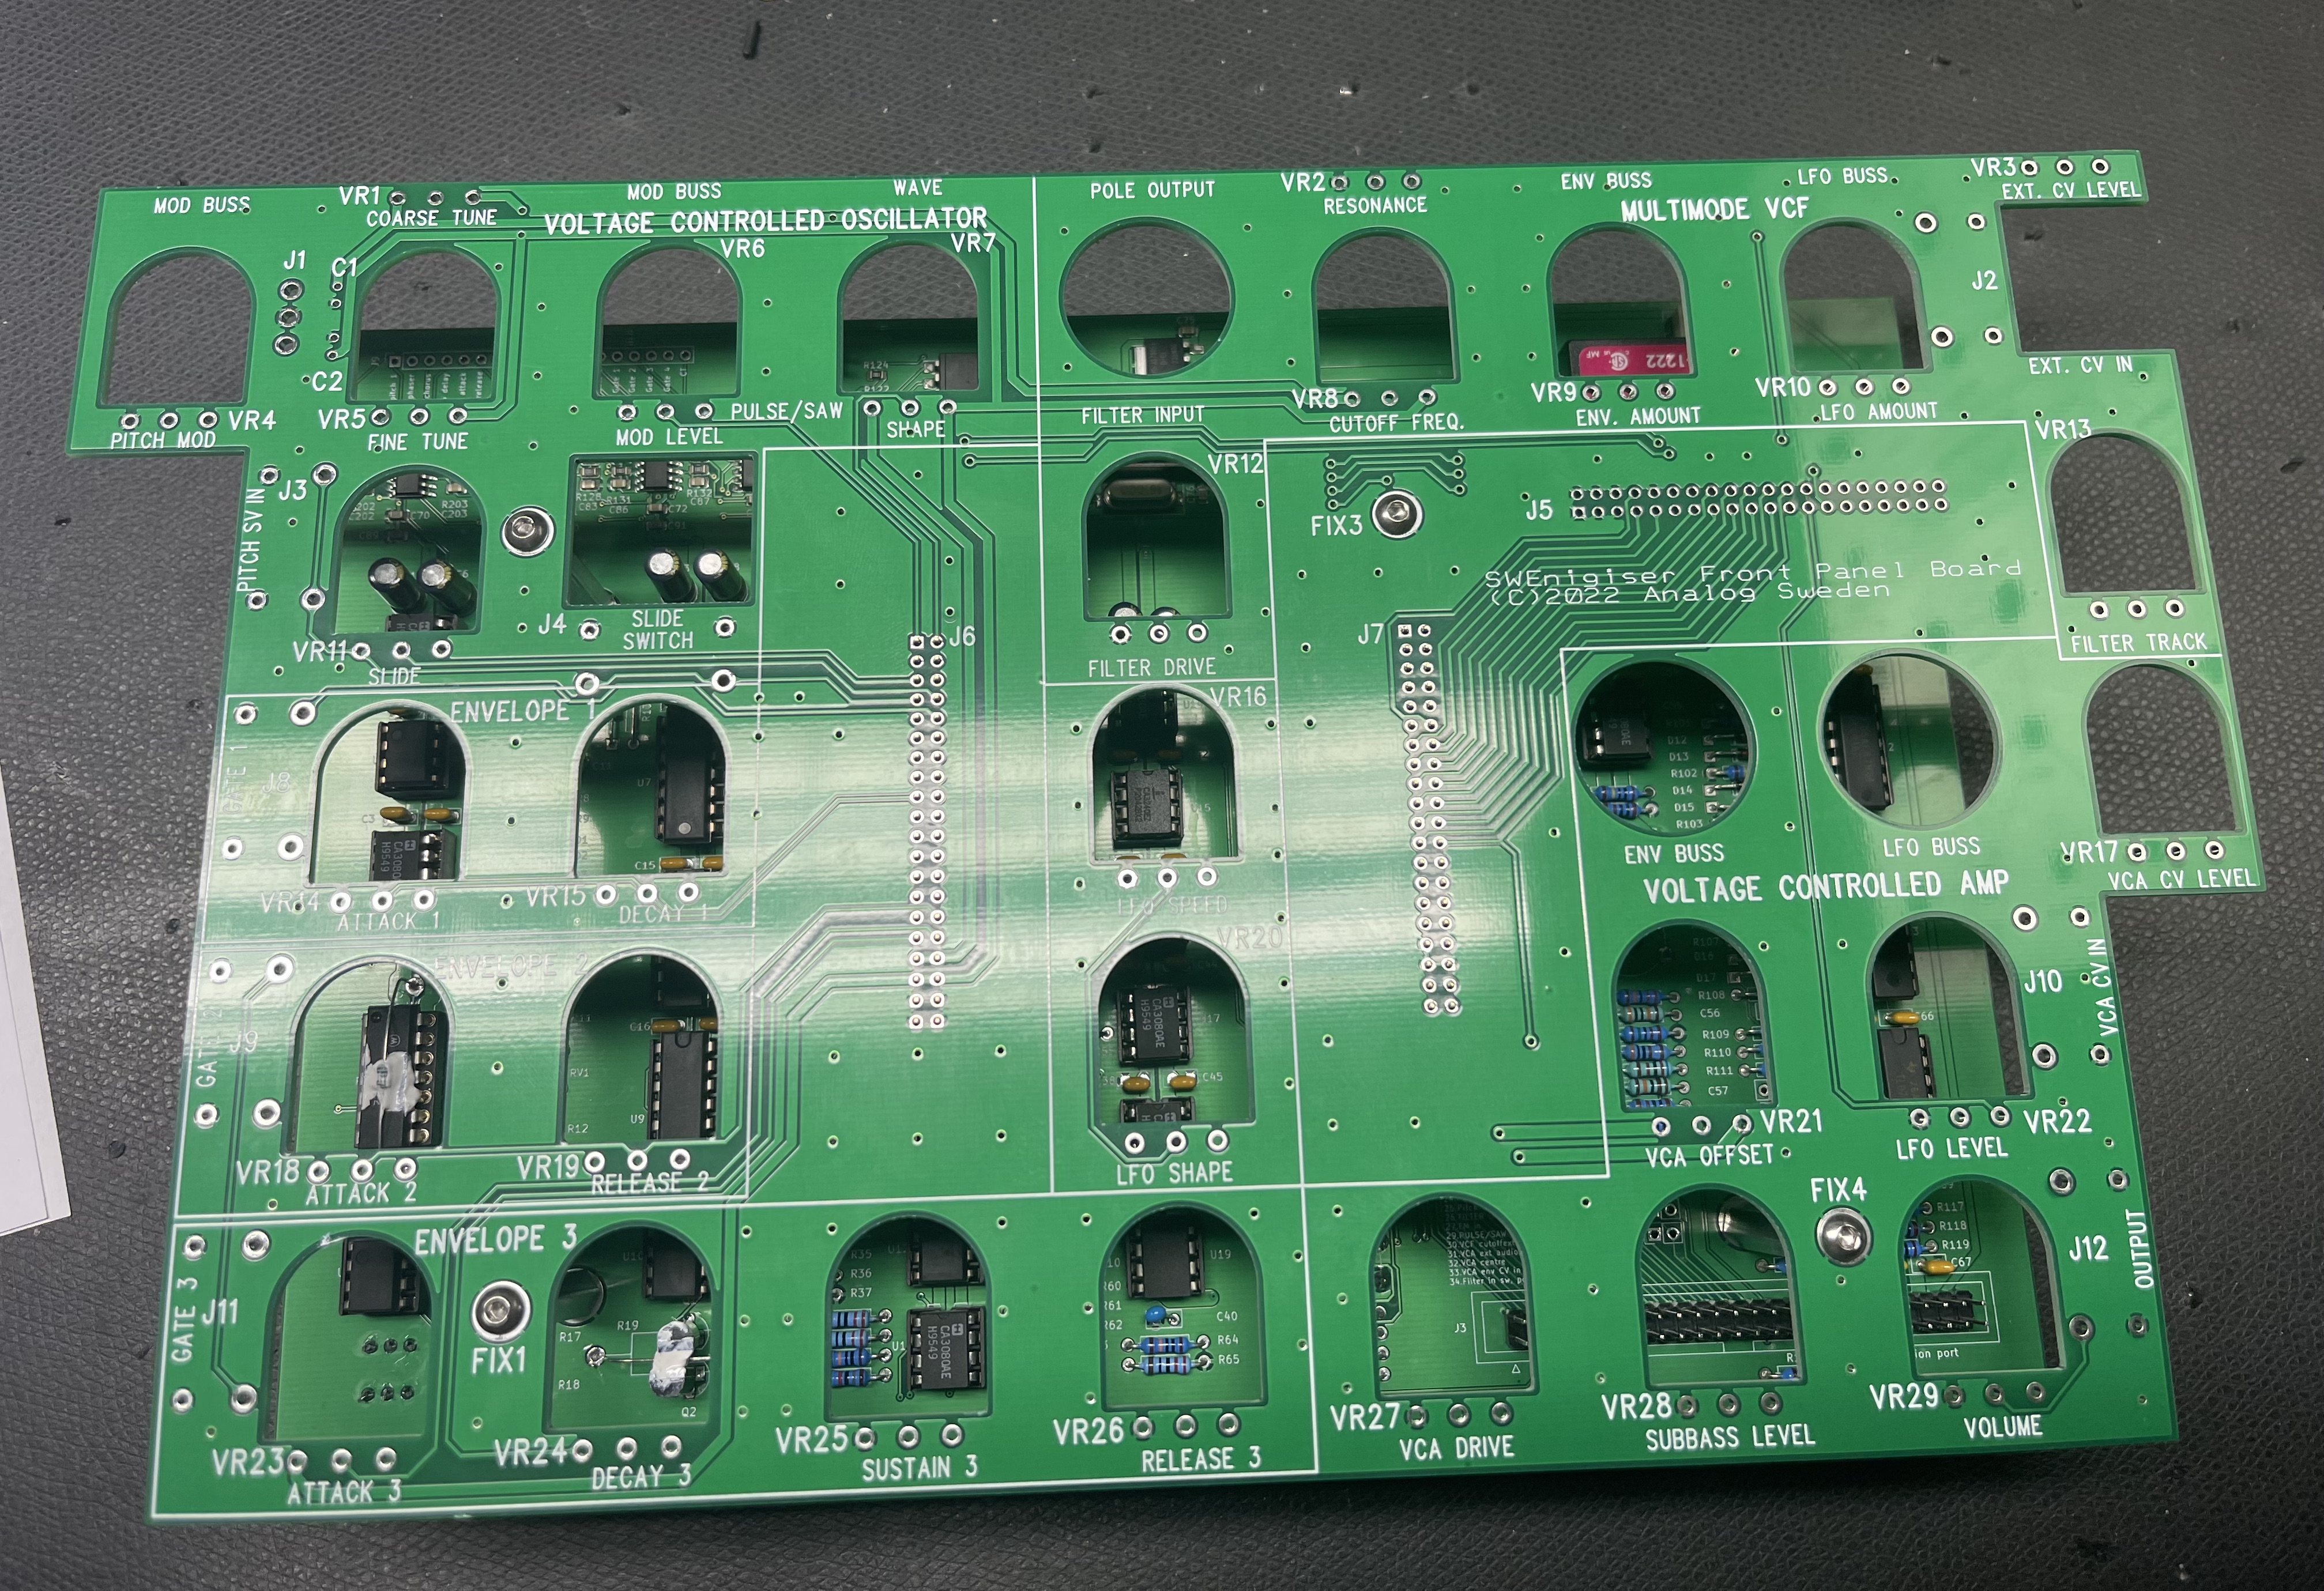
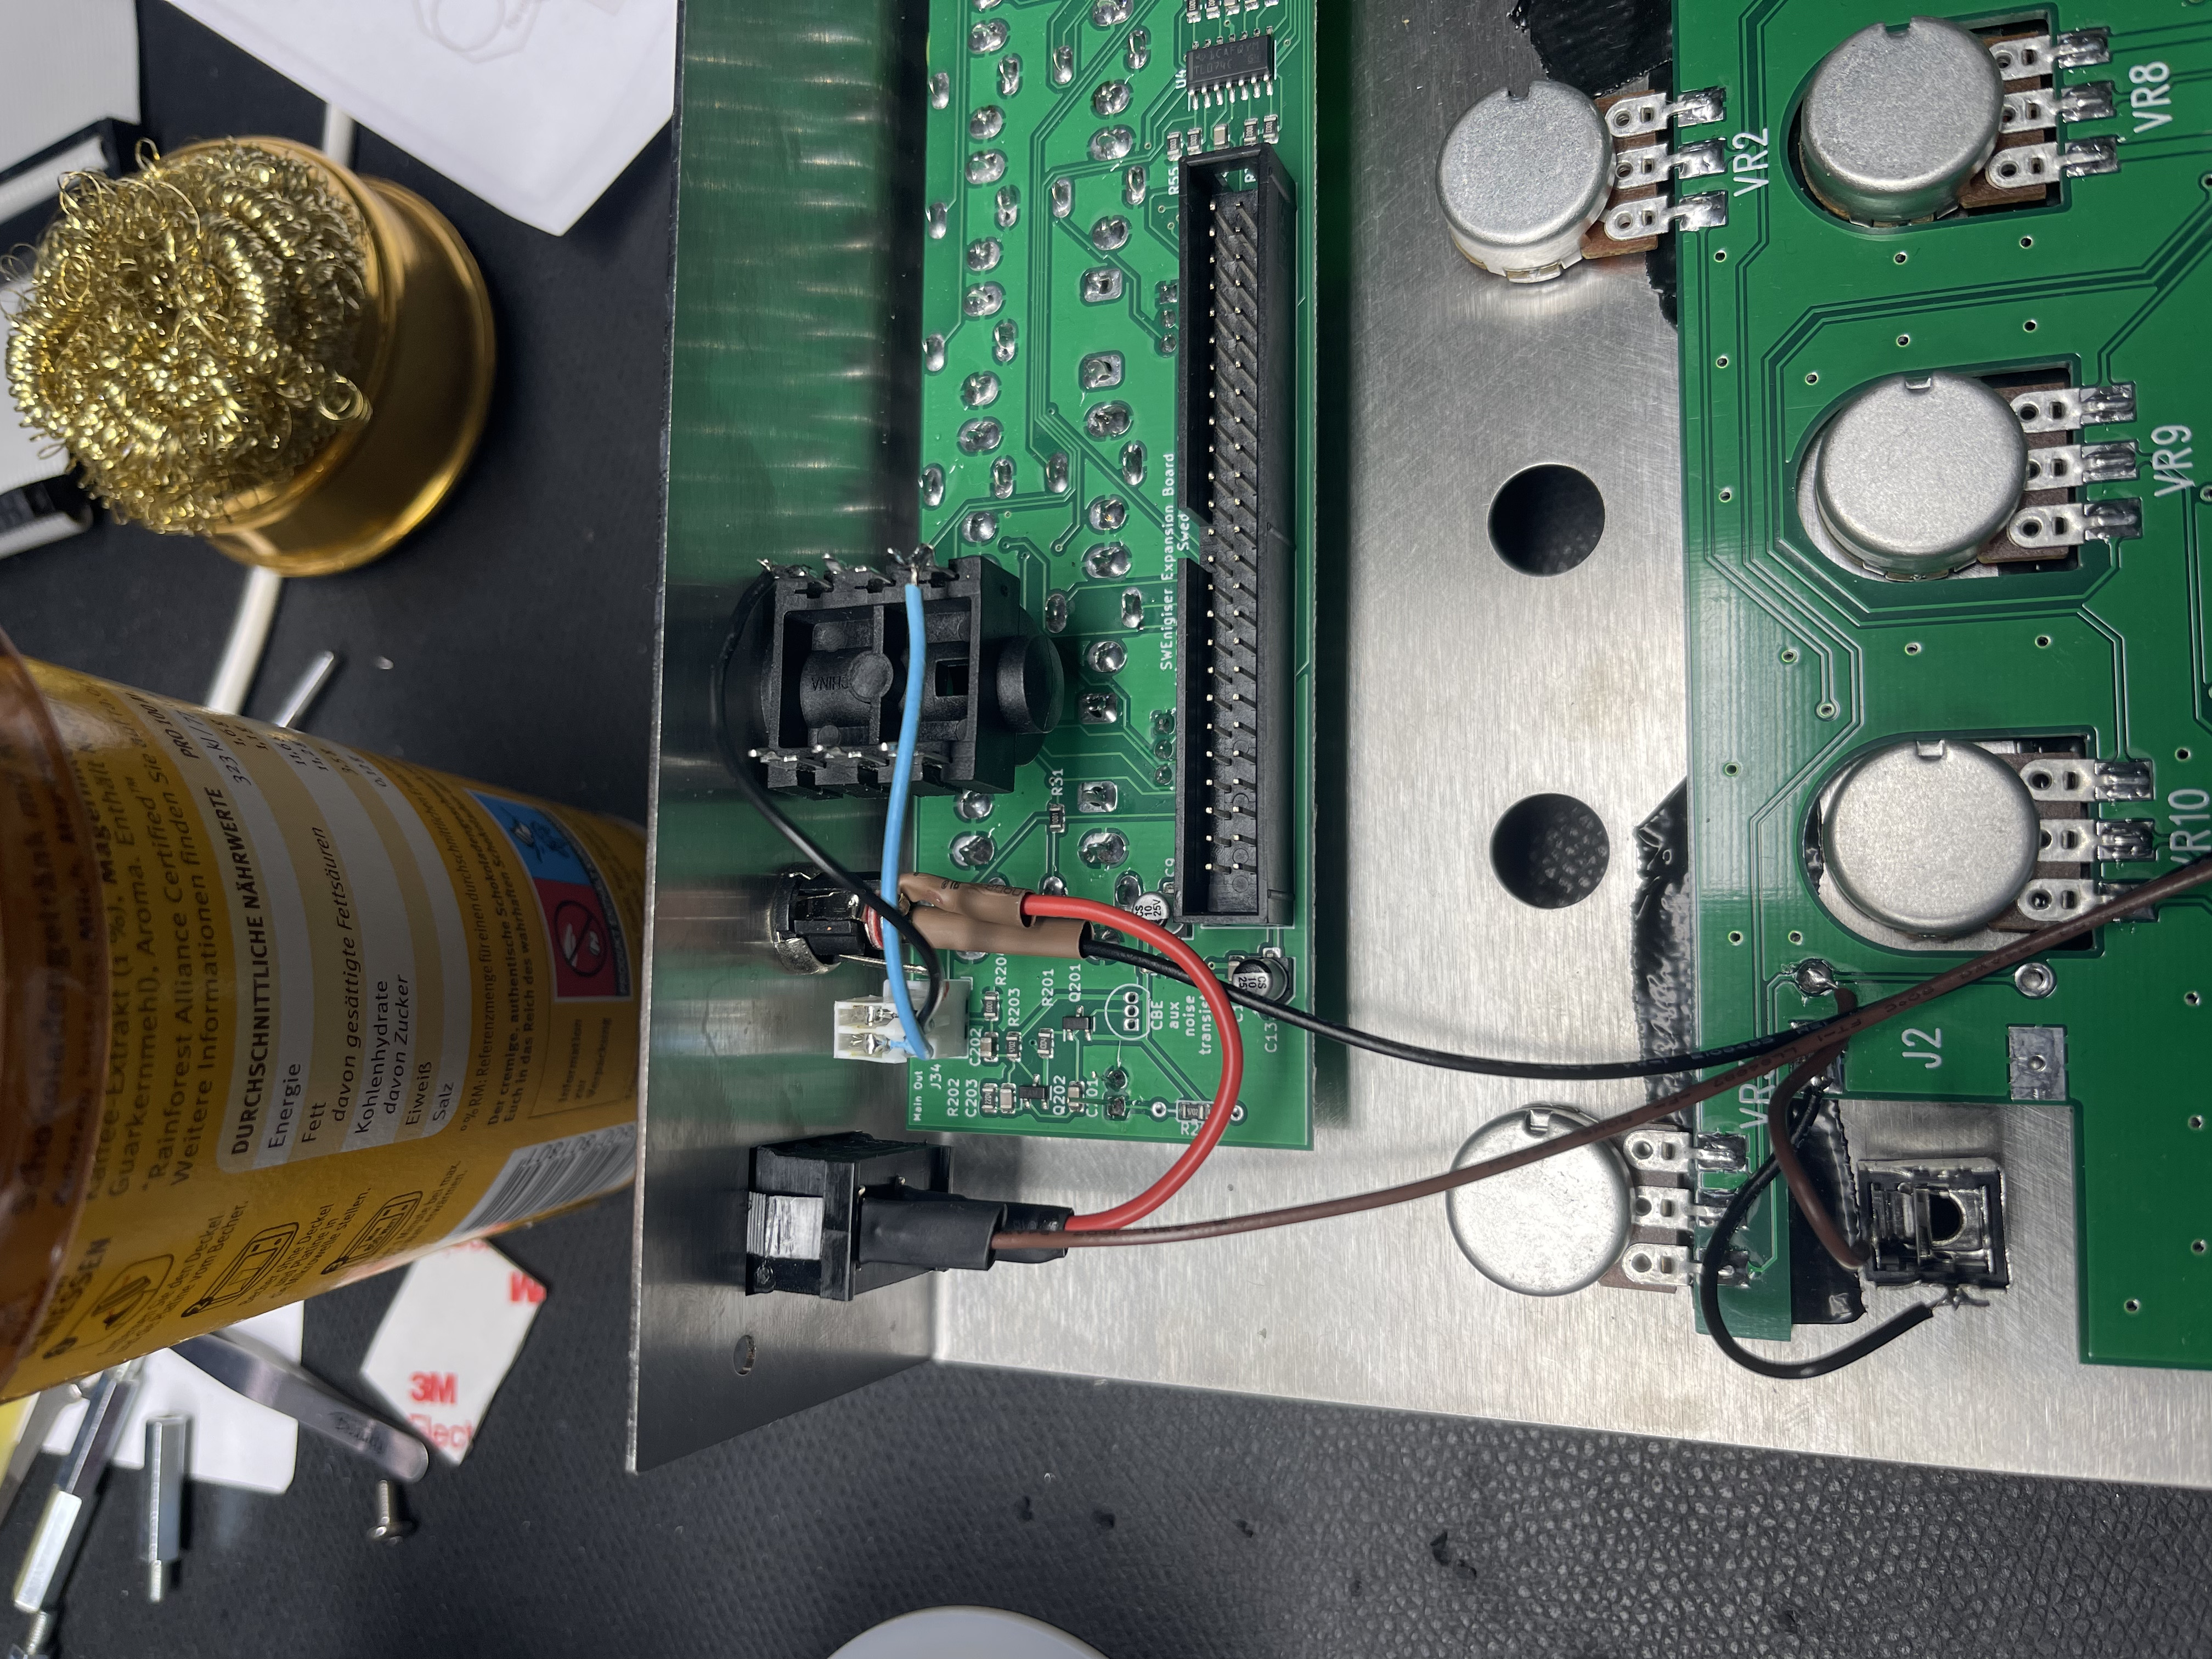
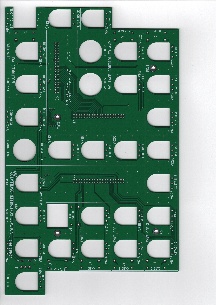
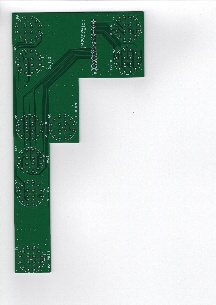
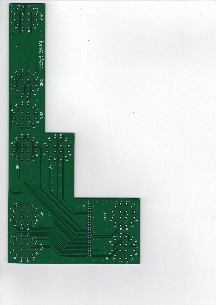
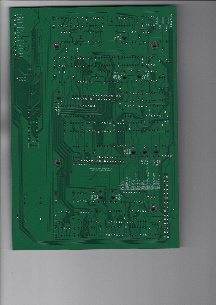
PCB Pictures:

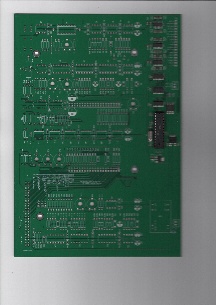
PCB Pictures assembled